instagram takipci satin al - instagram takipci satin al mobil odeme - takipci satin al

bahis siteleri - deneme bonusu - casino siteleri

bahis siteleri - kacak bahis - canli bahis

goldenbahis - makrobet - cepbahis

cratosslot - cratosslot giris - cratosslot

Announcement

Collapse
No announcement yet.

Inside Doc's Machine Shop

Collapse
X
 
  • Filter
  • Time
  • Show
Clear All
new posts

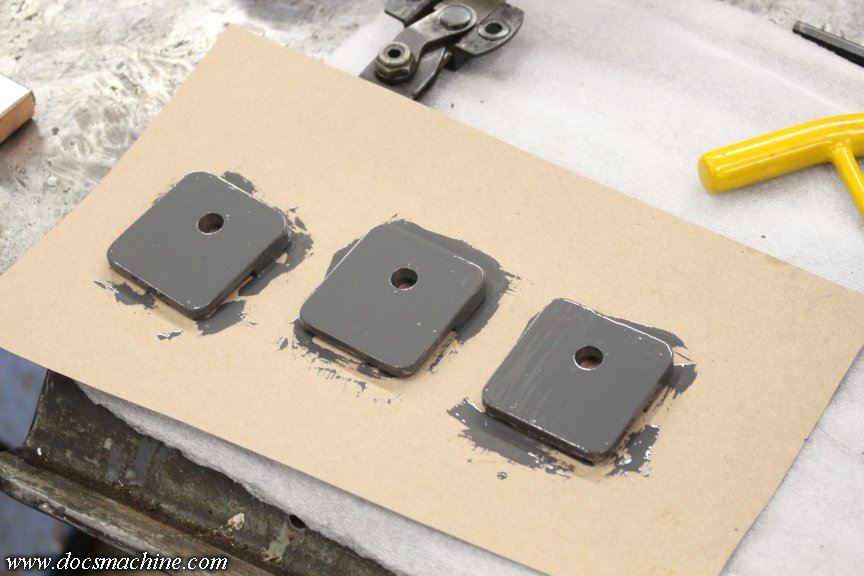
    Not much shop time today, save for simply putting a second coat on those two parts.

    So I dug around in my camera cards, and found something from much earlier this year, that I'd been meaning to post after the whole marker is done.

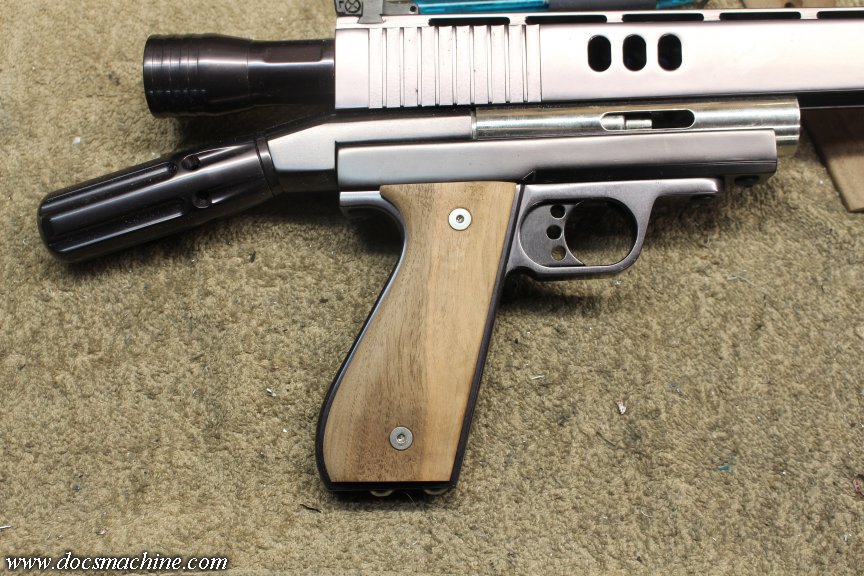
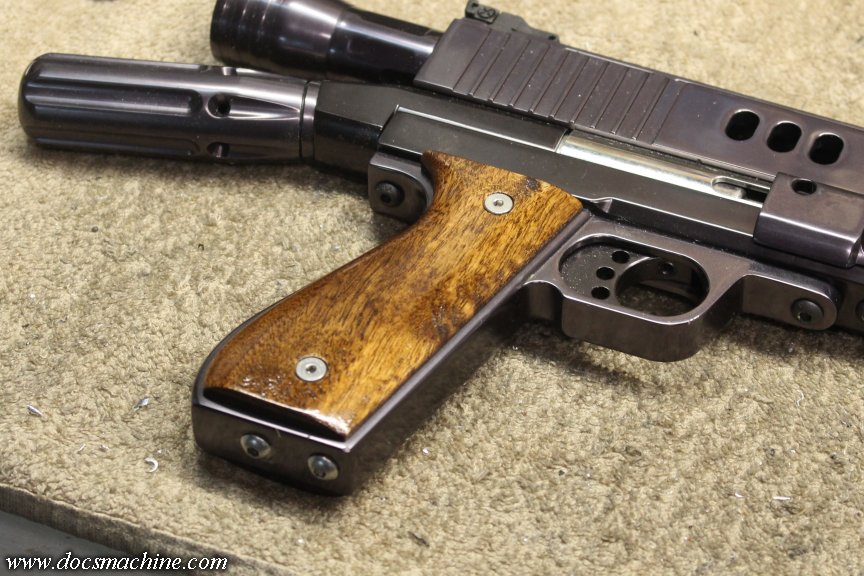
    Customer sent in a Carter "Boxgun" stock-classer, and like many Carters, it has a "palm swell" grip. It accepts standard .45 style grip panels, but they don't really fit the profile.


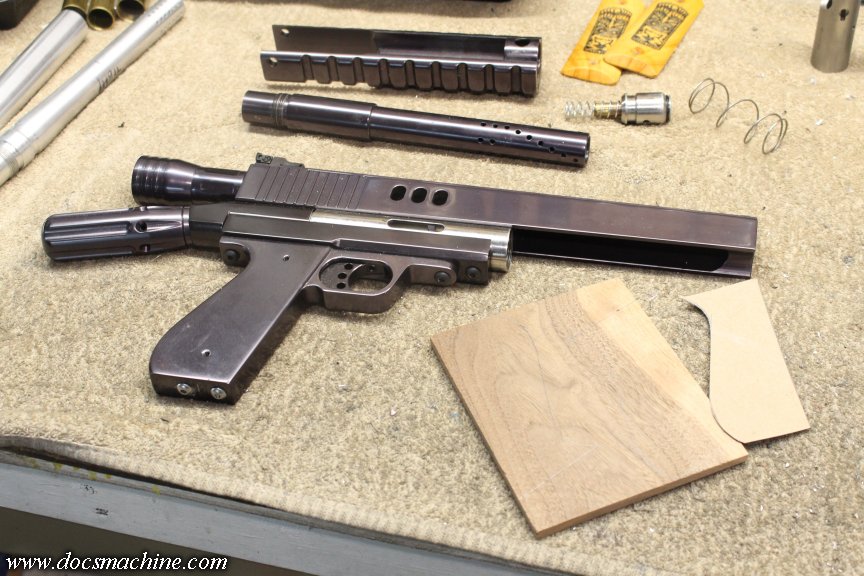
    So, I made a cardboard pattern for the grip shape, and traced that to a small slab of Walnut.

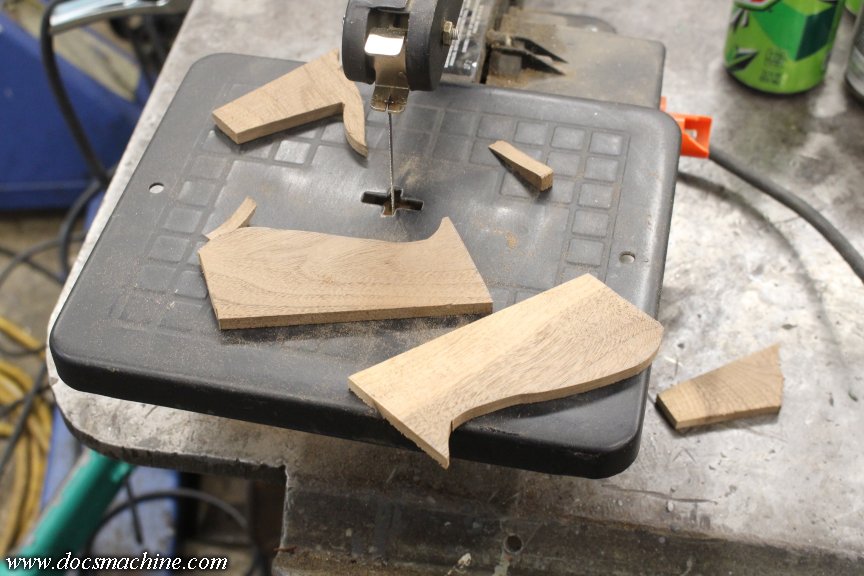
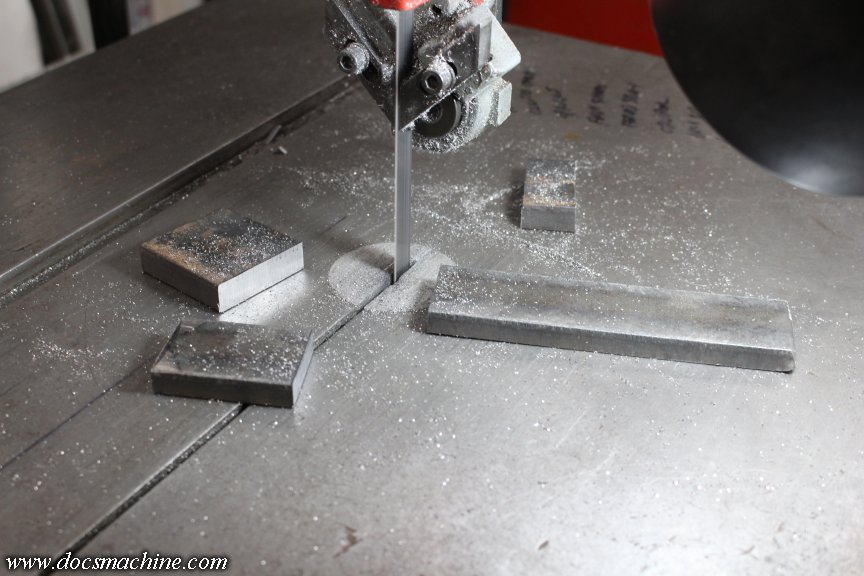
    This I rough-sawed out with the jigsaw...


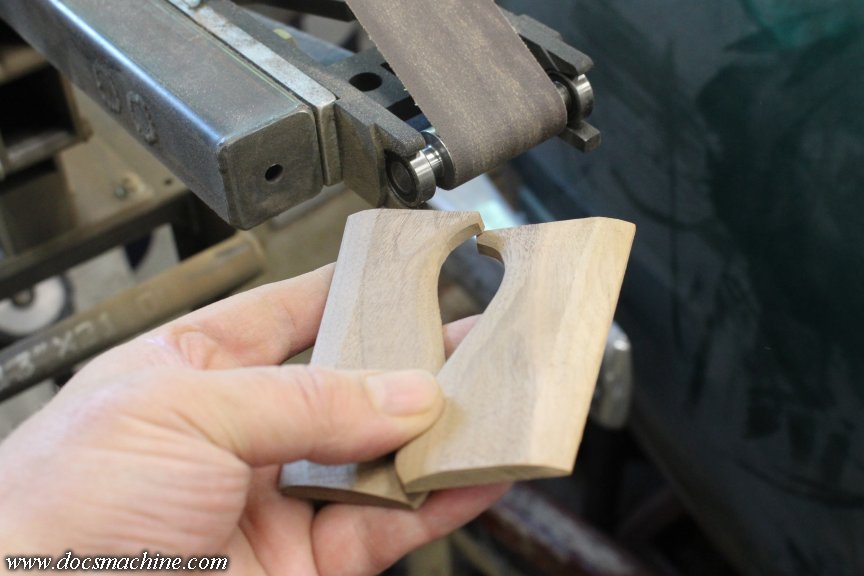
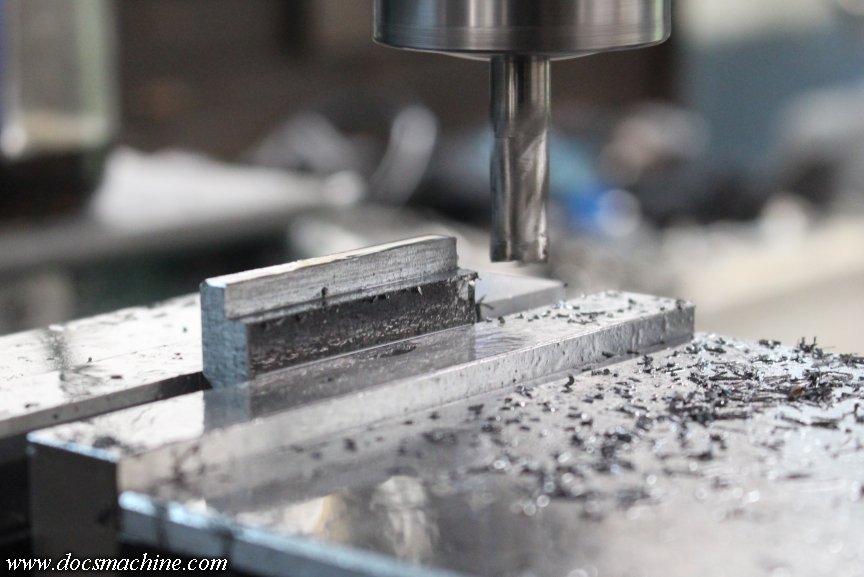
    And shaped and smoothed the pair on the belt sander.


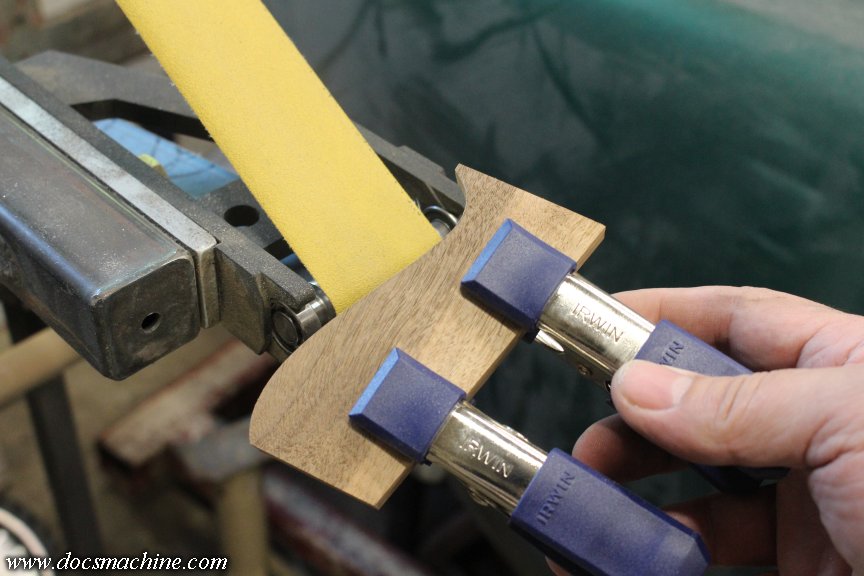
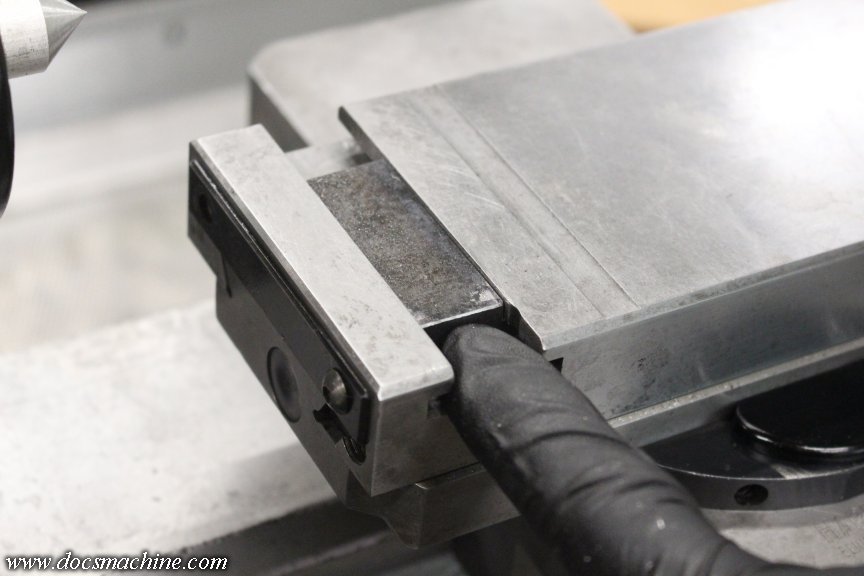
    It usually takes a few test-fits and tries to get the shape just right- and the patience to not go too far.


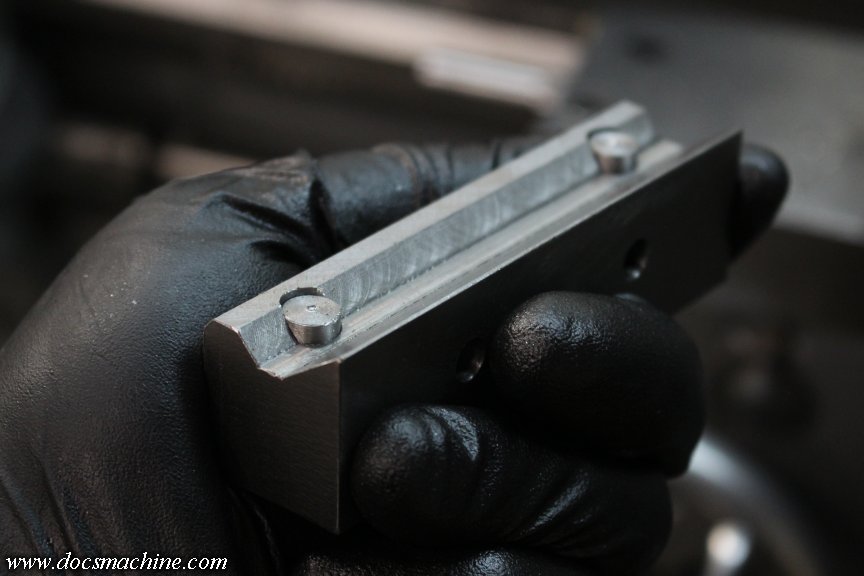
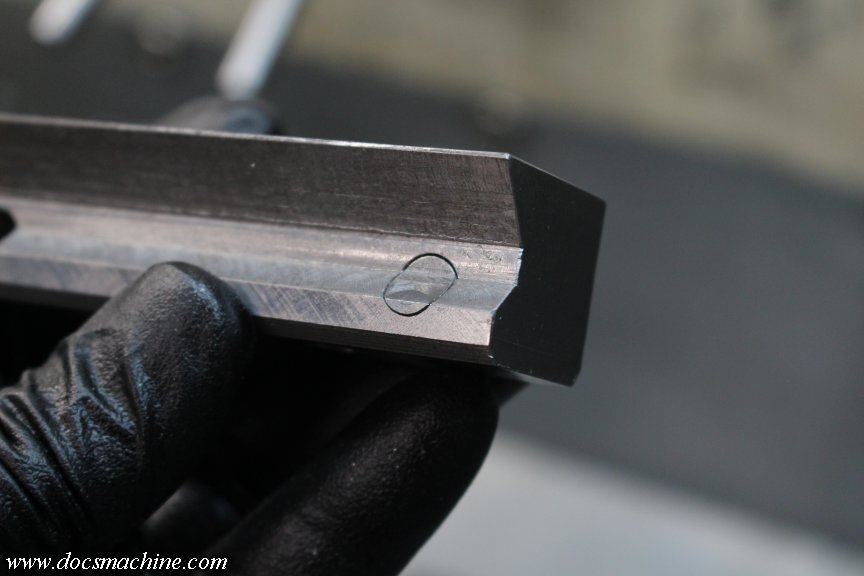
    With the outer shape done, we simply profile the edges to smooth up the overall fit.


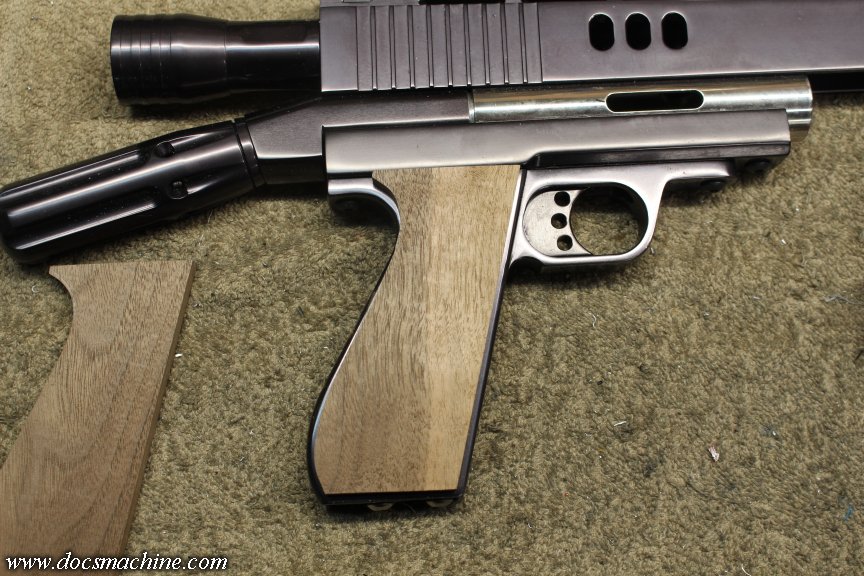
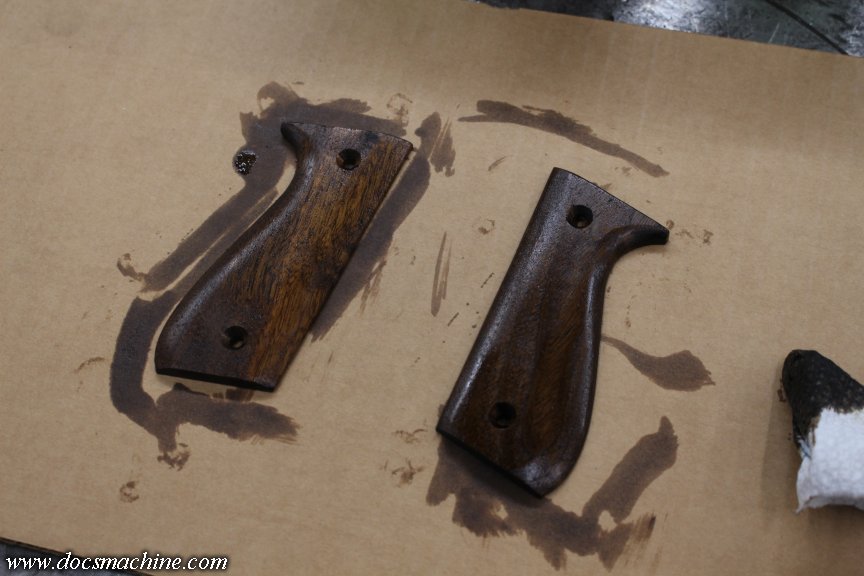
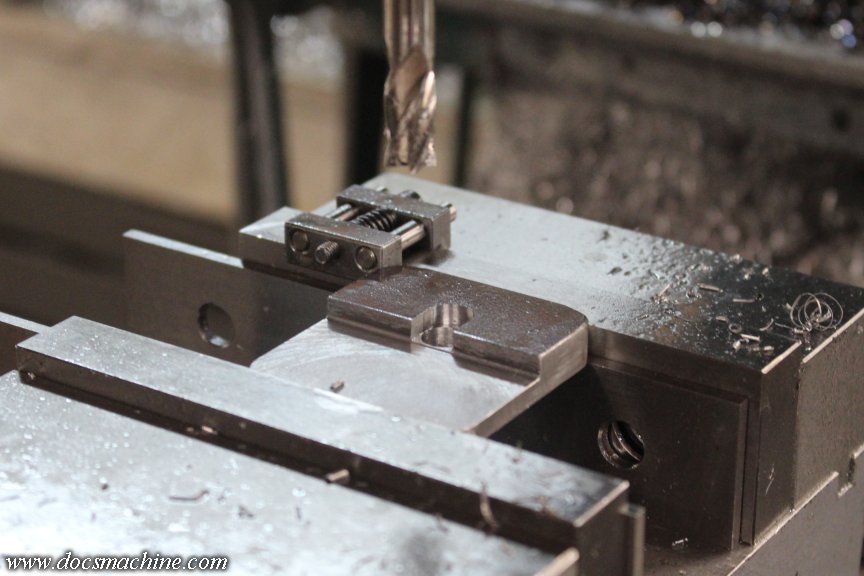
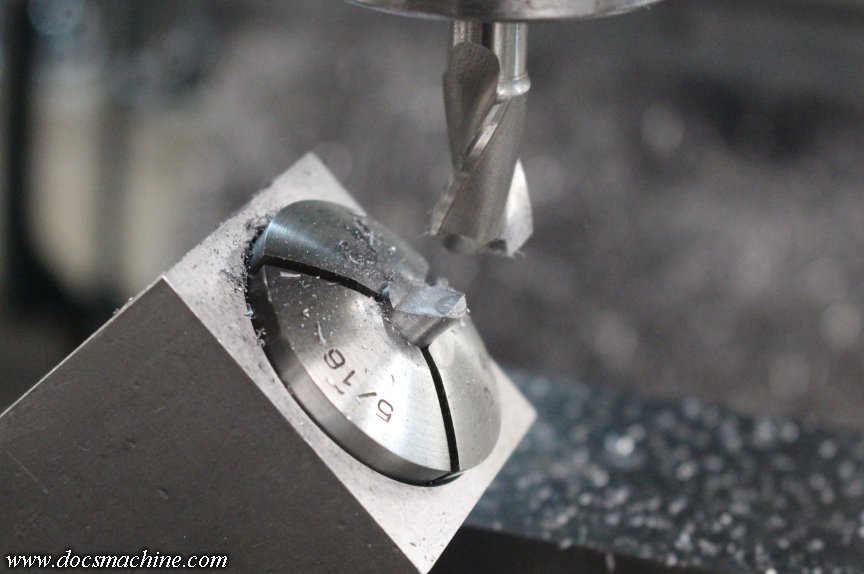
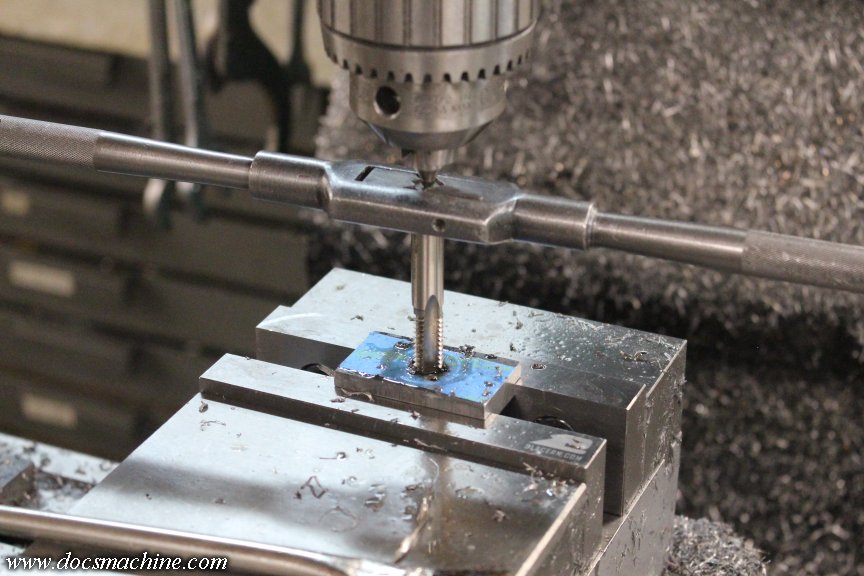
    The holes are carefully marked, drilled and countersunk, and once fitted, a few minor touch-ups to the shape, and the curves get hand-sanded smooth.


    Then they're stained....


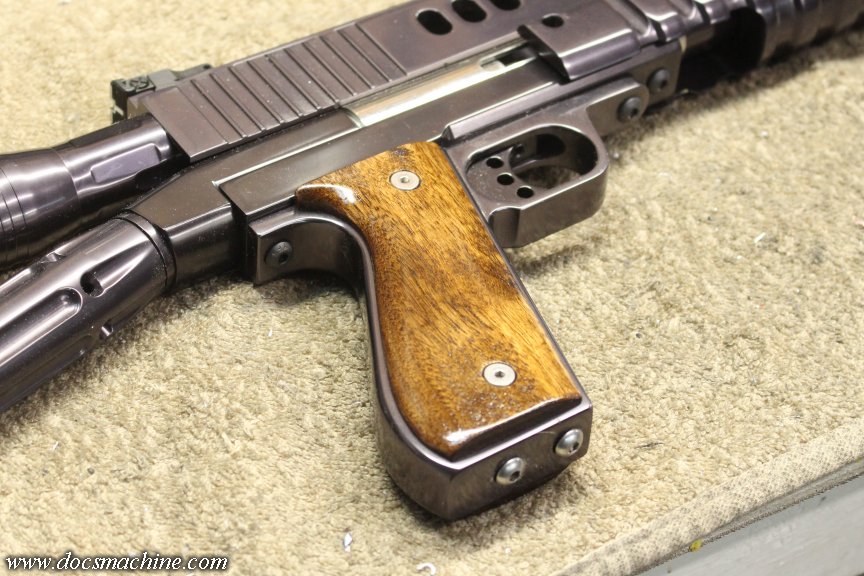
    And finally cleared, cured, sanded and cleared again:


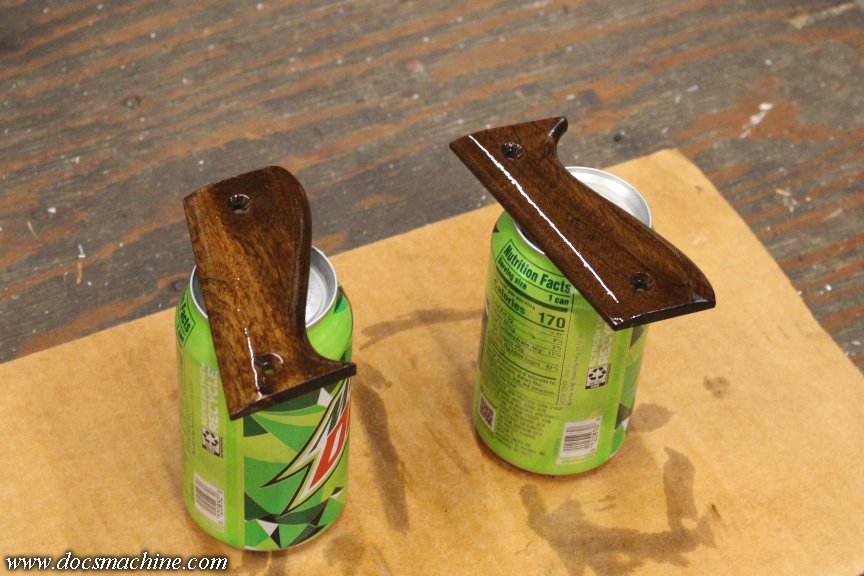
    And once fully dry, Voilá!


    Now if I can just get off my duff and get the anno batch done. (That's this coming weeks' task. )

    Doc.​
    Doc's Machine & Airsmith Services: Creating the Strange and Wonderful since 1998!
    The Whiteboard: Daily, occasionally paintball-related webcomic mayhem!
    Paintball in the Movies!

    Comment


    • Loophole

      Loophole

      commented
      Editing a comment
      Incredible work DOC ☺

    • DocsMachine

      DocsMachine

      commented
      Editing a comment
      Hoped you'd like 'em.

      Doc.

    While I still have a large number of things pending, I have unfortunately been feeling somewhat under the weather since early Monday. Something I ate, I think, though I don't know what that might have been.

    Therefore no real shop progress to speak of, though I had to make a mail-run to keep some customers happy. And in the inbound mail, I received this little gem:


    That's a relatively late-model Hardinge X/Y slide, which can turn this Rivett into a full plain-turning lathe, in addition to a turret lathe. Again, expanding the usefullness of the machine as much as possible.

    It wasn't cheap, and of course like the cross-slide, I'll have to fab new mounts to make it work on the Rivett bed, but it's in great shape (though needs a good cleaning) and works very smoothly. I picked up another one of the little 0XA quickchange toolposts a couple of weeks ago, just as I did for the little speed lathe, and will make a similar mount for it.

    Hopefully I can tinker with it later this week.

    Doc.​
    Doc's Machine & Airsmith Services: Creating the Strange and Wonderful since 1998!
    The Whiteboard: Daily, occasionally paintball-related webcomic mayhem!
    Paintball in the Movies!

    Comment


      After a week of semi-forced inactivity- hey, the bottle said "do not operate heavy machinery" - I've finally been able to get back to doing a little work.

      One thing I needed off the table is this splash guard- I'd cut the metal for the clamping tabs before I fell ill, so I was able to slap them into the mill, whittle a little here and there, and come up with three of these:


      These, as per usual routine, got degreased and painted....


      And once dried, the whole guard attaches to the lip of the drip tray like so:


      As you can see, it's placed to help keep the oil dripping down off the tooling, from splashing on my legs.


      I still need to get some longer bolts for the chuck shroud, but other than that, they're done. Looking forward to getting some of this other stuff off the tables, so I can tool this badboy up and give them both a proper workout.

      Doc.​
      Doc's Machine & Airsmith Services: Creating the Strange and Wonderful since 1998!
      The Whiteboard: Daily, occasionally paintball-related webcomic mayhem!
      Paintball in the Movies!

      Comment


        Getting back to the Rivett, too, after a week of enforced hiatus, one of the last things I need to do, now, is to mount that aforementioned X/Y slide.

        I found a couple pieces of 1-1/8" square stock that looked like they'd work, and bandsawed a couple chunks to fit.


        Same game as the single slide, the angles are a bit wonky- 55 degrees at the top, and 45 at the bottom. So I was forced to tilt and retram the mill head a couple times. First the upper cut...


        The flat/clearance cut...


        A quick relief over in the other mill...


        And then after the last 45 degree cut, which allowed a little sneaking up" to the fit, said fit is damn near perfect:


        The rear block was easily drilled to accept the two original screw holes, but the spacing for the front one, as you can see, isn't going to work.


        That was about all I had the horsepower for, today, so after I've had a chance to pick up some more bolts and screws in the morning, I'll lay out, drill and tap a new set.

        Doc.​
        Doc's Machine & Airsmith Services: Creating the Strange and Wonderful since 1998!
        The Whiteboard: Daily, occasionally paintball-related webcomic mayhem!
        Paintball in the Movies!

        Comment


        • Loophole

          Loophole

          commented
          Editing a comment
          Glad you are feeling better! I imagine cough syrup and heavy machinery doesn't mix well? 😂

        • DocsMachine

          DocsMachine

          commented
          Editing a comment
          Depends on how many of those superfluous fingers you're willing to let go.

          Doc.

        Had a fairly productive day, though I wound up doing about three different things more or less at the same time, and so kept forgetting to take pictures. Here's what I got:

        The 'front' bar, of course, got drilled and counterbored for the aformentioned mounting bolts, and the base casting of the slide drilled and tapped to match. After that, I marked the edges of the bars, and milled them to match the width of the casting.


        Still test-fitting the front block, but they both match up nicely.


        Now, I needed some way to have the whole assembly "clamp" to the bed. After some pondering, I decided to put some screws through the back block- so the front dial of the slides didn't get in the way of the wrench. So I spaced, drilled and tapped two 3/8"-24 holes...


        Turned a couple sections of 12L14* to match...


        (*Some rod salvaged out of an old printer. )

        And then very carefully milled the ends of the two short "slugs" to match the bed profile.


        Like so:


        The two screws, of course, push those inward, locking to the bed rail. It's quite secure- actually more secure, in my opinion, than the original Hardinge method. And, keeping in mind that this is not a "heavy hogging" machine- it's intended for fine, precise work.

        Anyway, even though the front block still needs some detail work, I wanted to finally clean up and reassemble the slide. I spent some time, therefore, with solvent, Scotchbrite, stones and a file, cleaning up the nicks and dings, tarnish and dried-on coolant residues.


        And slowly reassembling it all with fresh lube and grease.


        ... And done!


        Fully cleaned, deburred, lubed and reassembled. I'll probably still need to tweak the gib adjustments once I start using it, but that's to be expected.

        The next step is to mount the little 0XA toolpost- and then I can actually, finally, make some chips!

        Doc.​
        Doc's Machine & Airsmith Services: Creating the Strange and Wonderful since 1998!
        The Whiteboard: Daily, occasionally paintball-related webcomic mayhem!
        Paintball in the Movies!

        Comment


          I know we're on the home stretch, as it were, but I still have a lot of other things on my plates these days.

          But, spoiler alert! First Chips!

          Ahem... As mentioned earlier, I had intended to mount an 0XA toolpost to the newly-installed cross slides.

          (For the non-machinists reading this, these are a dovetailed toolholder, that take matching blocks which hold the actual cutting tool. The design makes it easy and quick to swap cutters, to closely adjust the tip height of a tool, etc. The 0XA posts are a size smaller than the older 'smallest size', the AXA- which have on both the Sheldon and the Logan. The 0XA is intended for even smaller lathes, like the popular Asian-import desktop machines.)

          I had already fitted one to the little Hardinge speed lathe, and it's worked quite well so far. The trick I wanted to do here is to mount the Rivett's toolpost at the same relative height, so the tool blocks can be swapped between the two, without having to readjust each time. They're barely two paces apart from each other in the shop (basically face to face) and I already have most of a dozen blocks for the Hardinge.

          So, I turned a point on a scrap of aluminum rod, chucked it up in the Hardinge, and double-checked the tool height of one of the blocks. It was basically spot-on.


          Note the thin block spacer under the toolpost. That was to raise up the post, so that the tool block was about in the middle of its adjustment range. So that, depending on what tool one mounts in the block, it can still be raised or lowered to bring the cutting tip back to centered.

          I moved the whole post, including that spacer, over to the Rivett to see how far we were off:


          Not bad. After a little measuring, it turns out we needed a spacer just a frog-hair under 1/2". Using a 0.5000" spacer block, you can see the tool tip is just a smidge high.


          'Smidge" is, of course a highly technical term. Only us long-time machinists know that one. It's of course bigger than a Barn and smaller than a Smoot.

          So, I found a chunk of 1/2" plate, and another in 3/8", and bandsawed off 'bout that much.


          The 3/8" piece got milled down into a T-nut...


          And of course it fitted perfectly.


          Yes, the new tool post came with a "blank" T-nut piece, but it was already drilled and tapped for the center mounting stud. And with the spacer, that was going to be quite a bit short. As I can't easily thread for a metric pitch, I drilled the new nut for a 3/8"-16 post, made from a piece of allthread.


          The blue tape is to help resist splintering. Old woodworker's trick.

          After that was fitted, I squared up the 1/2" block...


          Clearance drilled it for the mounting stud, and then cleaned up one side on the surface grinder.


          I had hoped that there was enough meat to be able to grind both sides, but once I got one side flat- it was an edge piece when originally rolled, and so was .005" to .006" high- it turned out that was pretty much the exactly correct dimension:


          With the center stud cut and faced to length, and a spare flange nut from the bins (the one that came with it was of course metric) the whole mess installs like so:


          I may still put a screw in between the spacer and the T-nut, to keep things aligned, and keep everything in place if/when I have to loosen and rotate the toolpost itself, but lo and behold, ladies and gentlemen. It's finally complete enough to actually use!


          This thing ate up far too much of my summer, and altogether too much of my already rather limited capital. But, apart from some tweaking of the turret, and picking up some suitable turret tooling, she's finally usable!

          (Can't say "done" yet- I still want a splash guard and tool storage, I'm probably still going to swap the wood collet tray with a thicker and higher-capacity one, etc. )

          Doc.​
          Doc's Machine & Airsmith Services: Creating the Strange and Wonderful since 1998!
          The Whiteboard: Daily, occasionally paintball-related webcomic mayhem!
          Paintball in the Movies!

          Comment


            I'm trying rather hard not to open this post with a string of invectives that could defoliate cats out to eighty paces.

            I had 'rebuilt' the turret assembly at least a month ago, but it wasn't quite working right. I set it aside to give it a closer look later, while I finished up some other things. Since we're finally down to not much else besides minor-detail work on this machine, and since I finally got in some ER holders and collets to fit this turret, it was about time to see if I could figure out what I'd done wrong.

            And somehow, this is what I'd done wrong:


            I'm honestly not sure when it happened, or, for that matter, exactly how I managed to do it. I suspect it was one of the times I as installing the unlock assembly from underneath- the smaller rectangular object at the right, that sticks up from underneath. Maybe wasn't quite seated in the slot when I tightened it down, I dunno.

            The bar is the locking bolt for the turret. It's what holds the turret solidly in place after indexing, and without it, the turret is basically unusable. The part is, of course, also utterly irreplaceable. Rivett was closed out and scrapped back in the 70s, and this Model 60 is a comparatively rare model, made in limited numbers towards the end.

            The only way to replace it, would have been to buy another complete Series 60- and they're less common than truth from a politician- and rob the turret off of it.

            Or make one.

            Many expletives were spoken. The nature of such expletives and the vehemence in which they were uttered, stripped some of the paint off my foundation, frosted all the glass within twenty yards, and earned me a posthumous letter from George Carlin saying "hey, tone it down a little, wouldya?"

            Lacking a nearby pier to heave it from, I set it aside for a bit, until the seething rage of a thousand suns faded down to just twenty or thirty. It has now become time once again, as per long established protocol, to to a great deal of work to fix yet another one of my f**k-ups.

            The part is fairly simple. It's a rectangular bar, with a notch for the locking lug, and a post on the end as a return spring guide. The biggest trick is that it's very hard- both for where the bolt nose locks into the turret, and also the tight-fitting side rollers that let it move forward and back, but not side-to-side.


            So, I dug through my supplies, and found a chunk of O1 'drill rod'. O1 is oil-hardening high-carbon steel, which should give me a a nice hard part once it's... well, hardened, but it's also fairly forgiving in heat-treat. (Low chance of cracking, minimal warping, etc.)


            I also have some D2, which is a bit more high performance in a tool steel, but it's also trickier to heat treat properly (I'd have to send it to a pro) and tougher to surface grind to final size. I'll save that for if this one doesn't work out.

            After cutting a piece to length, I turned the spring-spud on one end...


            And proceeded to mill the rest down into a flat bar.


            With a little care, I got it down to size- plus about 0.010" per side, or so.


            (That's the four-hundredth photo in this series, by the way. )

            The extra material is so that, if it does warp a little from the heat-treating, or the surface carburizes from the heat, I can grind it back to shape and size. The finished surface has to be ground smooth anyway, and to very precise specs- there's basically no slop in those rollers- so the final step in any case will be a trip through the surface grinder.

            After that, I milled the notch for the locking lug...


            Milled it to length...


            And drilled it for the two travel-limiting pins.


            Shape wise, the only thing left to do is contour the nose to fit into the turret locking recesses, but I'll do that by hand, after the rest is ground to size.


            Now, the prep for the heat-treating. I'd ordered some 2-mil stainless steel heat-treating bags- specifically for this task- so I've got it set up in one of them, along with a piece of cardboard. The cardboard is a common knifemaker's trick- supposedly the cardboard burns, and uses up most of the oxygen in the bag, helping keep the surface of the part cleaner.


            The bag is crimped shut and ready to toss in the forge.


            It was raining this afternoon, plus I wanted some help- a "fire watch" of sorts - so hopefully we can heat-treat it tomorrow, and if successful, move on to fitting it.

            Doc.​
            Doc's Machine & Airsmith Services: Creating the Strange and Wonderful since 1998!
            The Whiteboard: Daily, occasionally paintball-related webcomic mayhem!
            Paintball in the Movies!

            Comment

            Working...
            X