Buttonz!
Finally got some parts in to get a couple of small tasks done. And it all started with a bag o' buttonz!

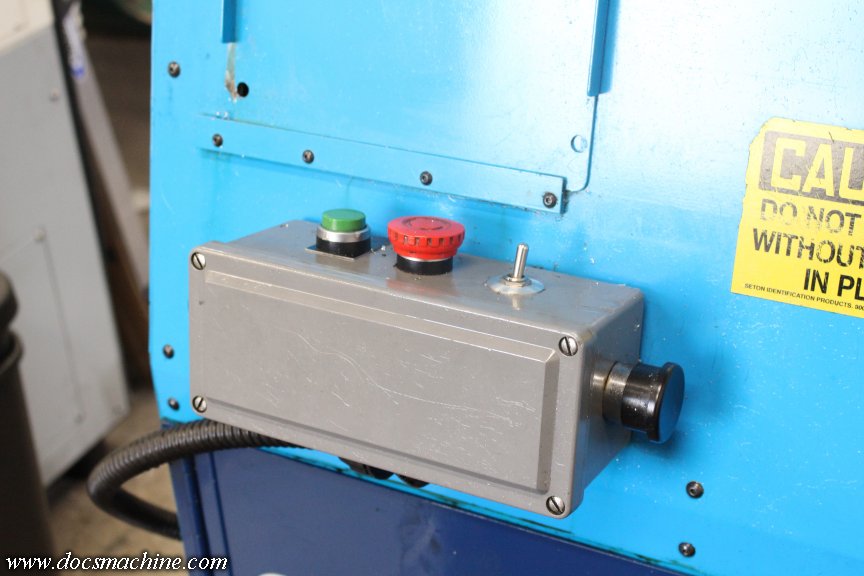
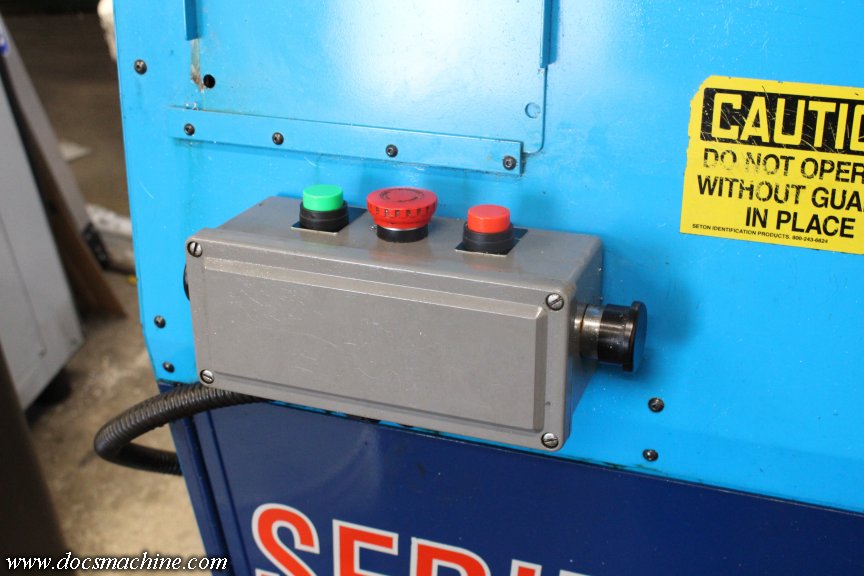
The first project was to finally replace the failing collet open and close buttons on the Omniturn. Longtime readers may recall the "close" button failed entirely on me a year or so ago, and I band-aided that with a momentary lever switch. That's been working fine ever since, but it's not really oil or water proof (and I flick it with a chronically oily glove when using the machine) and the "open" button was known to be in similarly poor shape.
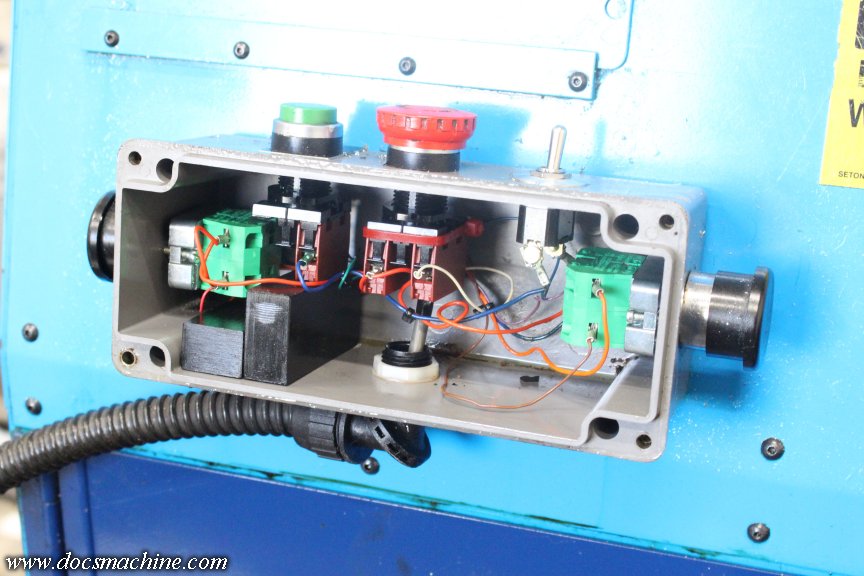
So, I cracked open the control pod...
And got ready for the swap. Note how there's a couple of plastic blocks supporting the left (top) button. The retainers on the switch body are cracked, so I'm guessing somebody threw that block in there to band-aid it at some point before I got the machine.
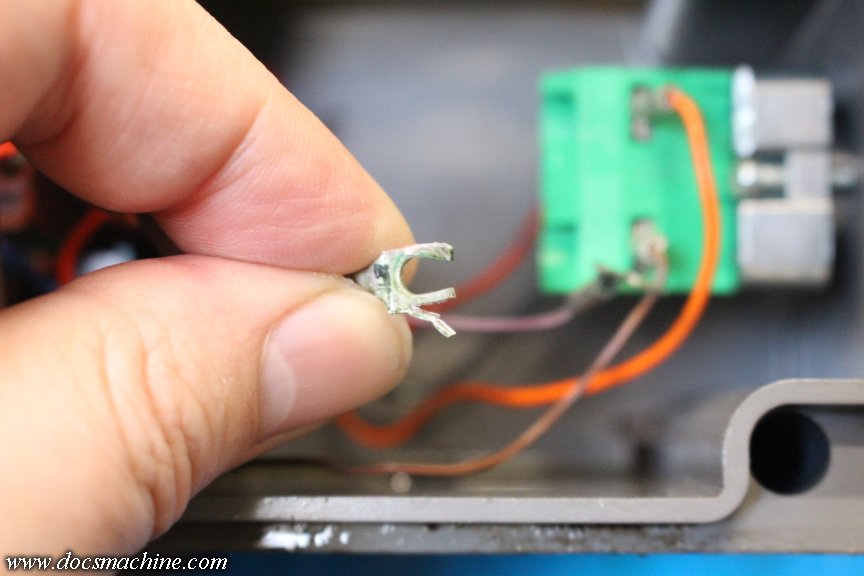
The only hiccup in this process, was the connectors crimped to the wires, were slightly too wide to fit the terminals of the new switches. I bodged that by carefully snipping a little off the outside of each fork. (They're coated soft brass.)
After a few minutes of finagling, everything was back in place.
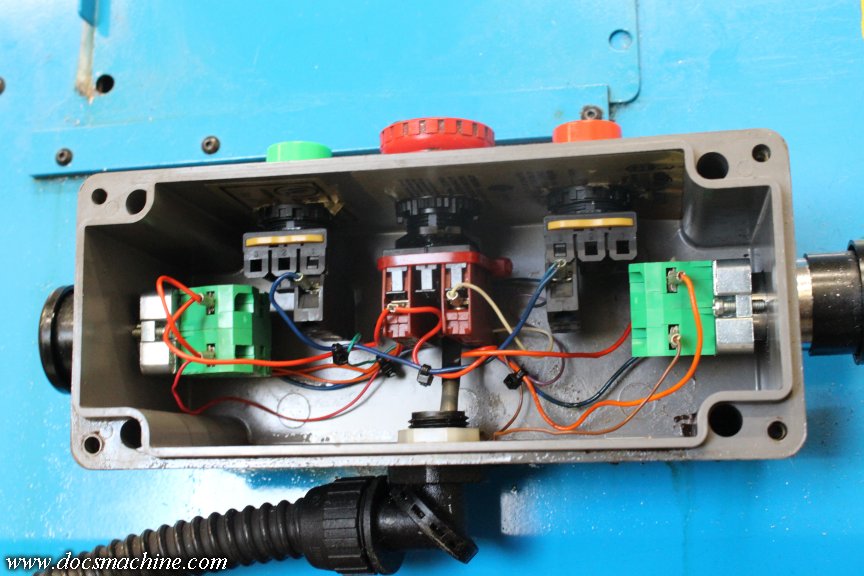
I did get a new E-stop button, too (the middle, red one) and I'll be replacing that, too- note the red zip tie holding it together, another leftover from a previous owner. I wanted to make sure the collet buttons worked, first.
And, well, buttoned back up!
Quick and easy. I've been working this thing pretty hard, and hope to get a lot more out of it shortly, so best to keep up on this kind of thing.
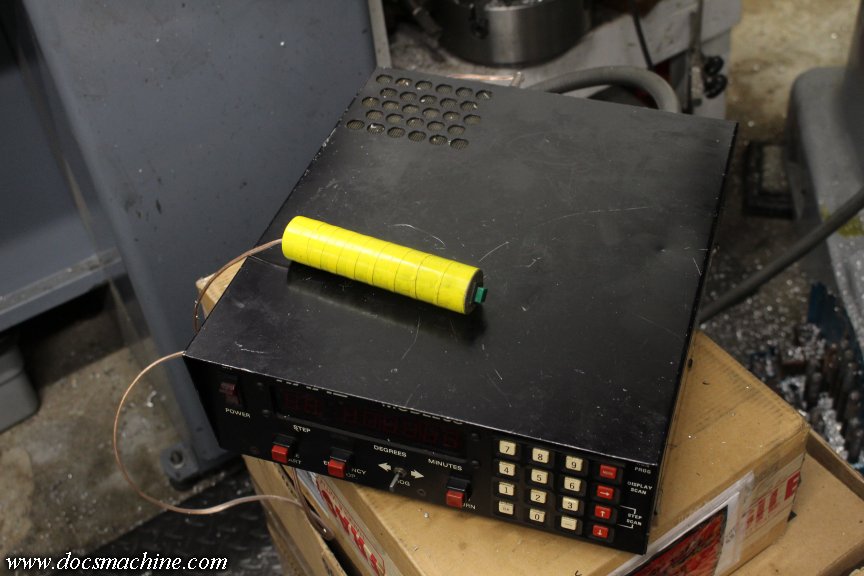
The other job was my indexer. It's an early Haas digital indexer- the product that started Haas off, at the beginning- consisting of a rotary work head, and a small programmable controller to run it. The controller can be operated by a CNC's own controller- the CNC telling it when to rotate the part- or manually, so you can run it on a Bridgeport or something.
When I first got it, I was jumping into a couple of product runs using the manual mills, so I whipped up a quick and dirty handheld pushbutton dongle thing, just to get through the job.
It did the job, and I've been using it extensively for a couple of years now, but I have more work coming up for it, and... well, it kind of offends my sensibilities.
It's just a chunk of wooden dowel, some old speaker wire, a cheap Radio Shack pushbutton, and all dolled up with some yellow electrical tape.
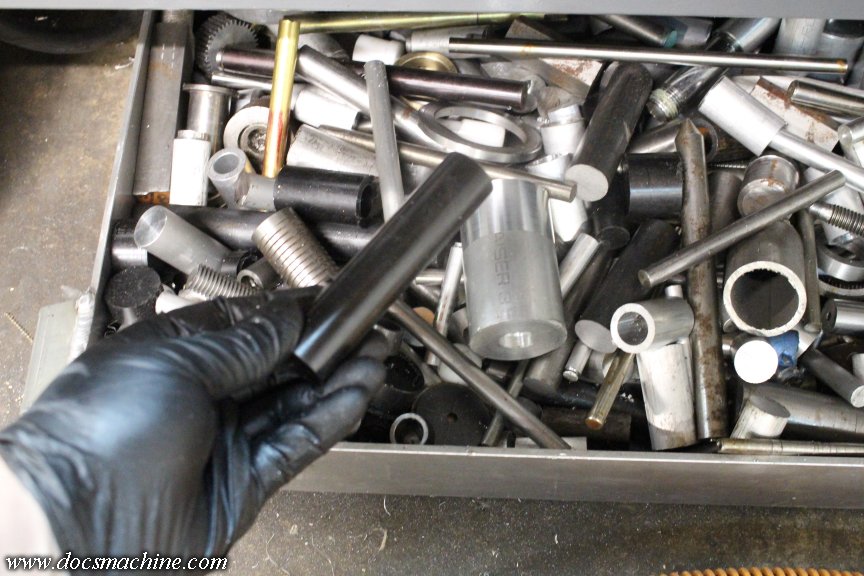
I've been thinking about it for a while, and as I've had to place orders here and there, I picked up a few extra parts. To get started, I found an ideal leftover hunk of 1" black delrin in the rolling cutoffs bin under the lathe.
That got drilled...
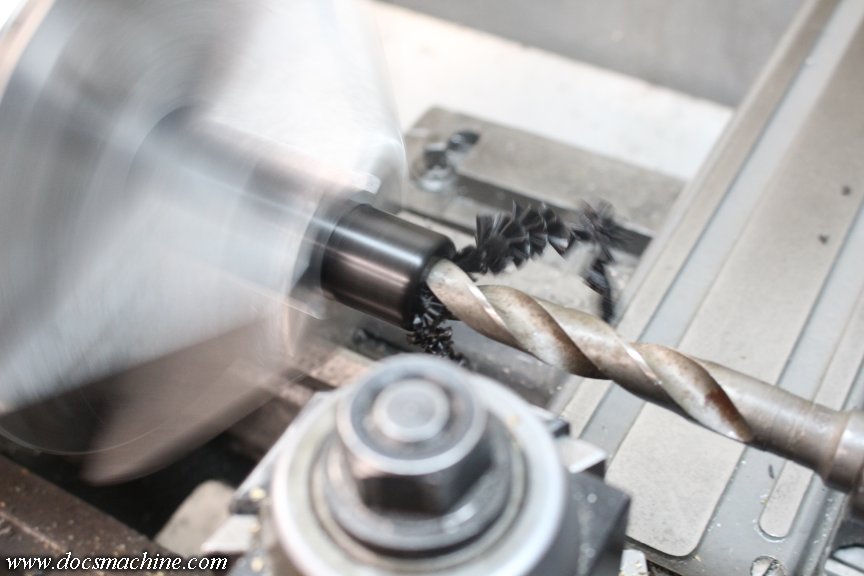
Tapped...
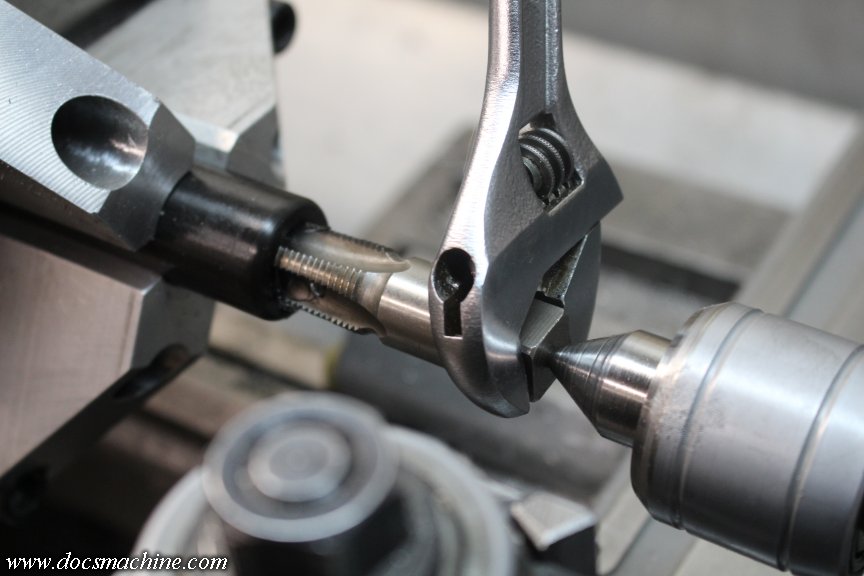
and test-fitted for a strain relief.
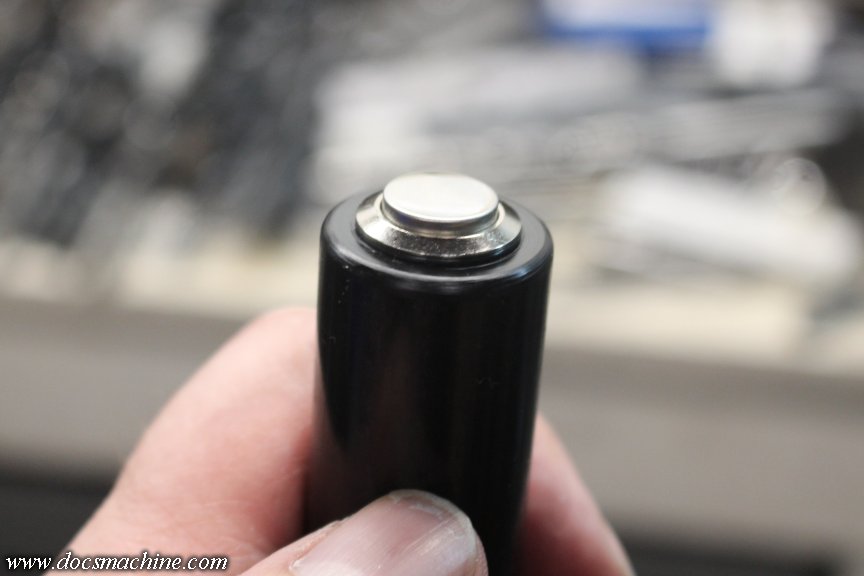
For the button, I picked up a stainless steel automotive momentary, often used for horn buttons or engine-start in custom cars. Has a nice "clicky" feel, and is supposedly waterproof.
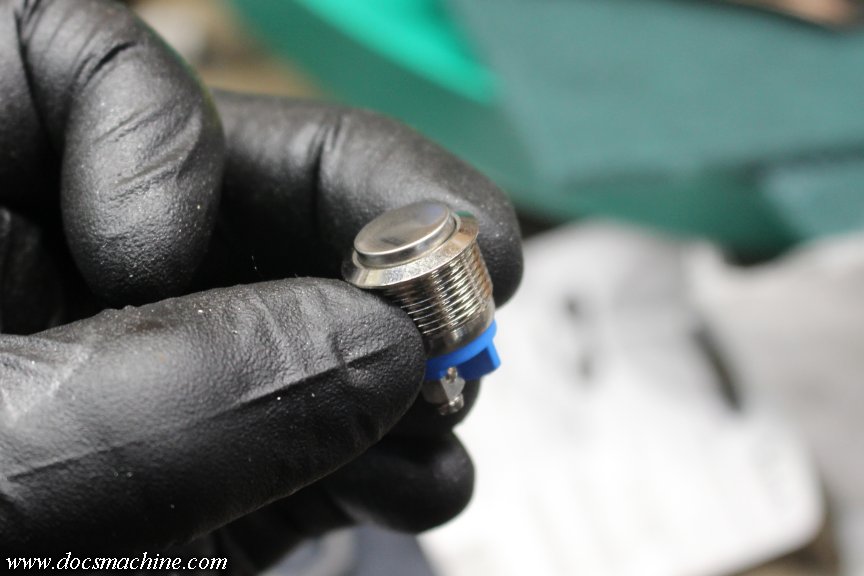
Unfortunately, it's also a metric thread, a 1.0 pitch, and I have no suitable tap to match it. I technically have metric interpolation gears for the Sheldon, or could set up either of the CNC lathes to cut it, but who has time for that?
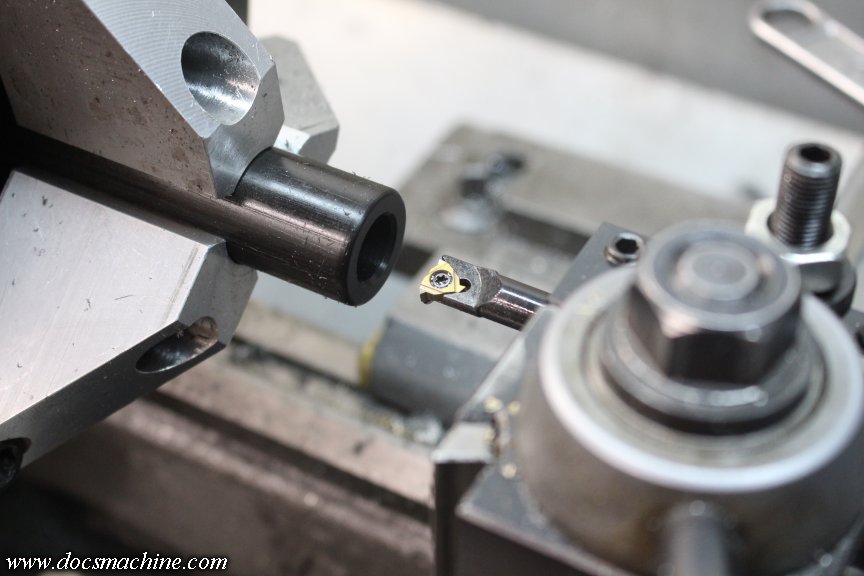
According to a pitch gauge, 1.0 is very close to a 24 TPI- so I overbored the hole slightly, and kept cutting the threads 'til the switch more or less fit.
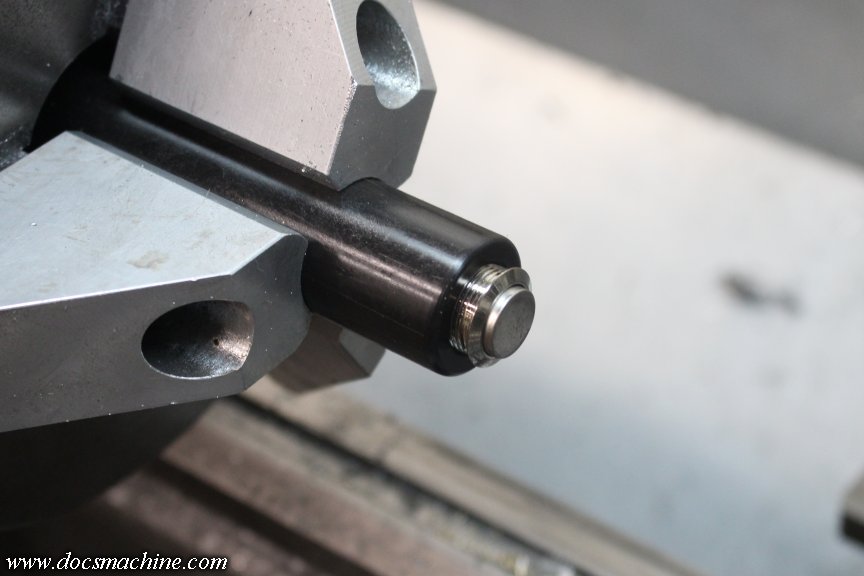
When it came time for final assembly, I connected the cord to the switch, and using a collet block with an old soft collet that by luck had been machined to about the right size, I was able to screw the switch, with it's O-ring, into the handle fairly snugly.
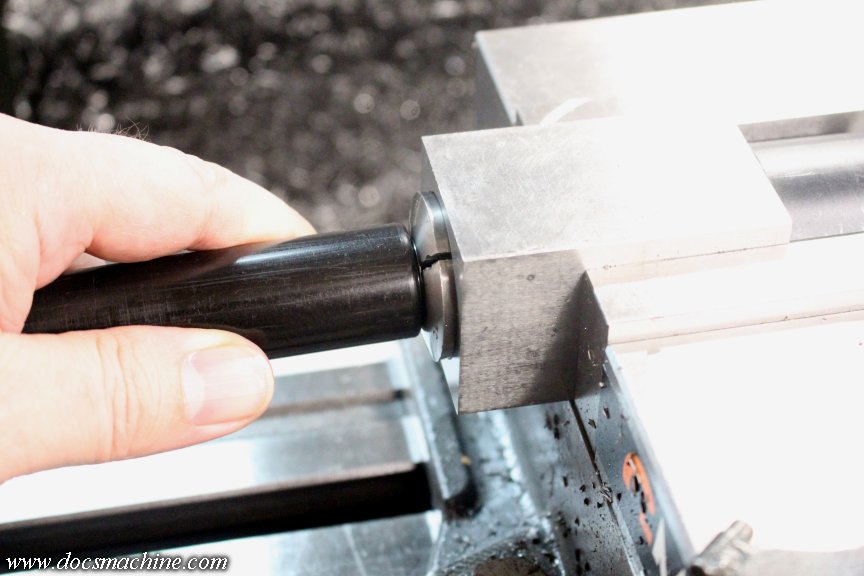
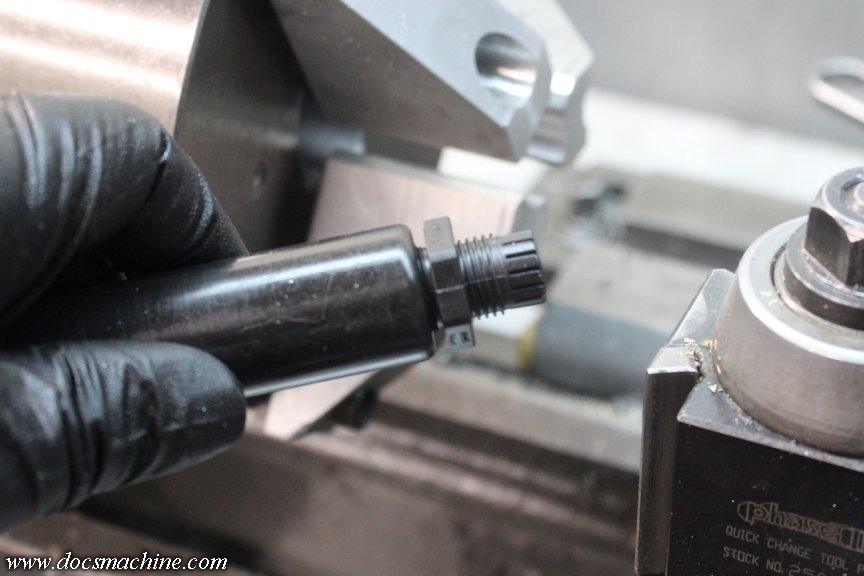
Slide on the strain relief and screw it into place...
And Voilá! One momentary-pushbutton handpiece.
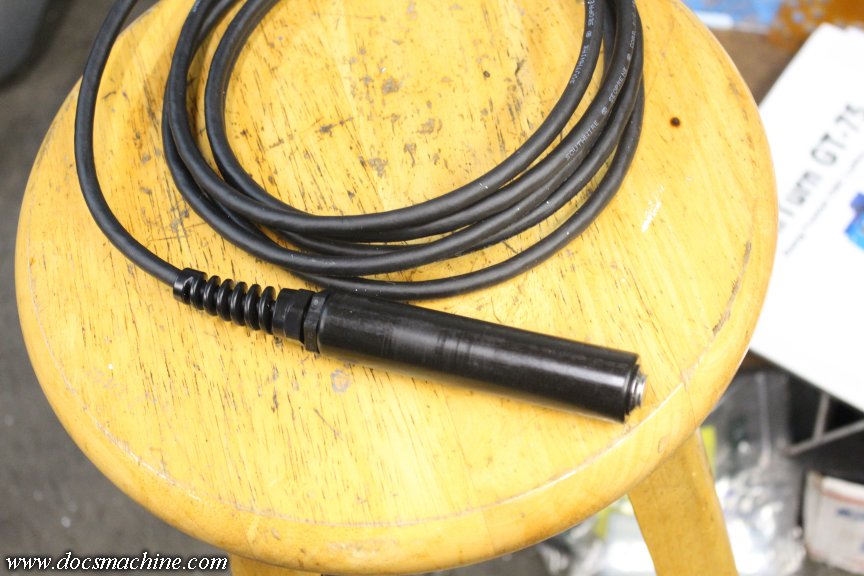
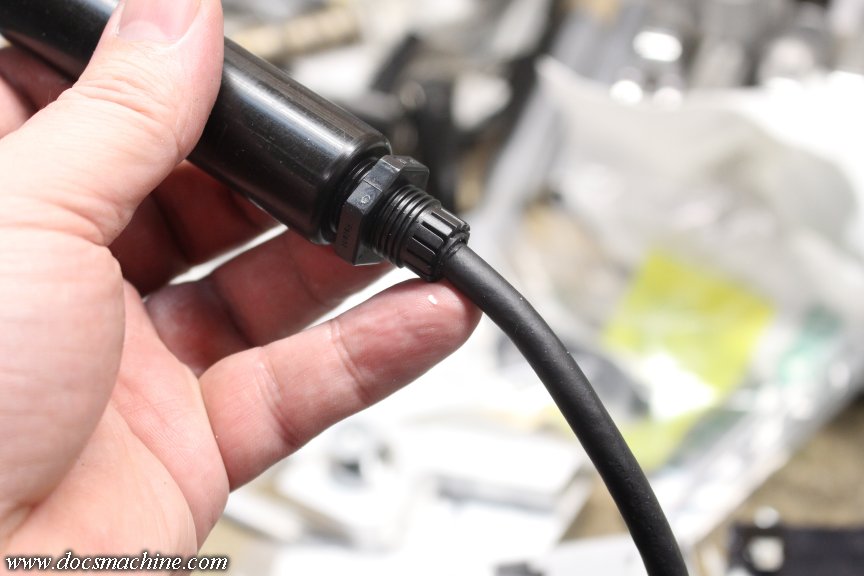
Now, I wanted a fairly heavy cable, to withstand use and abuse, but unfortunately, this won't fit in the Amphenol type connector that fits the control box. I've looked around online, and can't find one that does- they're all like the one I have, which might take a 3/16" cable (5mm or so) and the cable I have is closer to 8mm.
The closest I can find on an image search is this one, which is out of stock, and in Germany.
I ordered one, that looks like it'll work- I have no part numbers to cross reference- but if it doesn't, if anyone could dig up a supplier that has one in stock, will accept a larger cable, and maybe even gives some dimensions I can compare, I'd appreciate it.
Doc.
Finally got some parts in to get a couple of small tasks done. And it all started with a bag o' buttonz!
The first project was to finally replace the failing collet open and close buttons on the Omniturn. Longtime readers may recall the "close" button failed entirely on me a year or so ago, and I band-aided that with a momentary lever switch. That's been working fine ever since, but it's not really oil or water proof (and I flick it with a chronically oily glove when using the machine) and the "open" button was known to be in similarly poor shape.
So, I cracked open the control pod...
And got ready for the swap. Note how there's a couple of plastic blocks supporting the left (top) button. The retainers on the switch body are cracked, so I'm guessing somebody threw that block in there to band-aid it at some point before I got the machine.
The only hiccup in this process, was the connectors crimped to the wires, were slightly too wide to fit the terminals of the new switches. I bodged that by carefully snipping a little off the outside of each fork. (They're coated soft brass.)
After a few minutes of finagling, everything was back in place.
I did get a new E-stop button, too (the middle, red one) and I'll be replacing that, too- note the red zip tie holding it together, another leftover from a previous owner. I wanted to make sure the collet buttons worked, first.
And, well, buttoned back up!
Quick and easy. I've been working this thing pretty hard, and hope to get a lot more out of it shortly, so best to keep up on this kind of thing.
The other job was my indexer. It's an early Haas digital indexer- the product that started Haas off, at the beginning- consisting of a rotary work head, and a small programmable controller to run it. The controller can be operated by a CNC's own controller- the CNC telling it when to rotate the part- or manually, so you can run it on a Bridgeport or something.
When I first got it, I was jumping into a couple of product runs using the manual mills, so I whipped up a quick and dirty handheld pushbutton dongle thing, just to get through the job.
It did the job, and I've been using it extensively for a couple of years now, but I have more work coming up for it, and... well, it kind of offends my sensibilities.
It's just a chunk of wooden dowel, some old speaker wire, a cheap Radio Shack pushbutton, and all dolled up with some yellow electrical tape.
I've been thinking about it for a while, and as I've had to place orders here and there, I picked up a few extra parts. To get started, I found an ideal leftover hunk of 1" black delrin in the rolling cutoffs bin under the lathe.
That got drilled...
Tapped...
and test-fitted for a strain relief.
For the button, I picked up a stainless steel automotive momentary, often used for horn buttons or engine-start in custom cars. Has a nice "clicky" feel, and is supposedly waterproof.
Unfortunately, it's also a metric thread, a 1.0 pitch, and I have no suitable tap to match it. I technically have metric interpolation gears for the Sheldon, or could set up either of the CNC lathes to cut it, but who has time for that?
According to a pitch gauge, 1.0 is very close to a 24 TPI- so I overbored the hole slightly, and kept cutting the threads 'til the switch more or less fit.
When it came time for final assembly, I connected the cord to the switch, and using a collet block with an old soft collet that by luck had been machined to about the right size, I was able to screw the switch, with it's O-ring, into the handle fairly snugly.
Slide on the strain relief and screw it into place...
And Voilá! One momentary-pushbutton handpiece.
Now, I wanted a fairly heavy cable, to withstand use and abuse, but unfortunately, this won't fit in the Amphenol type connector that fits the control box. I've looked around online, and can't find one that does- they're all like the one I have, which might take a 3/16" cable (5mm or so) and the cable I have is closer to 8mm.
The closest I can find on an image search is this one, which is out of stock, and in Germany.
I ordered one, that looks like it'll work- I have no part numbers to cross reference- but if it doesn't, if anyone could dig up a supplier that has one in stock, will accept a larger cable, and maybe even gives some dimensions I can compare, I'd appreciate it.
Doc.
Comment