Announcement
Collapse
No announcement yet.
What did you 3D print today?
Collapse
X
-
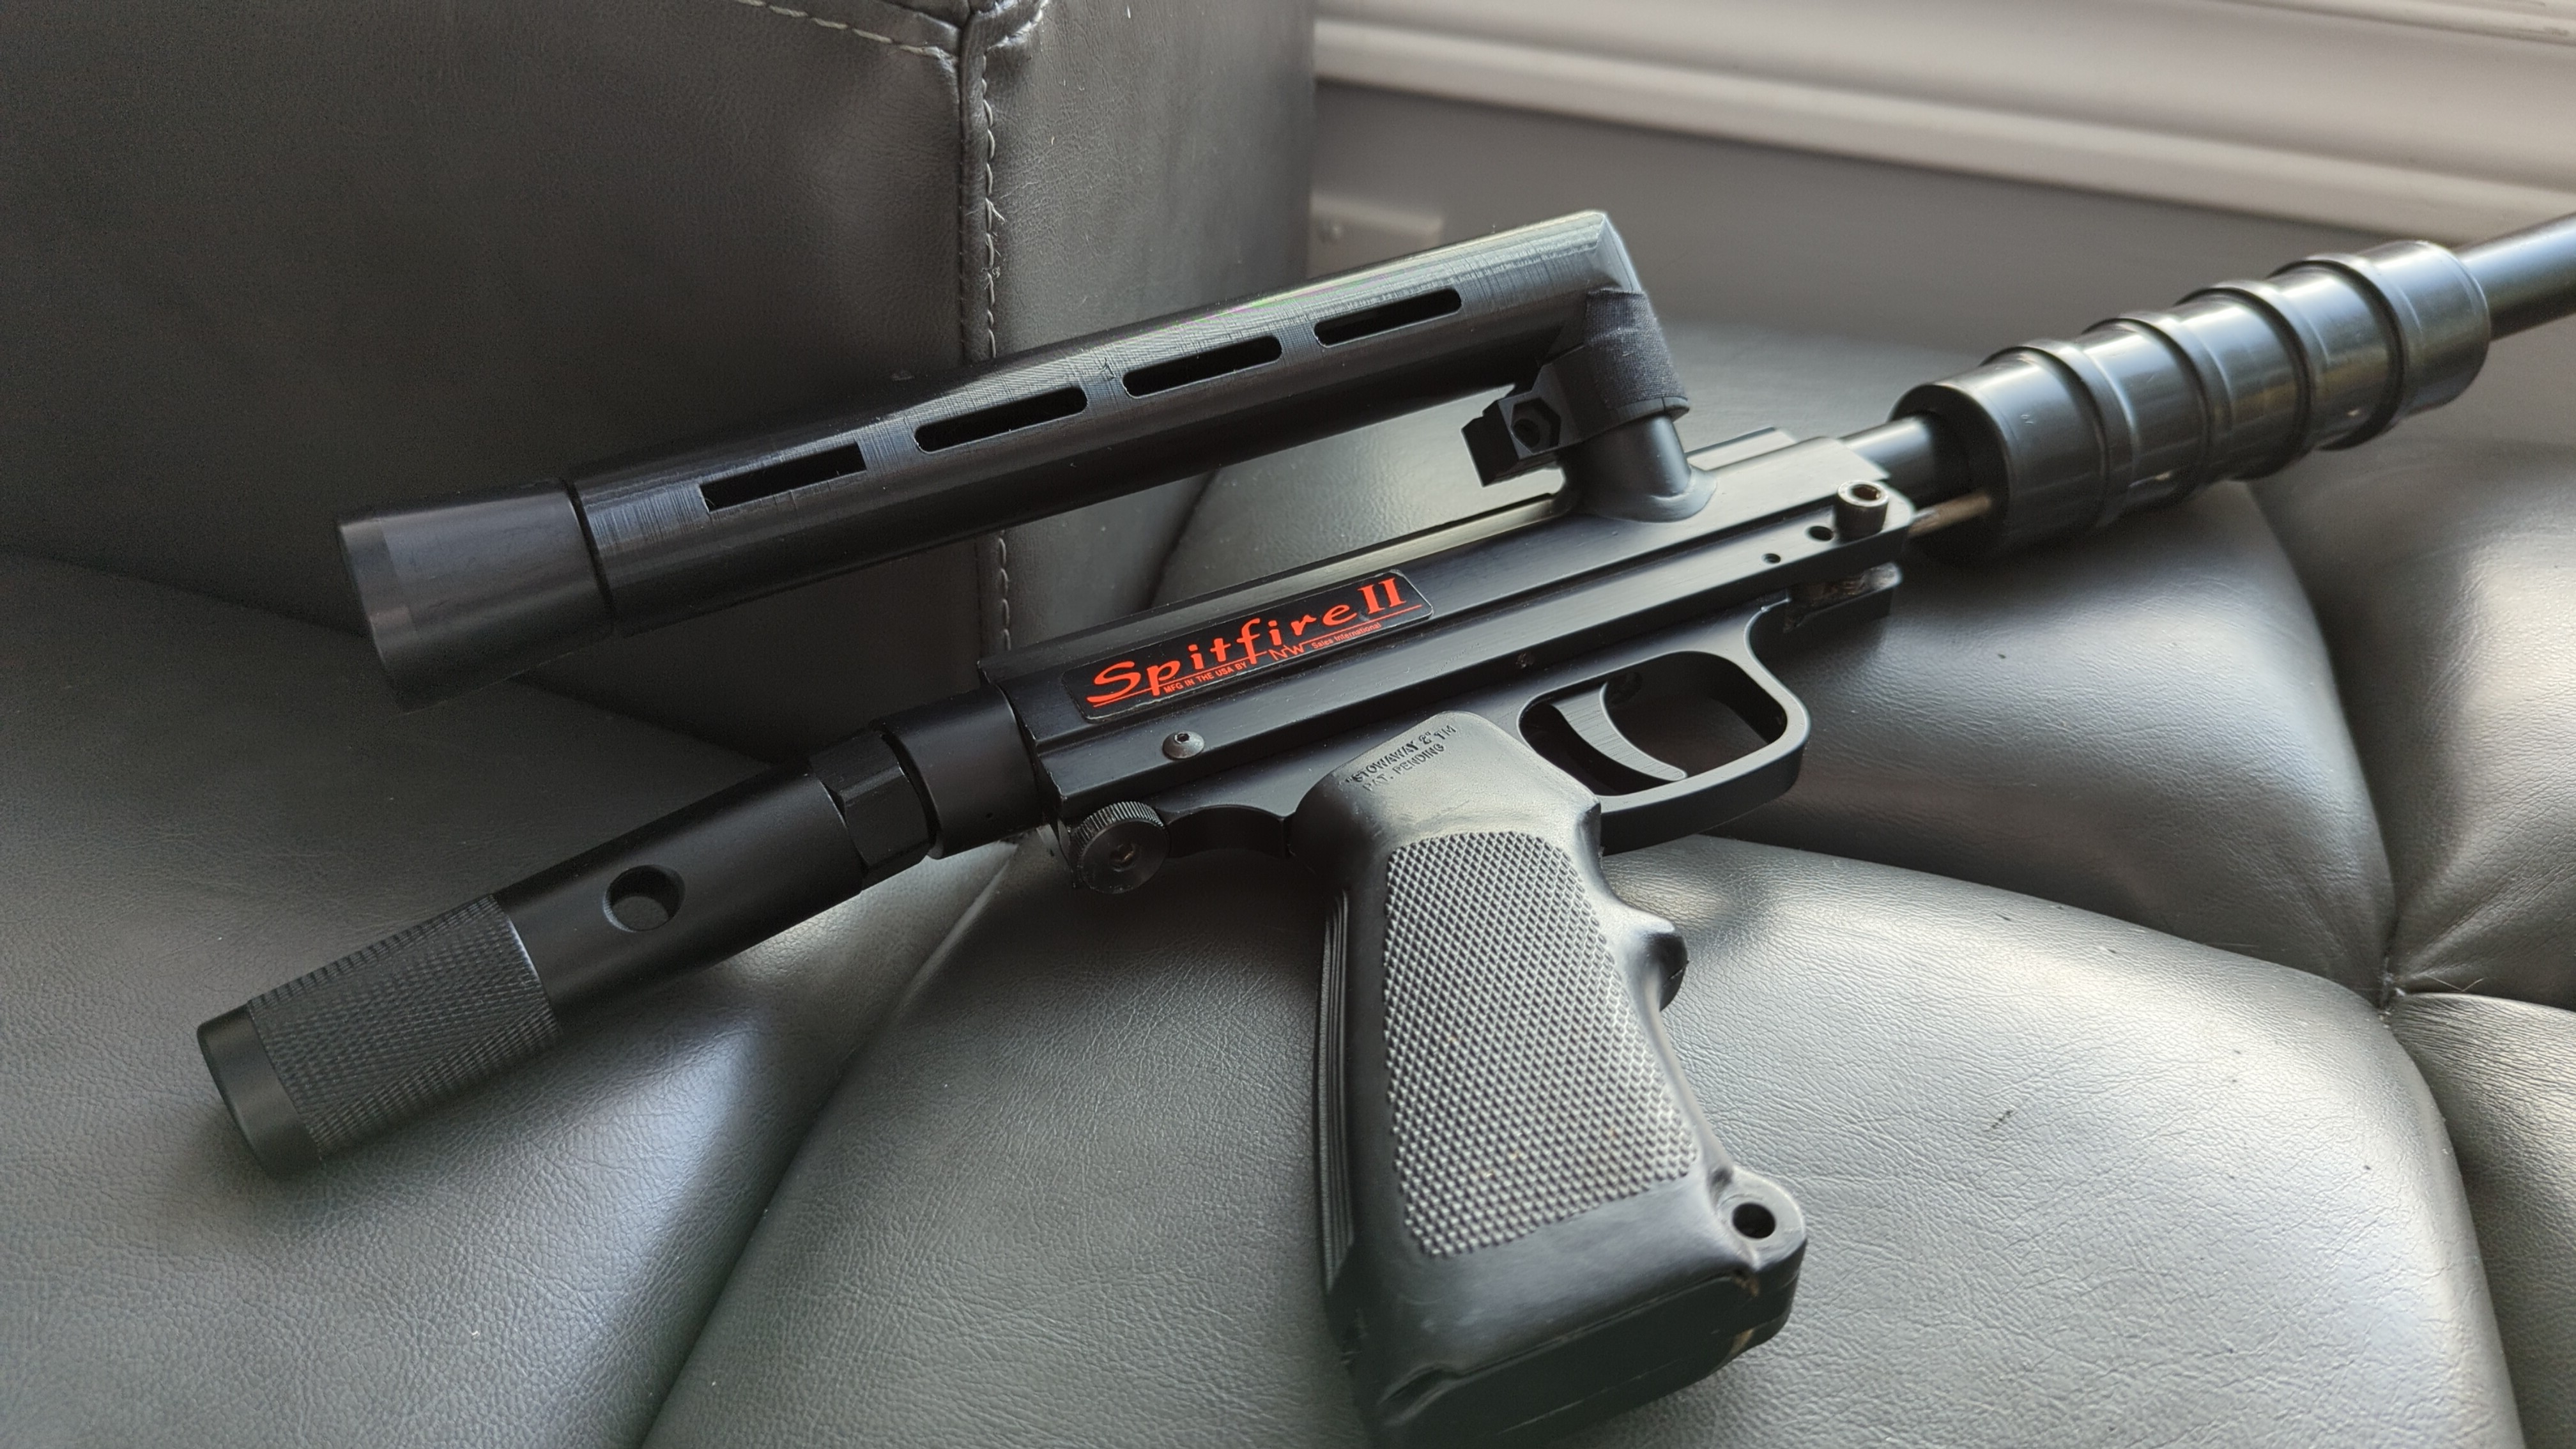
CF PETG prints so god damn nice. New pump handle and stick feed for the Spitfire.
Trying to come up with a "finger" detent for this guy. Like a cap/sleeve since there's no back stop in the body.
Printed this one horizontally, but I think I'll do a vertical print. Also gonna bring the speed down, a few imperfections I think I could avoid.
I will have to see how these fit on SL68s as well.
1 Photo
- Likes 3
Leave a comment:
-
its the spare stepper for my ender 😅
You can use any stepper you want, you just need to set it up properly in the software and calibrate it accordingly.
I need to do some tweaks to the support, but its a good proof of concept to know it works well right now.
The part not shown here is the 3D printed support i screw on the tail stock screw. Also note there is a bearing in there.
The cocker bodies might not play as nice due to the double stack tube style ... I have a few larger bodies i want to try next.
-
That just a 3d printer stepper? Nice! You got my wheels going. My buddy has a rotary and was telling me he couldn't laser a body. I saw this and we got to talking how he could maybe change his supports to do bodies. We may try something on a trilogy I got coming my way.
-
-
Much better with the raft.

Stringing is still a bit much, and there's some tweaks I need to make (like forgetting to round the last set of windows), but I will put this STL up in the next week or two.
You can see I already cracked the front. Not necessarily a reflection of it's durability, I was just being an idiot. I'm going to try it in CF-PETG tomorrow and hopefully that one is a bit more sturdy. The CF really does seem to bind the layers much better.
- Likes 9
Leave a comment:
-
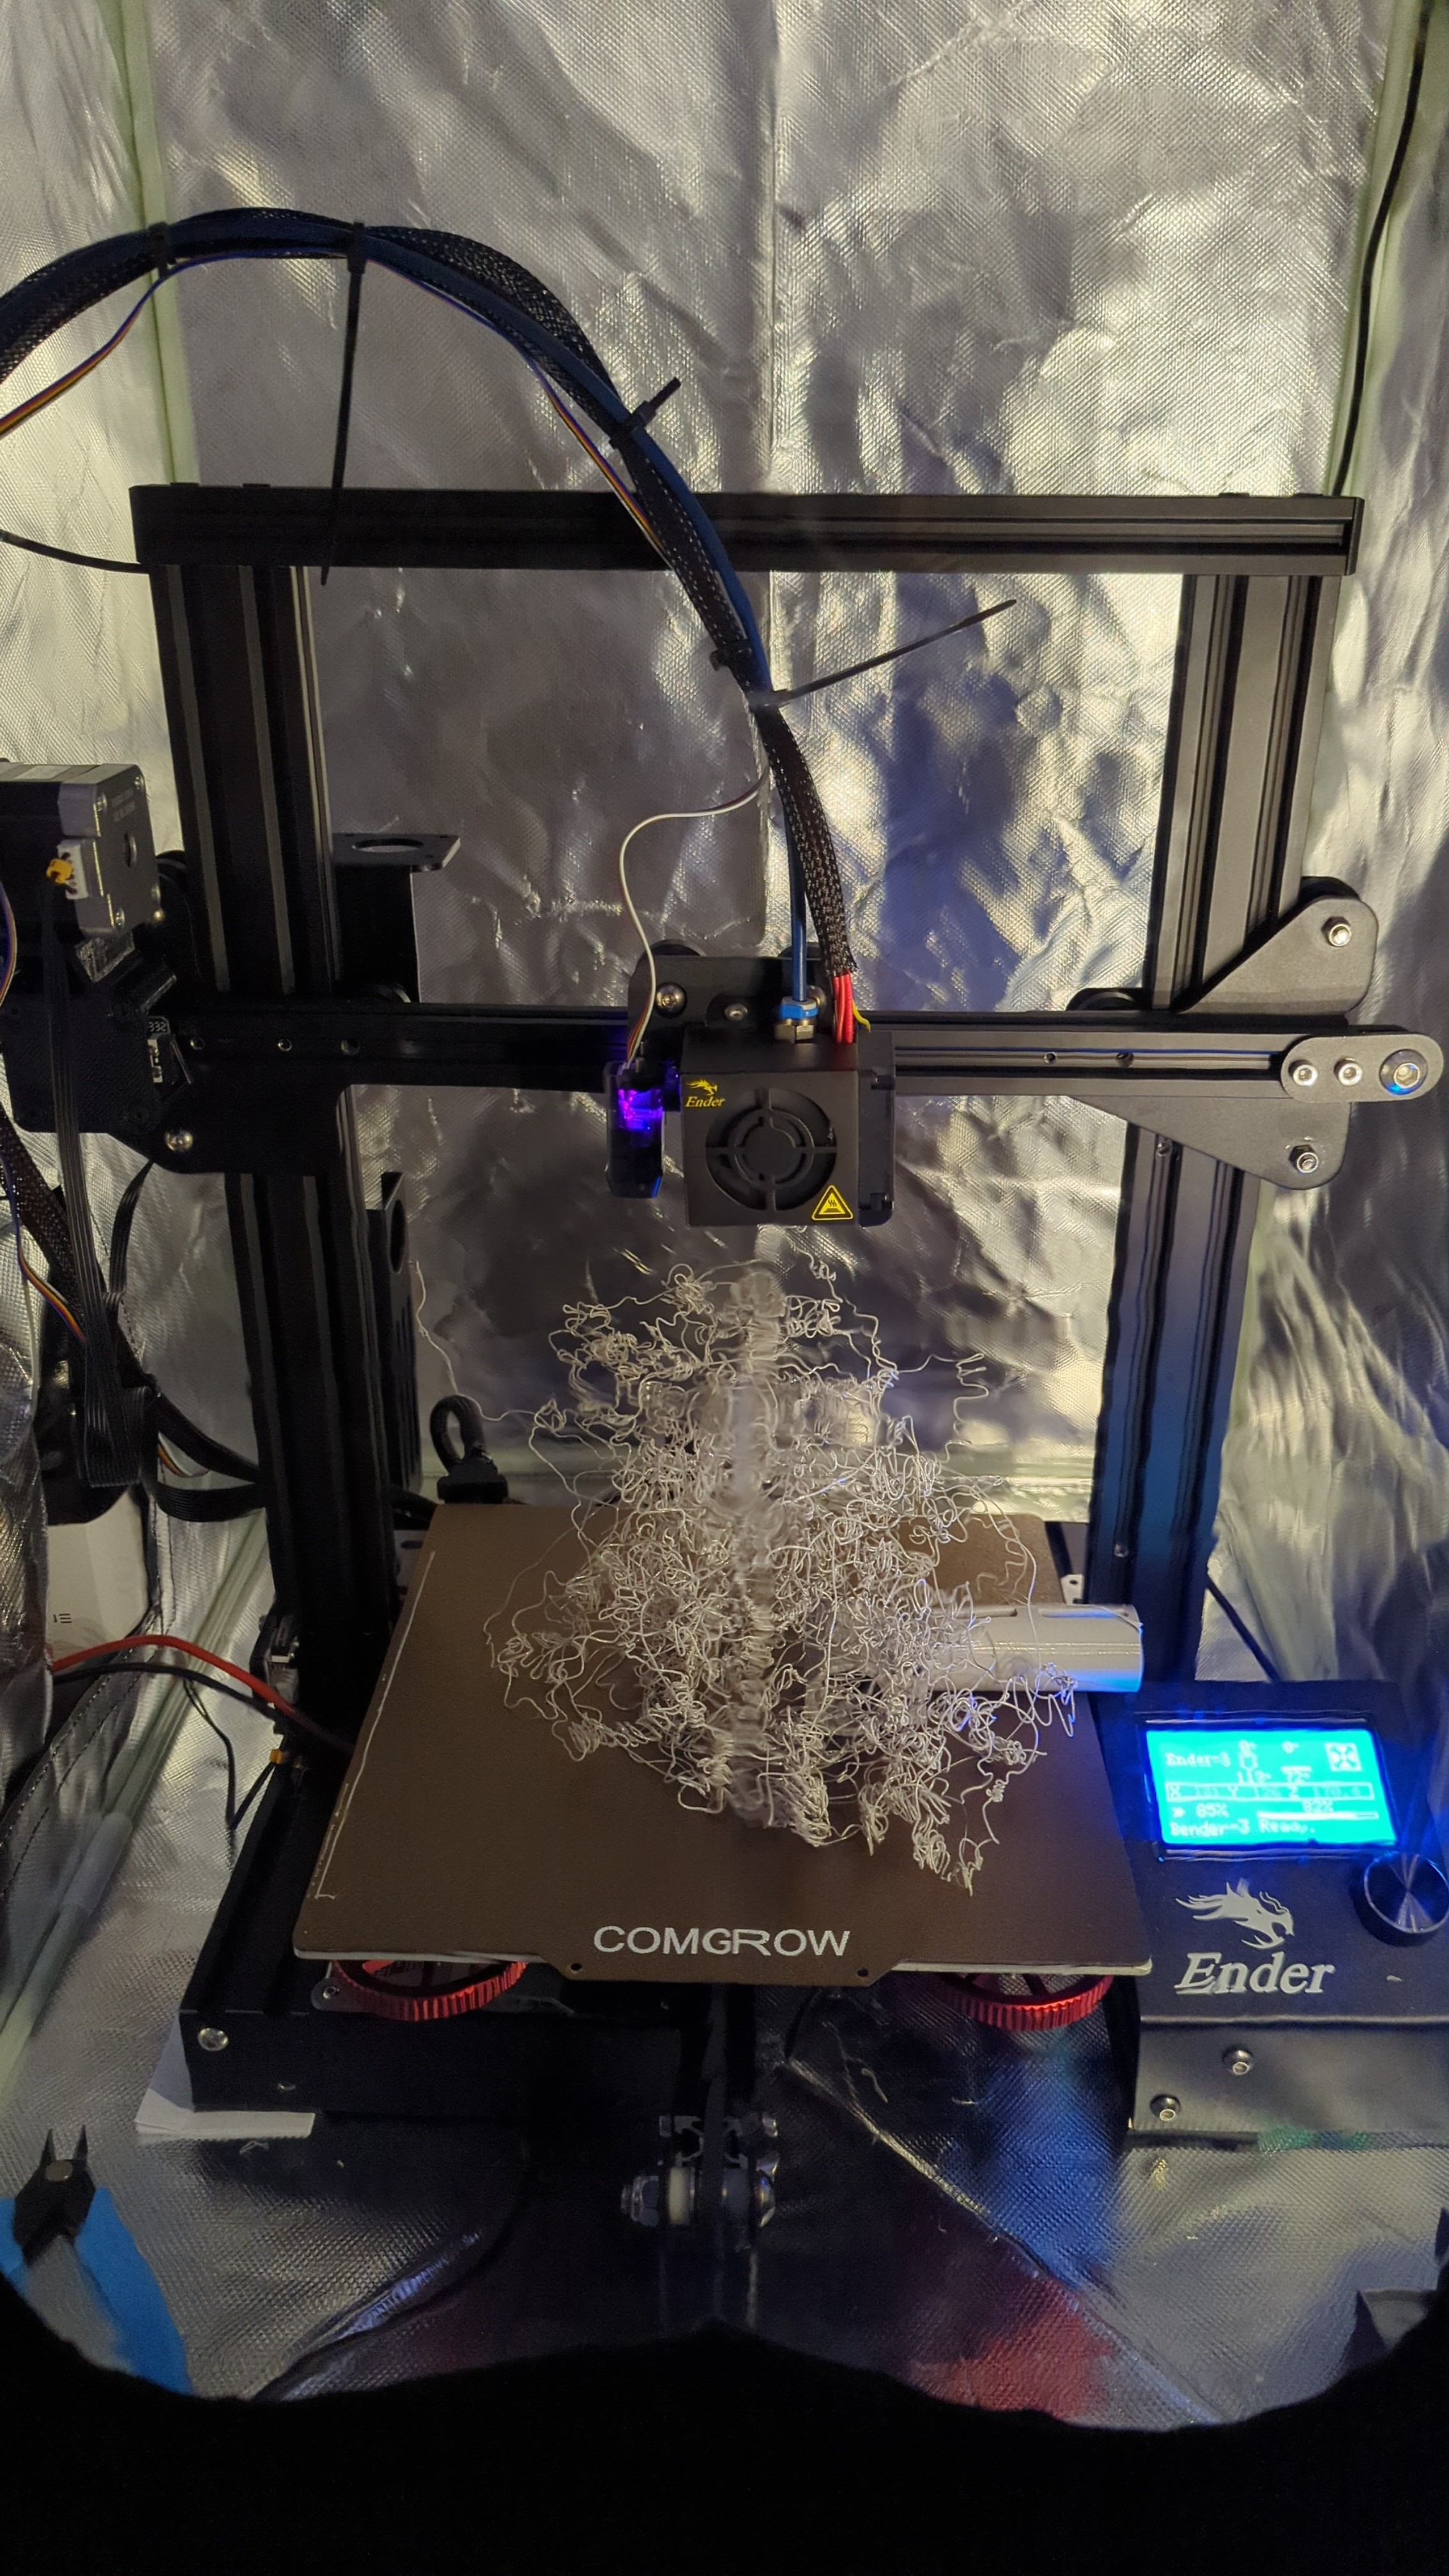
Spaghet.

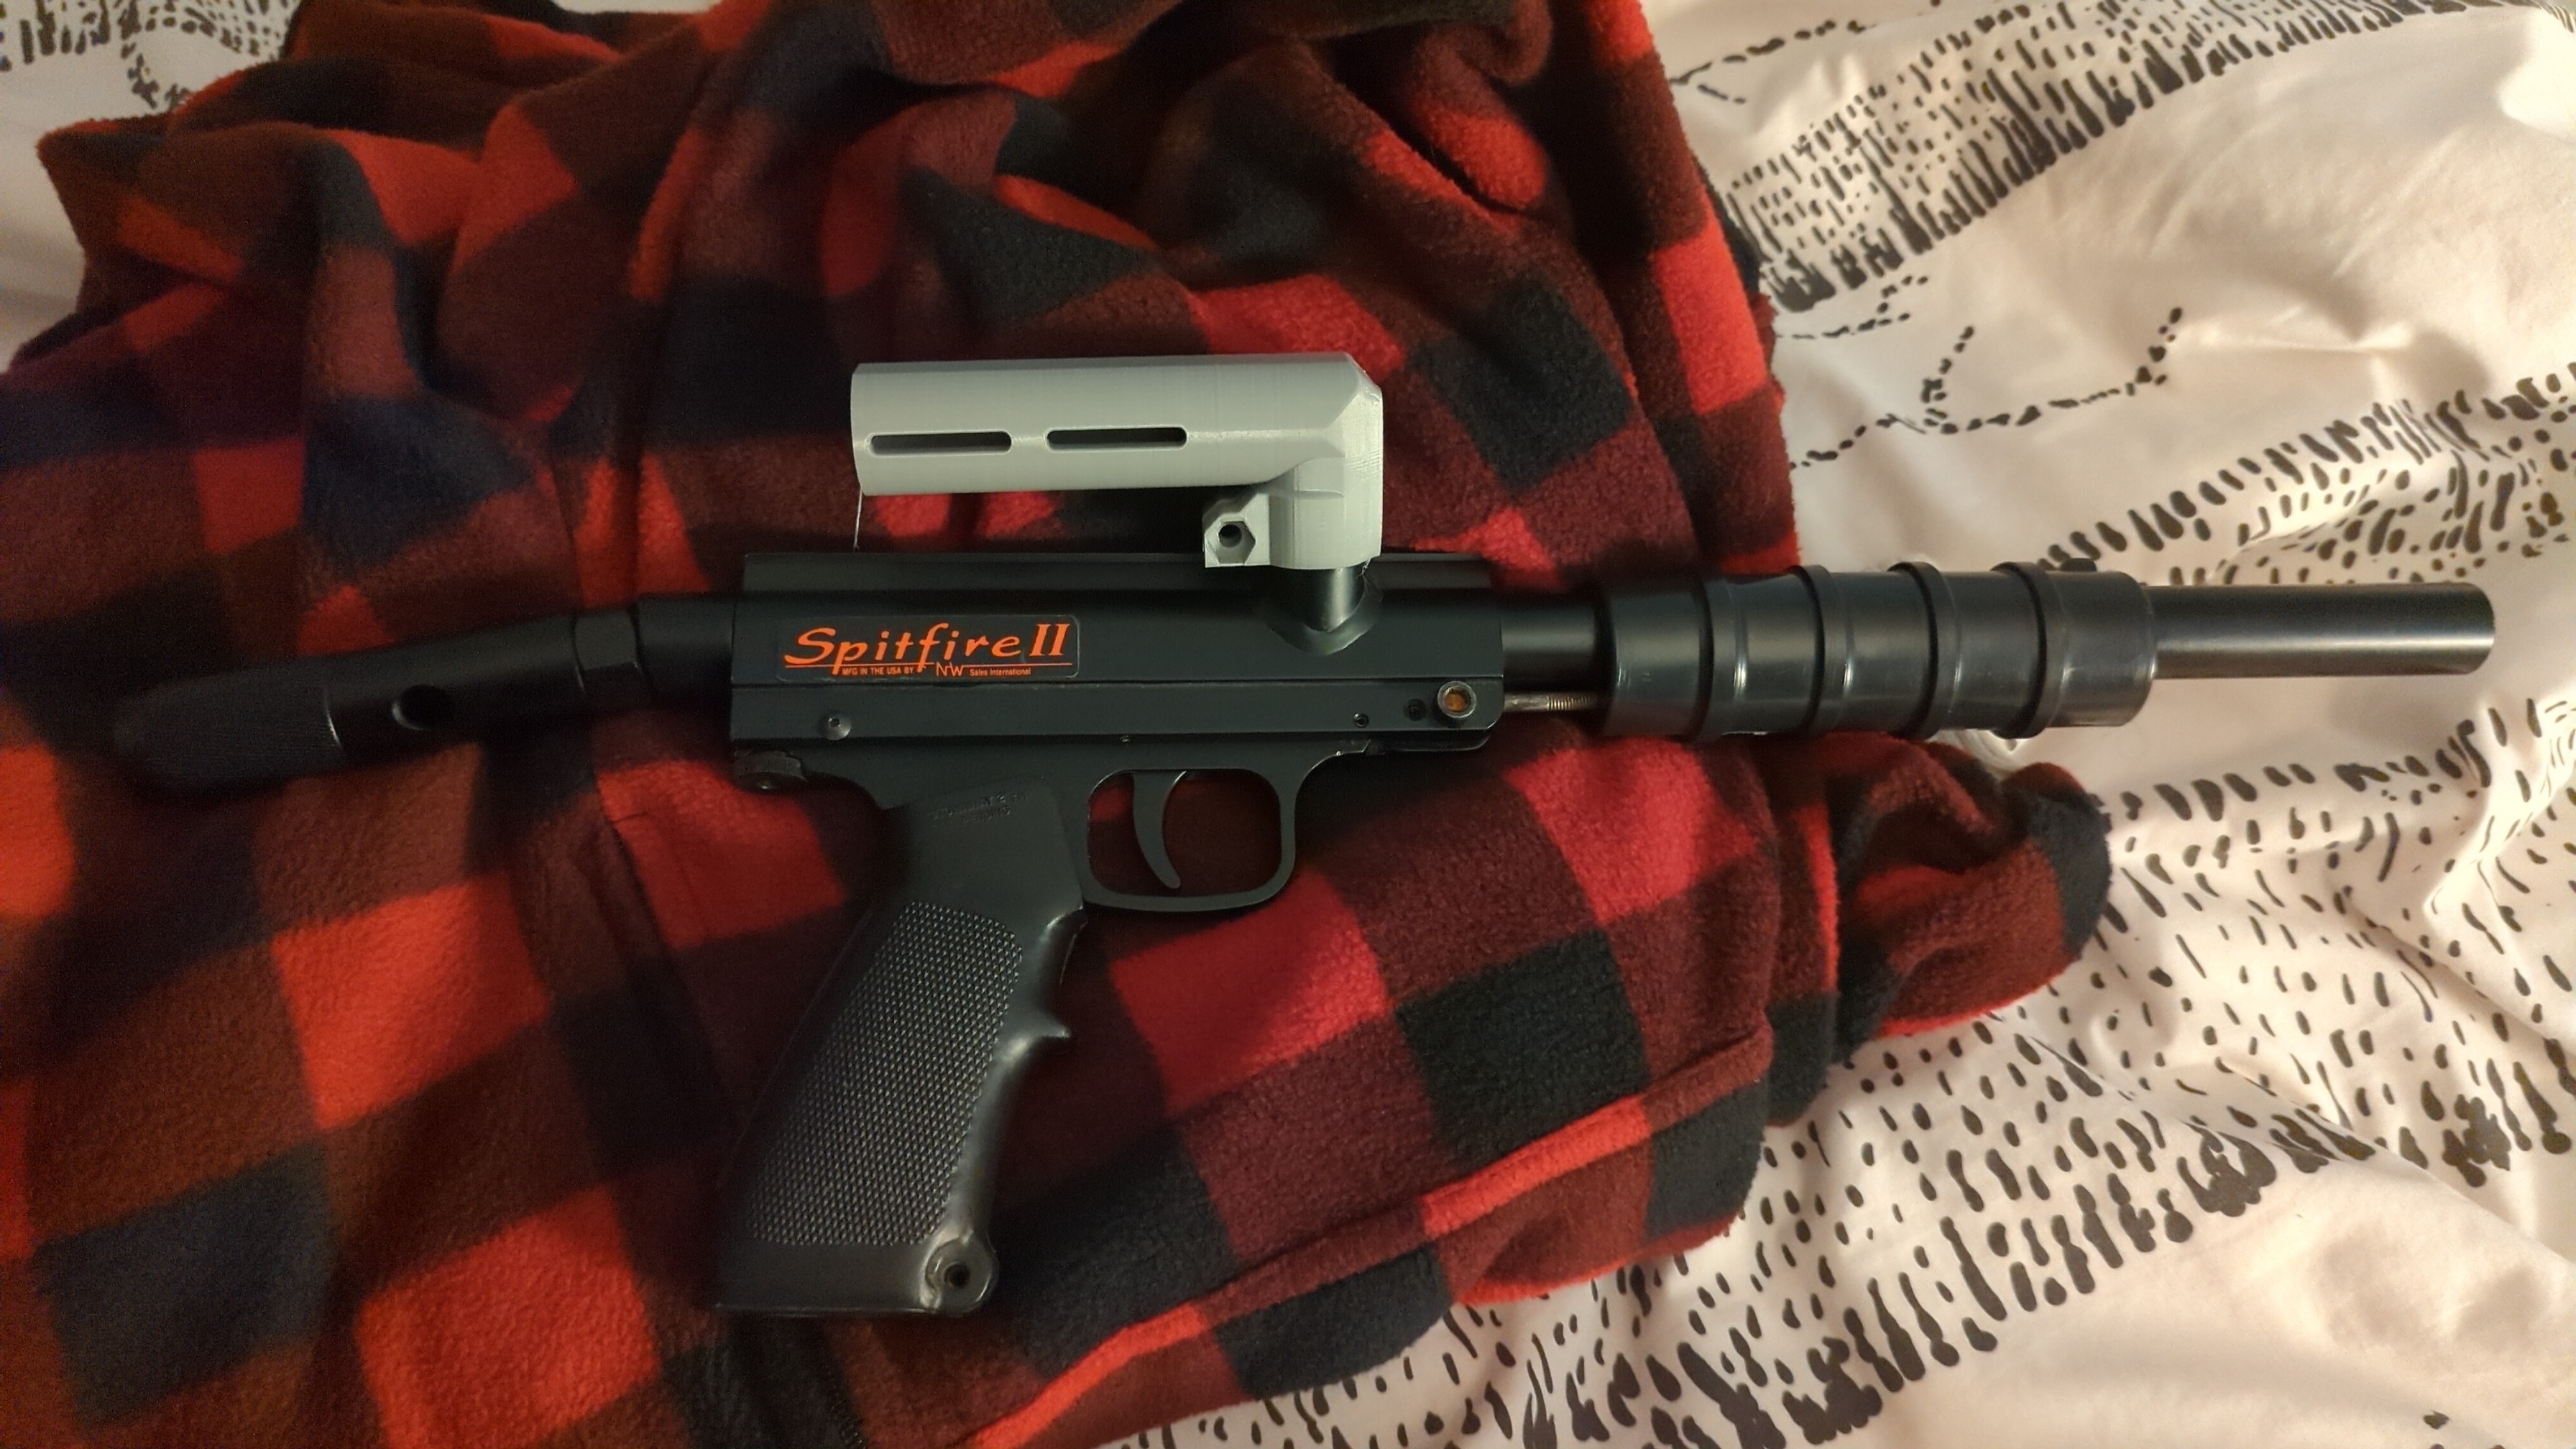
Working on a clamping feed tube. What did print came out really nice. Gonna raft it next time.

Almost out of Test-Print Grey!
- Likes 8
Leave a comment:
-
I printed out a second version of the frame today. Unfortunately it was a case of two steps forward, two steps back. However, I at least learned a few lessons that made me rethink my first print and make it work. It took an o-ring sandwiched between the rear frame screw and the body, but it works. I’m still not completely satisfied with it in its current state, so the STL will have to wait. At least it’s working and playable as it is now.1 Photo
- Likes 7
Leave a comment:
-
I printed out my first prototype frame today. It’s close, but there are some tolerances that need adjusting. I had to mill out the slot wider using my drill press to even get the trigger to slide freely. I also discovered that if I screw in the rear frame screw that the hammer can’t catch the sear. Those issues aside, I think it turned out great. A few more tweaks and I should be able to release the STL to the world.
1 Photo
- Likes 8
Leave a comment:
Leave a comment: