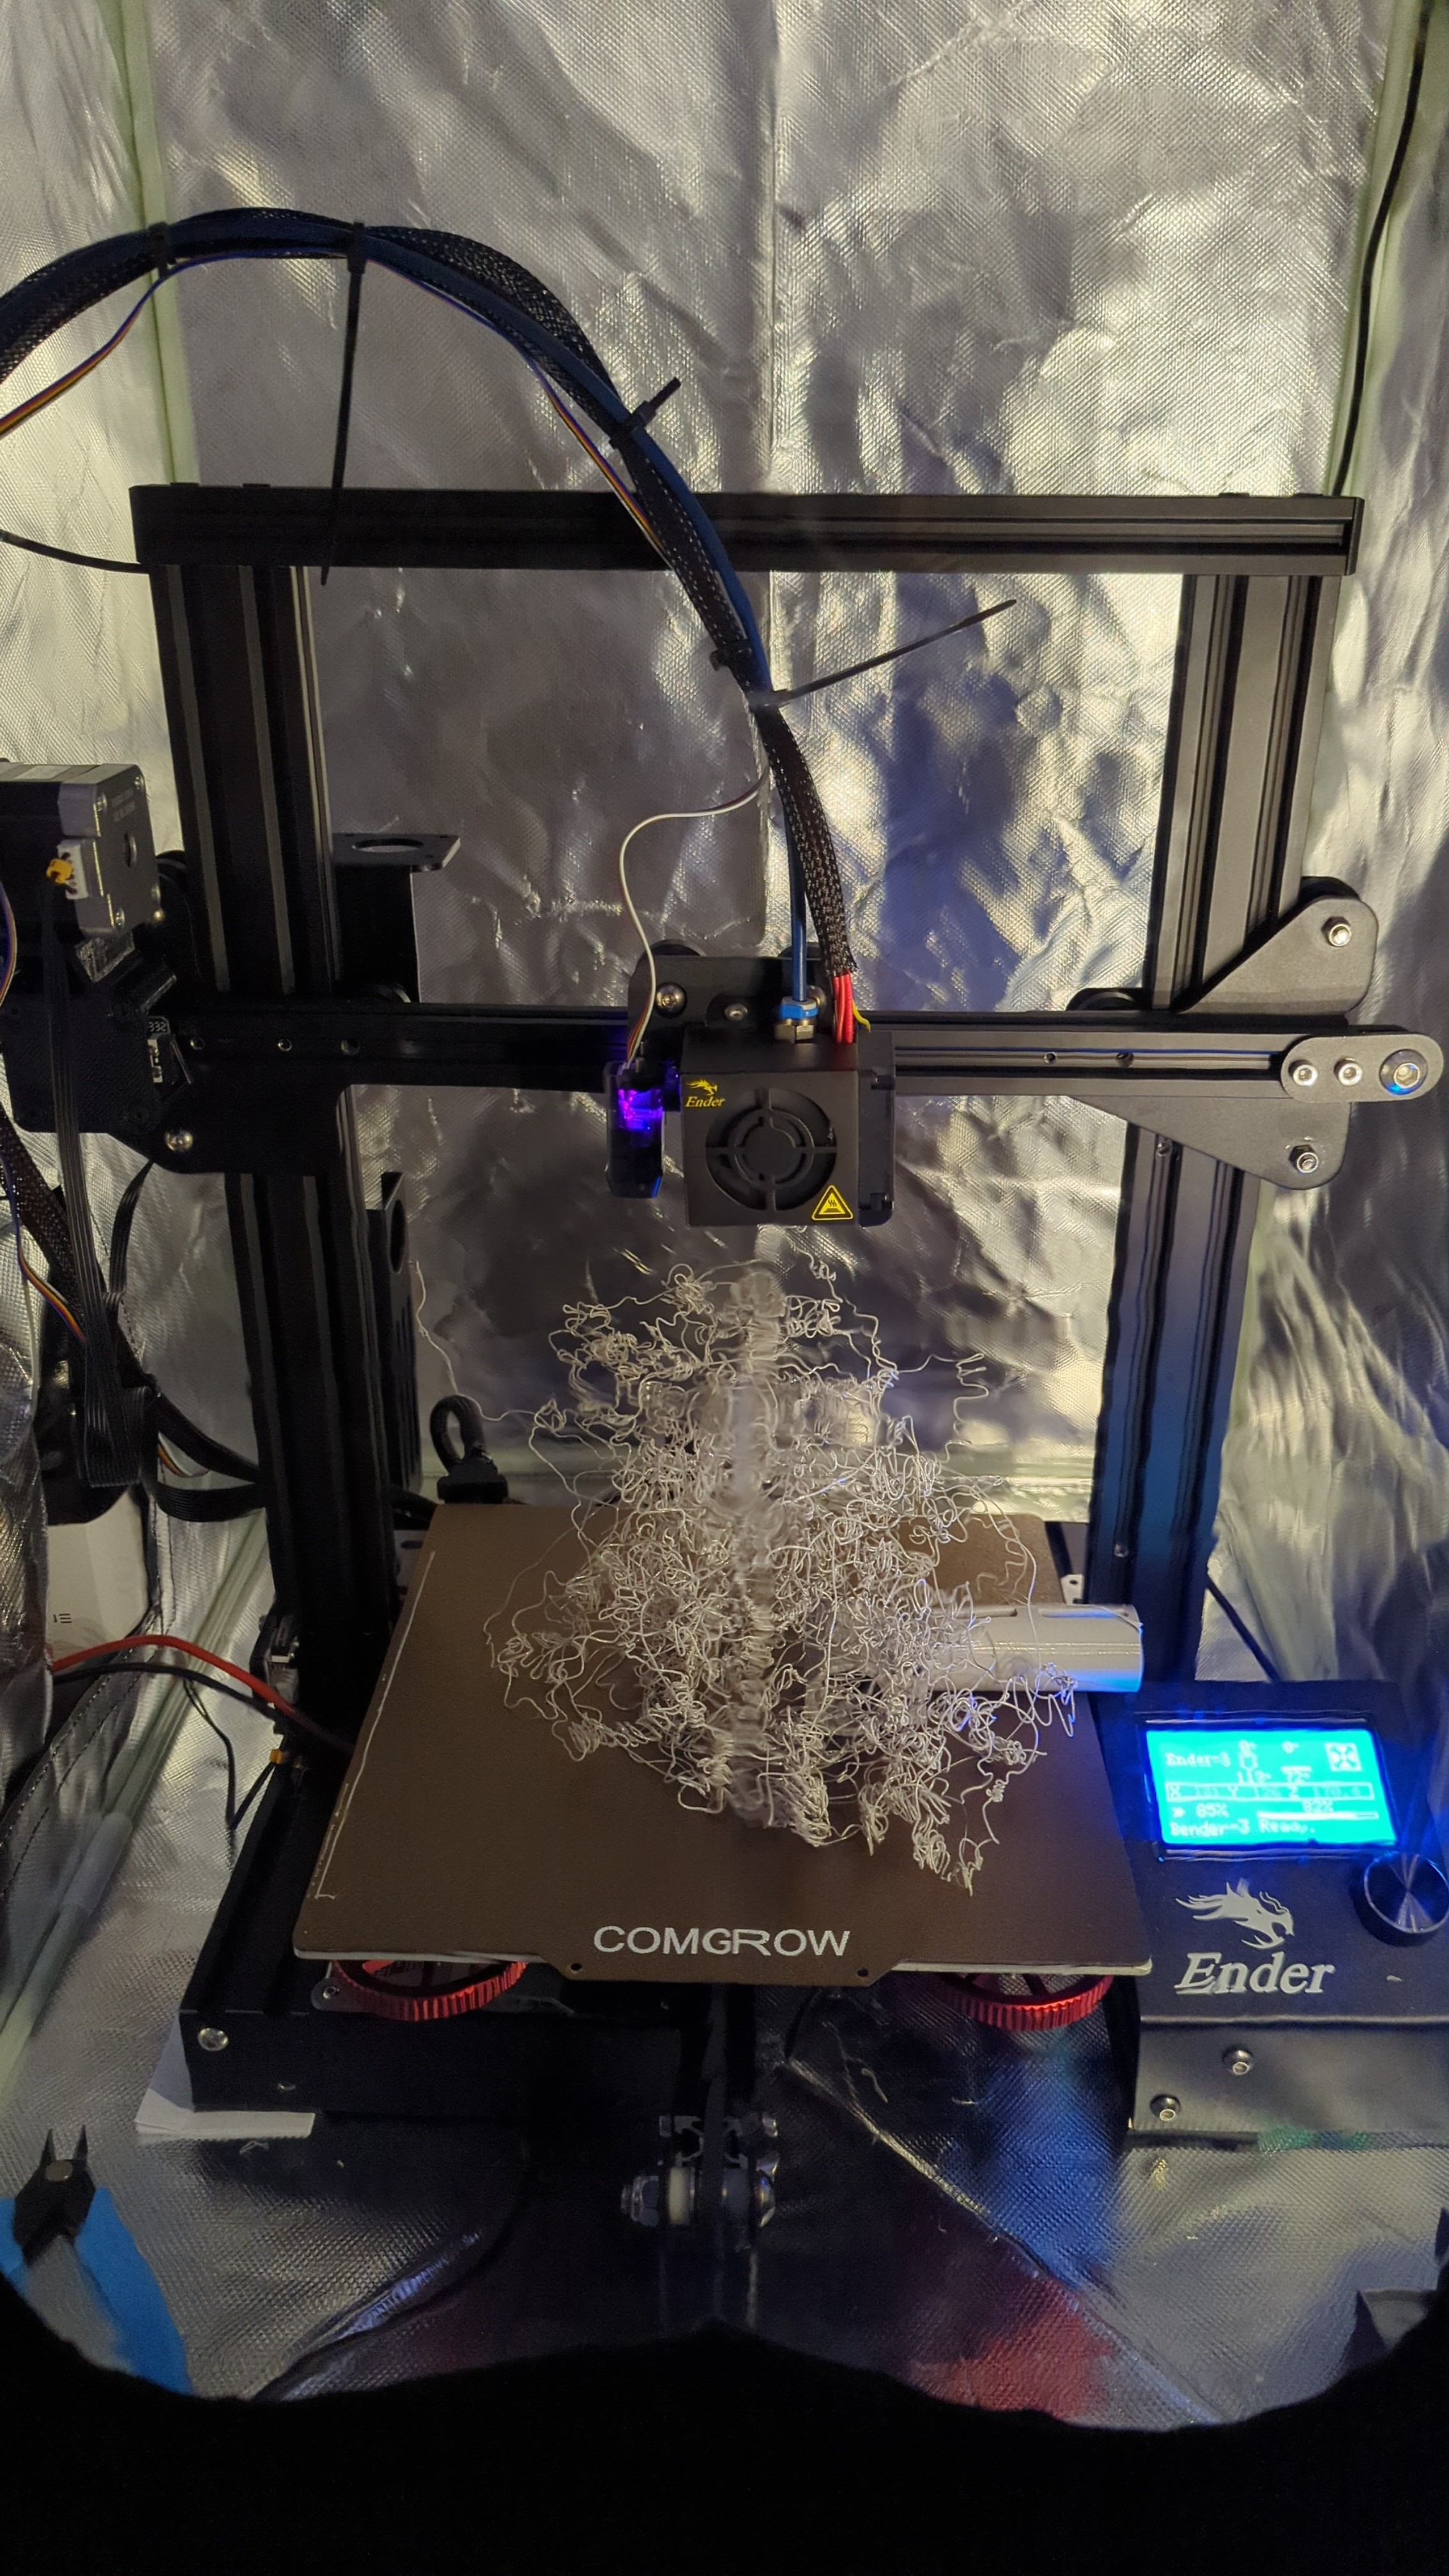
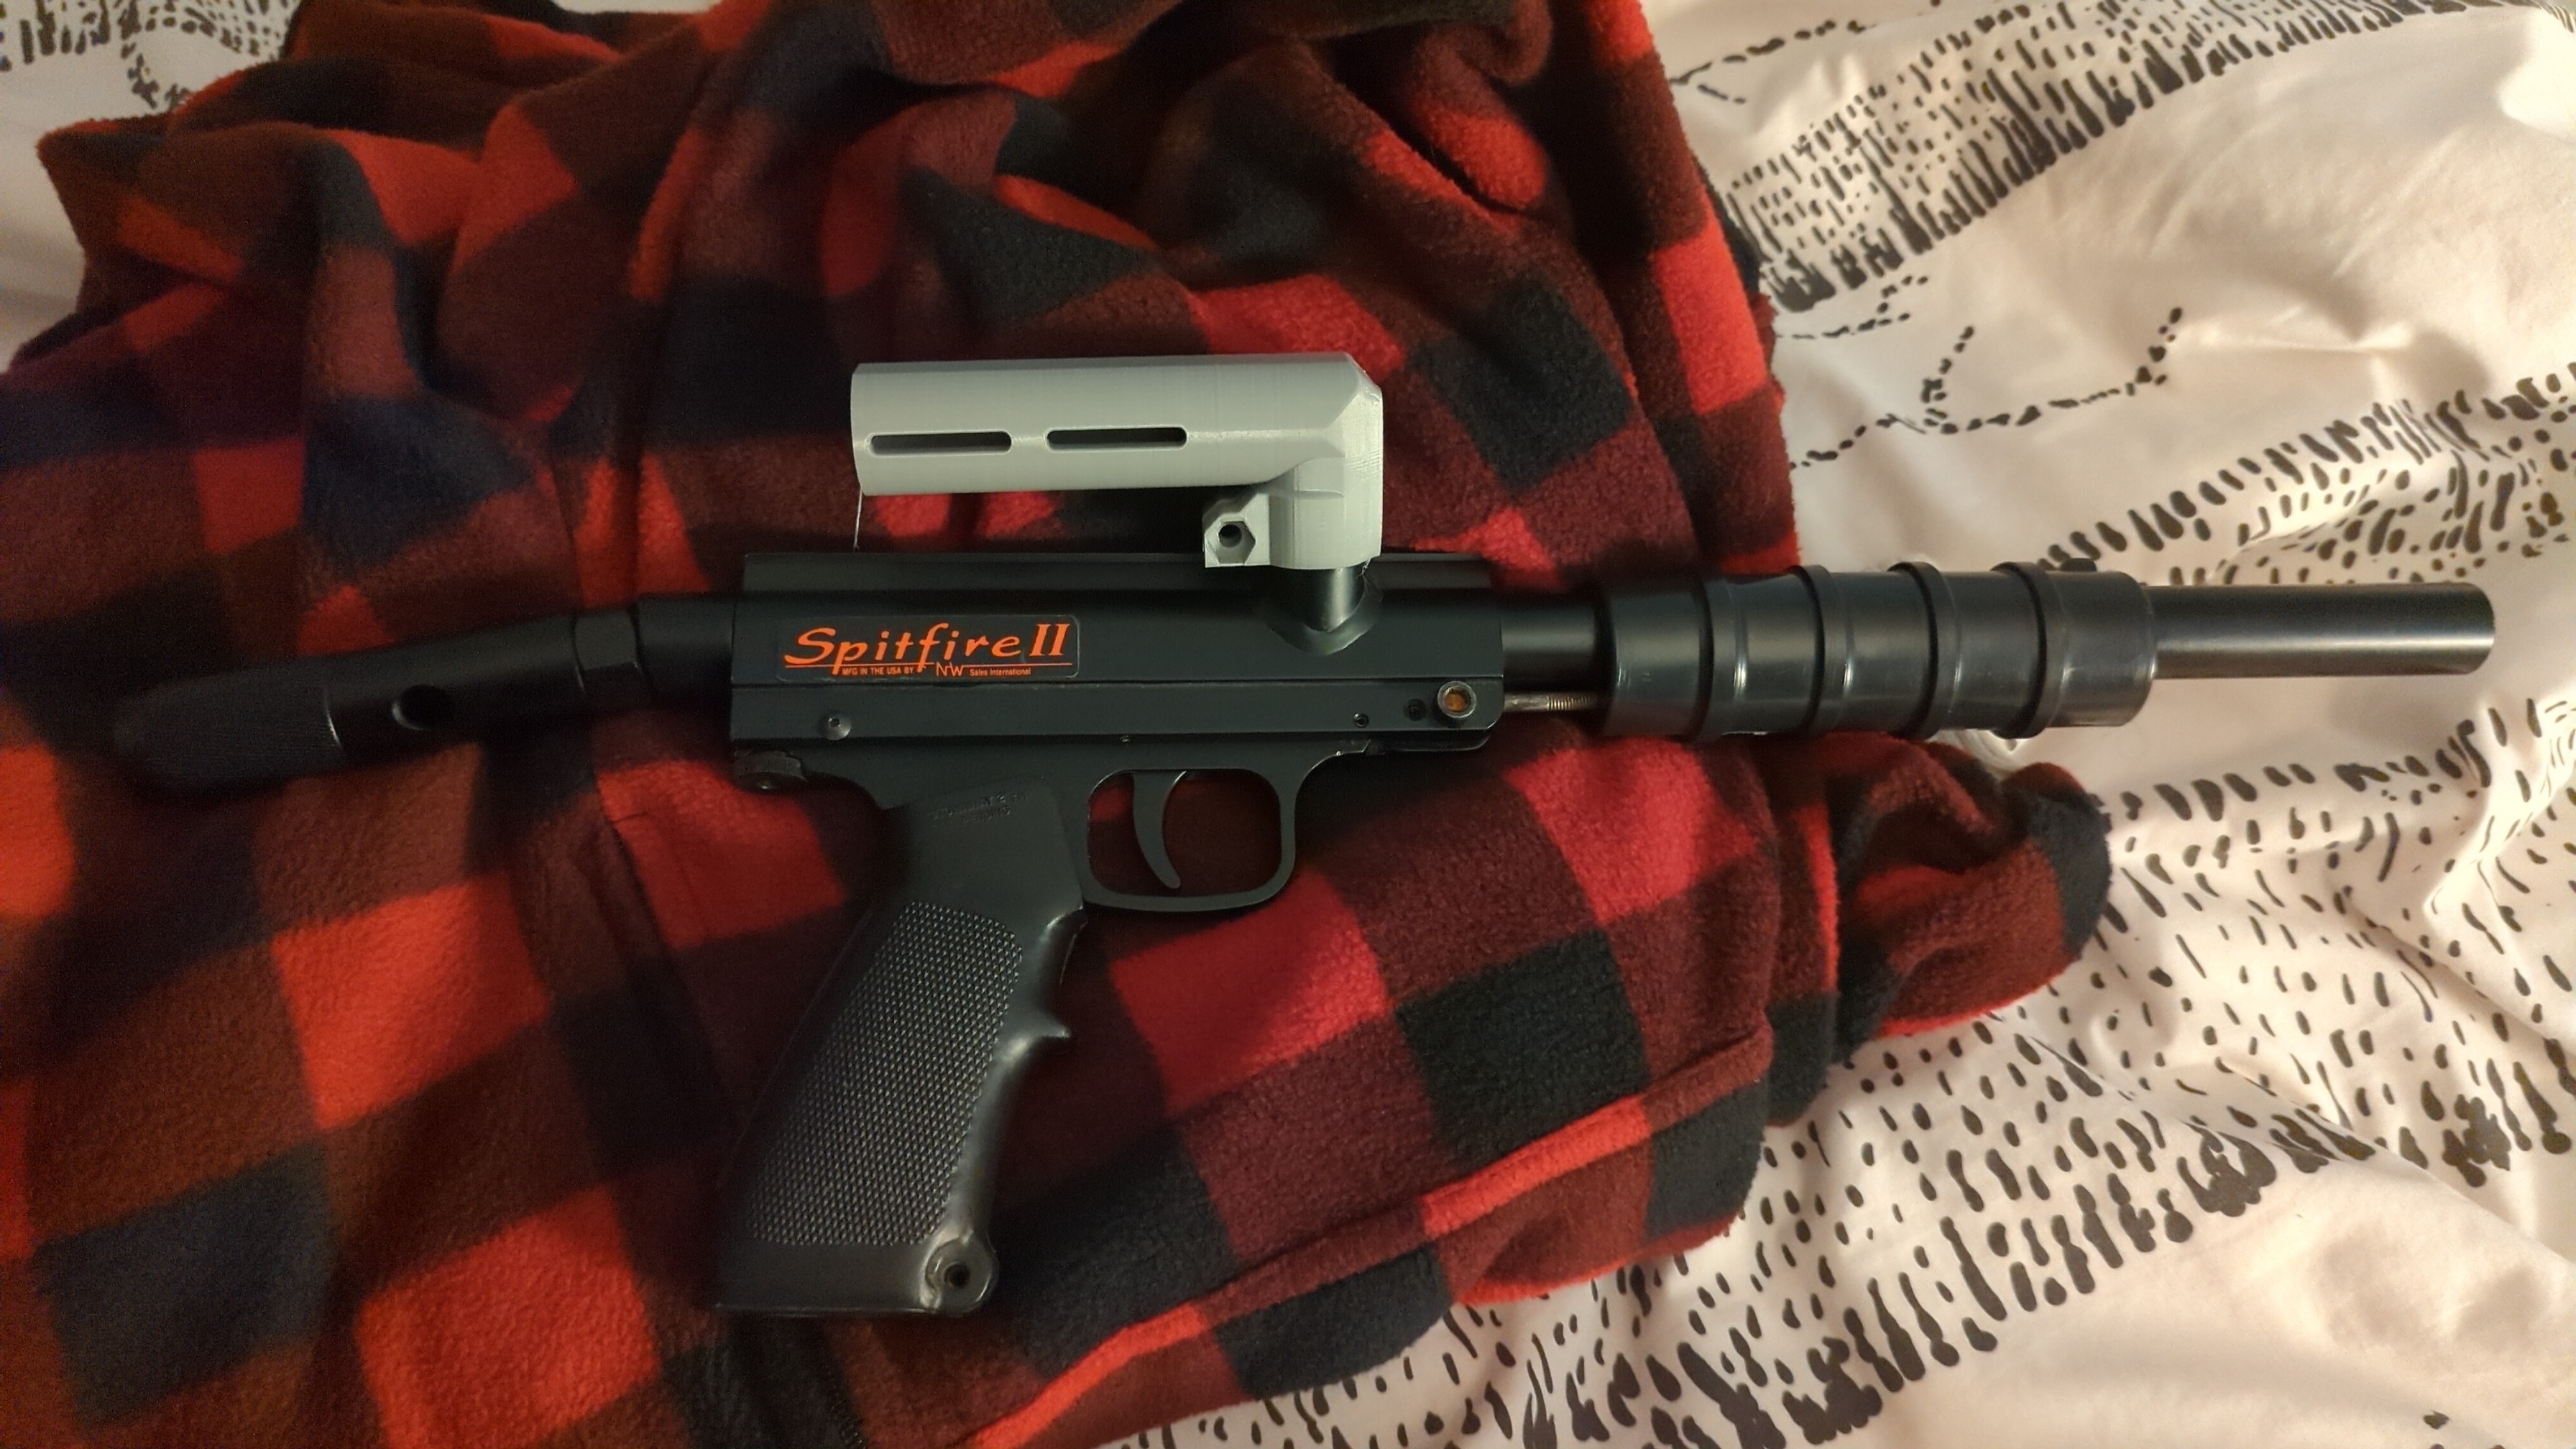
I printed the updated version of my Automag horizontal foregrip. By the way, Thingiverse didn't update with the correct file last time, so be sure to download the latest version if you want it. The model up now is the correct one. This version has absolutely no side to side or up and down play. Tolerances are right on the money.
Announcement
Collapse
No announcement yet.
What did you 3D print today?
Collapse
X
-
Love my brass ... Love my SSR ... Hard choices ...
XEMON's phantom double sided feed
Keep your ATS going: Project rATS 2.0
My Feedback
- Likes 4
Comment
-
Not affiliated with them at all (I swear) but wanted to recommend Overture's "Super" PLA. I usually use their PLA+ but this is just as easy to print with from initial runs and much stronger as well in quick tests for shear/impact/etc. Have an ion-threaded barrel in the works I will use this stuff for, test prints are promising. For now, I started my ~10hr journey to a mini rotor top half.
- Likes 4
Comment
-
Brandon, Yes:
-
Mini rotor with Super PLA came out pretty good! I think I will re-try in PETG though, not sure why I had so much trouble last time but it has printed two AC freak barrels no issue. PETG being half the price(~$15) and no worry of heat warpage is nice too.
The Ion/Luxe threaded one has successfully been printed and fit! Fit snug in the ion but the OD of the stock file (25.4mm) is ever so slightly too thick for a Luxe. Shaved it down to 25mm in TinkerCAD, gonna test it out today or tomorrow for fit.
And I know this is a PB forum but I am just too damn excited to not announce it, but a recreation of the "barrage" airsoft conversion barrel has been designed and printed off as well. Just need BBs to start testing.Last edited by ChillswitchEngage; 12-18-2023, 04:42 PM.
-
Ion threaded freak barrel came out great! The OD doesn't seem to be what is causing the threading issue on the luxe. It just takes some patience to line it up and screw it in as opposed to the Ion or Autococker, not sure why though.
 Printed with Overture PETG @ .2mm layer height. No supports except rafts on the bottom. Print with the barrel threads at the top. PLEASE NOTE: I am not sure why, but centering and threading it into a Luxe seems to take a bit of patience vs an Ion. Minimal sanding should be required for smooth insert fitment.1 PhotoLast edited by ChillswitchEngage; 12-21-2023, 01:13 PM.
- Likes 3
Comment
-
3d printed 8" freak barrel paired with the mini rotor and 3d printed blade trigger on the mech ion conversion!!! Came out amazing. I am debating making the hoppers in small batches for sale if anyone may be interested.1 Photo
- Likes 5
Comment
-
@Alexndl
Most certainly! These shell settings are probably overkill (Or not enough? Always open to feedback). Used with Prusa Slicer.
Infill - 100%, rectilinear
Supports: Yes. organic
==Layers/Perimeters==
Layer Height - 0.22mm
First Layer - 0.26mm
Vertical Shell Perimeters: 10
Horizontal Shell Solid Layer Top/Bottom: 10
Minimum Shell Thickness Top/Bottom: 1mm
Seam Positioned: Aligned (optional but makes nicer looking prints imo)
Fill Gaps: Checked
The upper and lower get printed upright as normal with supports. The feedneck gets flipped on its base and needs no supports. The button orientation can be left as is as well and needs no supports (I'd recommend .2mm layer height though). Clear filament is perfect for the button, lets me see the blue light nice and bright still.Last edited by ChillswitchEngage; 12-24-2023, 09:12 AM.
-
zinger565, look up the Pico loader.
-
Velcor will save us...
Current MCB Feedback : https://www.mcarterbrown.com/forum/b...opusx-feedback
Legacy MCB Feedback (Wayback Machine)
- Likes 5
Comment
-
- Likes 7
Comment
-
I'm also on the "Re-birth of Project rATS 2.0" thread, but I don't see this one. What is the mag its adapted to?
-
The Great Equalizer it uses TipX mags. Files can be found here:
Found these neat little files available for download while searching for some new magfed gear. The guy has a good reputation. Not sure if he'll print it for you, though. Nice of him to make the file available. Since it's Zeta compatible, it'll probably work with 12 round TipX mags as well. I know it isn't as nice as making the
-
One of the guys i play with asked me to print some jt ears for him that he'd seen. I only had blue tpu left but he likes them and wants more so i ordered more filament.1 Photo
- Likes 5
Comment
-
Barrels, barrels, and more barrels. Started by wanting a short freak tip to match with a brass eagle avenger II I've been modding but the best file I could find didn't have the right threads so I made my own. Many hours in fusion 360 and many more on the printer has cascaded into a couple patterns for tips, freak tipx barrels for myself and a friend, and a vm68 threaded back that ushered me here. All printed in inland PLA+ on a Prusa mk3s+.1 Photo
- Likes 8
Comment
-
Those are kick-ass! I wanted to try a 2 piece print but I read from paintballdna on a Reddit post about making 3D-printed barrels something about tolerances so they abandoned it. Glad it came out well for you!
-
Tolerances certainly were difficult, can't use any of the pre-designated thread tools in fusion because they don't give enough clearance. These thread together perfectly, all that's left is to fine tune the printer settings to get a better surface finish
-
Last edited by SETHZILLA!; 01-11-2024, 12:16 AM."What could go wrong?" - Sethzilla!
Member of WORR BOYZ pump paintball team
Playing since 1986: Stock, Pump, Mech, Electro, tourney, but now mostly rec.
Feedback:
https://www.mcarterbrown.com/forum/b...lla-s-feedback
WTB:
https://www.mcarterbrown.com/forum/b...-wtb-wgp-parts
- Likes 1
Comment
-
Are those the ones from Thingiverse?Originally posted by evilfishsticks View PostOne of the guys i play with asked me to print some jt ears for him that he'd seen. I only had blue tpu left but he likes them and wants more so i ordered more filament.
Sent from my E6910 using Tapatalk
Comment
-
I printed out my first prototype frame today. It’s close, but there are some tolerances that need adjusting. I had to mill out the slot wider using my drill press to even get the trigger to slide freely. I also discovered that if I screw in the rear frame screw that the hammer can’t catch the sear. Those issues aside, I think it turned out great. A few more tweaks and I should be able to release the STL to the world.
1 Photo
- Likes 8
Comment
-
I printed out a second version of the frame today. Unfortunately it was a case of two steps forward, two steps back. However, I at least learned a few lessons that made me rethink my first print and make it work. It took an o-ring sandwiched between the rear frame screw and the body, but it works. I’m still not completely satisfied with it in its current state, so the STL will have to wait. At least it’s working and playable as it is now.1 Photo
- Likes 7
Comment


Comment