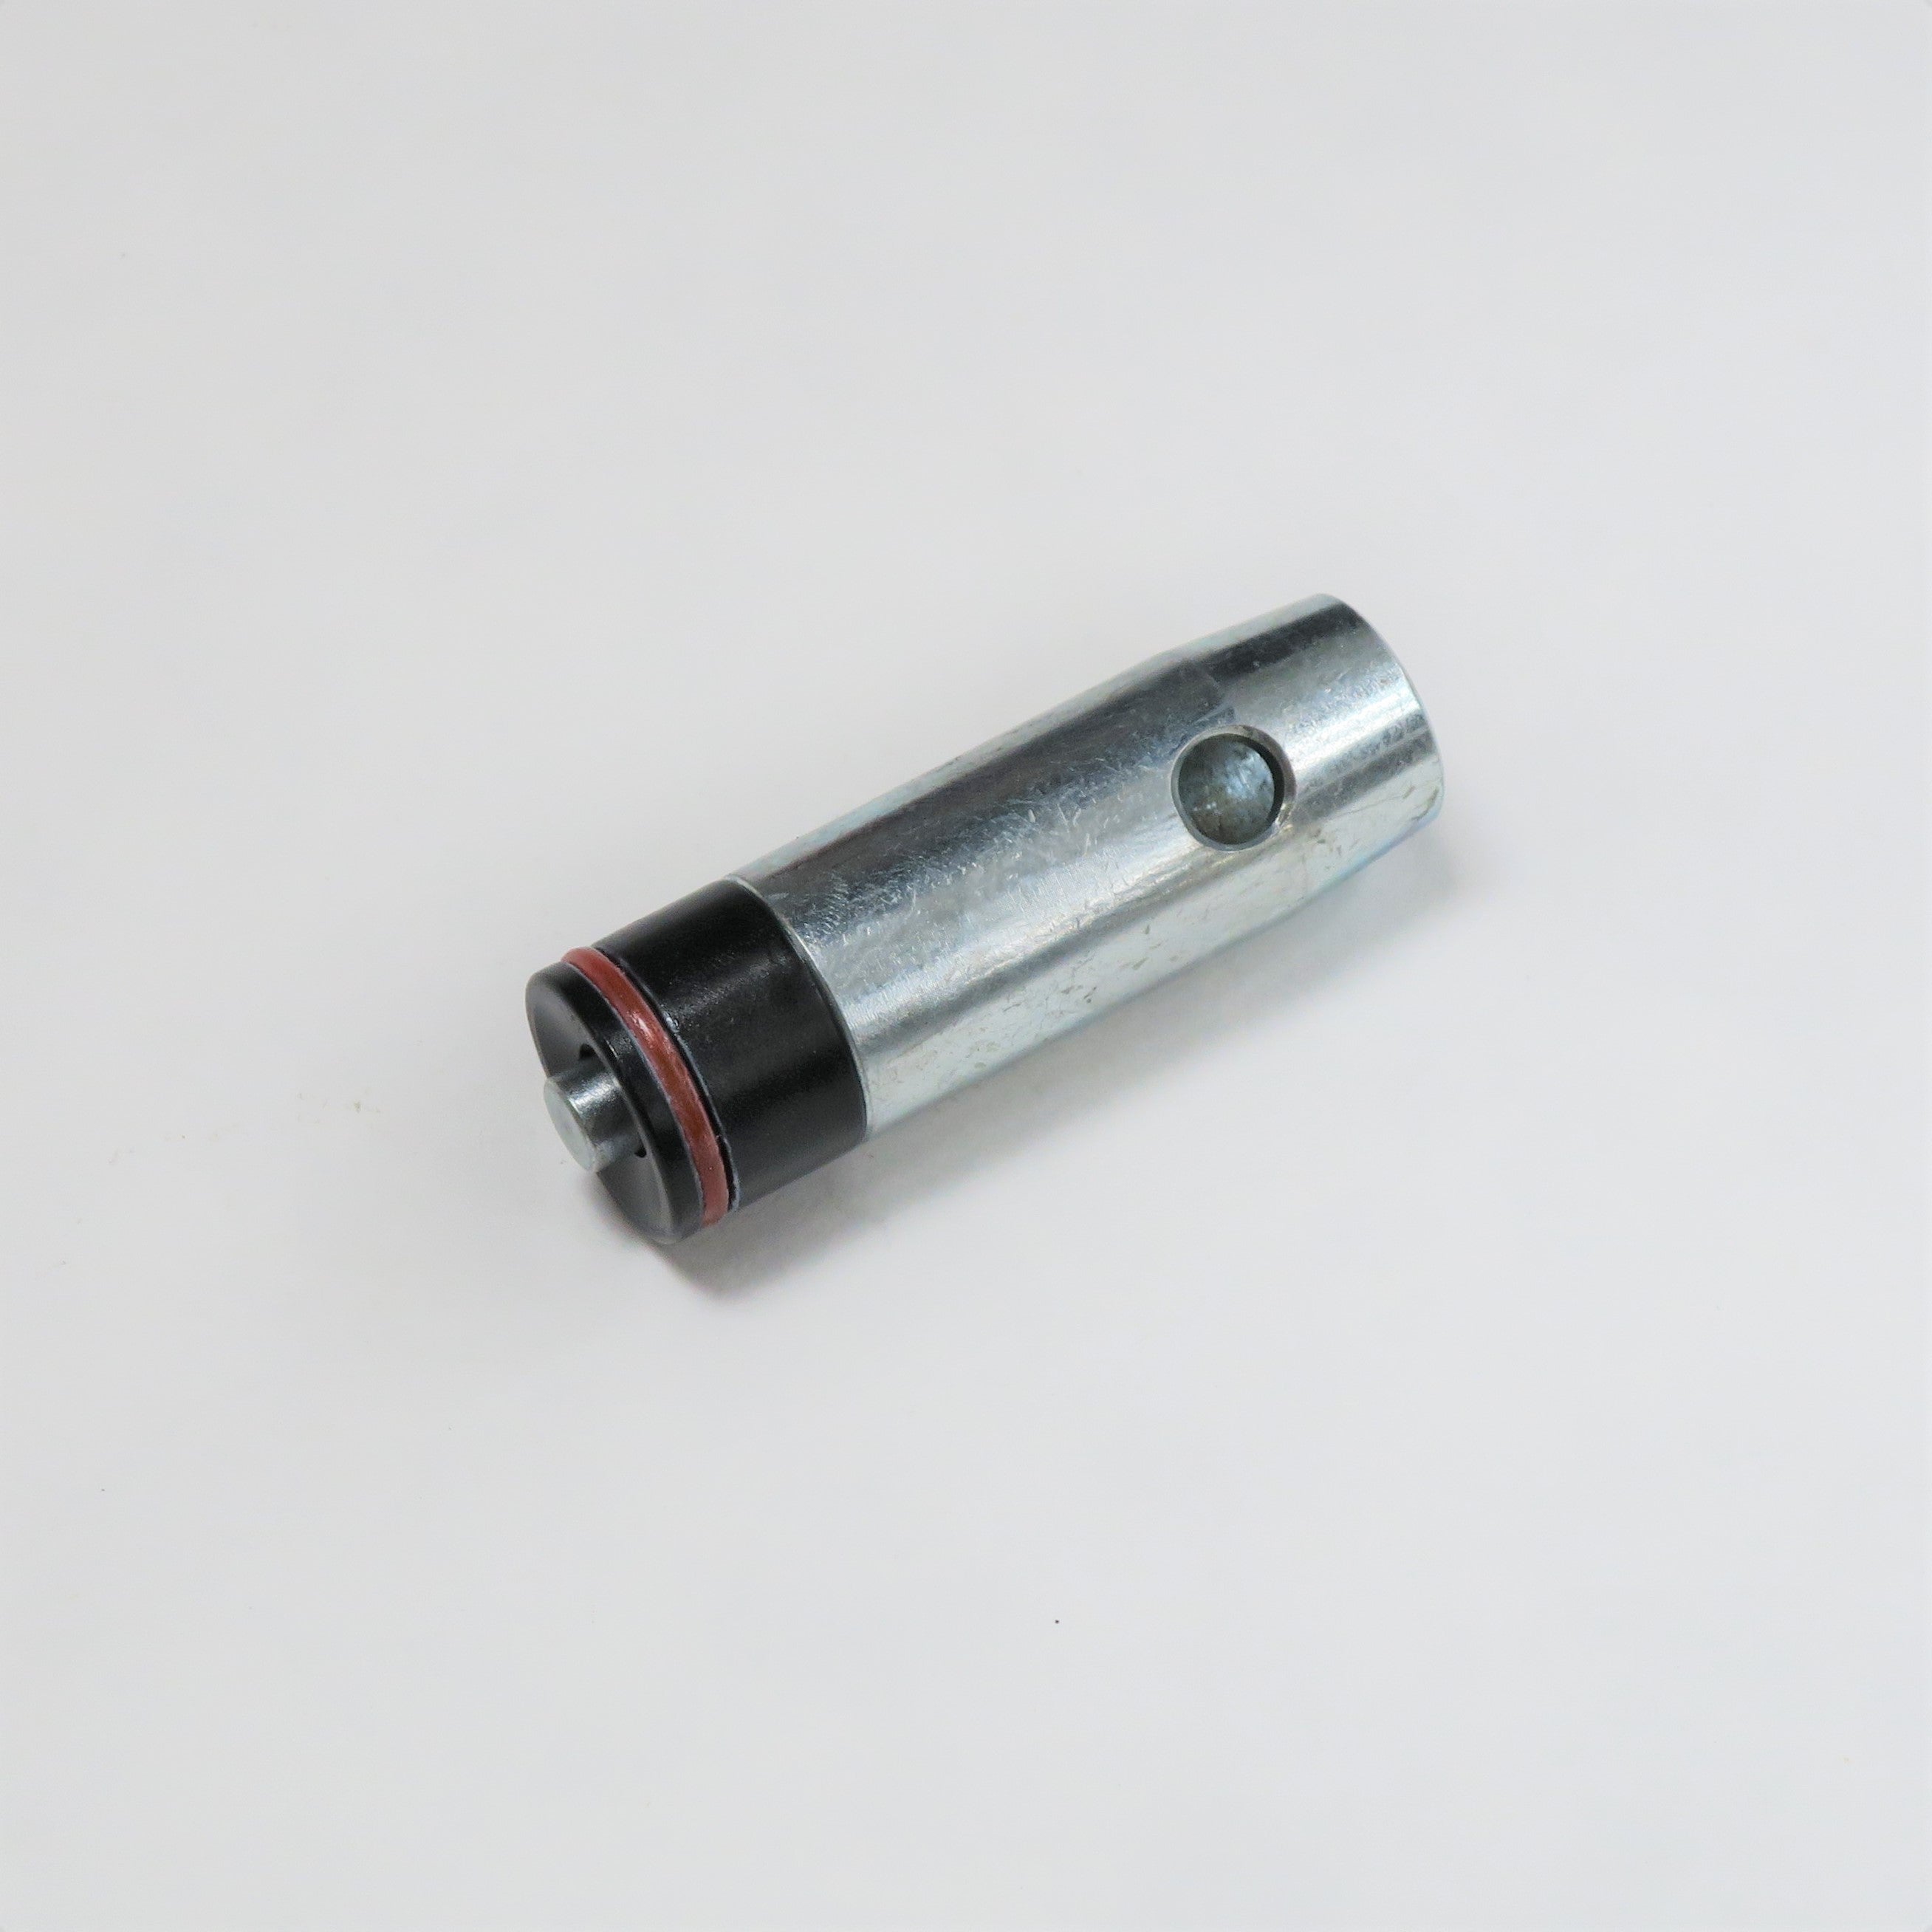
So I would like to make my own pump marker, just in case there's ever a game in my area, and for a little target practice at home now and then maybe. I have this LCD Imagine that I already robbed the frame for an MR100, so it's now mech framed. I see alot of people slotting the hammer and I'll do that if I really have to, but after some thought couldn't I just modify the pin between the bolt and the hammer? If I cut it in half, then notch the pin like in the picture, then all I would have to do is weld or solder the pin onto the hammers it stays in place. Seems easier than to cut hardened steel. Also it's just the hammer face that needs to be hardened, so couldn't you draw back the temper with a torch, with the hammer face under water? Maybe I've been watching to many Forged in Fire reruns? I feel like the pin would work so I'm going to try that. Also the milling on the Imagine body is perfect and the bolt has holes so attaching a cocking rod seems like a breeze. I just have to make a over barrel pump handle, unless I can find one of those kits that screws into the volumizer. I hate how bulky and heavy the grip frame is, so I'll probably chop that up eventually. That funny green piece on the grip is actually the only piece I have from my first Imagine from forever ago. I only kept it because i used to smoke weed out of it . I found it in a parts bin in my closet.
Announcement
Collapse
No announcement yet.
Spyder Re-imagineD
Collapse
X
-
The little jig/jog cut on the pin is a great idea. Only drawback is that the pinhole on the striker is bigger by quite a margin. You'd have to decide a way to keep the pin at a specific height so it will always catch on when you pump. This is really interesting since my closed bolt spyder has a wedged out roll pin on my fatty striker. Maybe something like that would work and leave a lip near the rear to help with catching the pin as it moves back? My biggest concern would be anything that dropped into the path of the striker and the inner parts. (Main spring, sprig guide, etc...)
-
Both halves of the pin would be mechanically attached in place. The pin would be welded or soldered into the hammer, and it has a set screw on the bolt. As long as I leave a little wiggle room for the tolerances of the components to the tubes, it should work. The hammer will be hitting the valve pin and spring before the split hammer to bolt pin would make contact, so it shouldn't get too beat up from the hammer.
-
Update on this: I soldered the pin in place on the hammer, and I have definitely cycled it at least 500 times since and it's holding strong!
-
-
Think you might run into some issues with your current thought process... The marker would still fire semi auto, but would only load a paintball in on the manual 'cock' of the bolt. Not sure if that is what is intended or not.
- Likes 1
Comment
-
I like this 32 degrees body a bit better. What do you think? All internals seemed to line up, as it appears to be a direct clone of the older style Imagine. Another plus is the inside of the Icon body is in better shape than the Imagine. Also this parts bin purchase has a single trigger that's currently hideous, but I'll fix it up
Comment
-
Well I am having a couple fitment issues right off the bat. The pump guide won't thread in farther than this currently. I think I will have to file the first 2 threads off the guide, as I don't have a lathe to simply cut the front block threads deeper in (as stated by KMDPB). And currently the pump rod is too tight to the front block, so it will need to be bent outward, or more likely the block will need a relief cut so I can keep the rod tight to the groove in between the stacked tubes. I'm still not sure if I want to attempt a half back, or maybe some engraving? Either way I have 2 spare bodies for test subjects. Wish me luck2 PhotosLast edited by JeeperCreeper; 02-11-2021, 05:25 PM.
Comment
-
So the problem with the guide rod is the threads were the correct pitch, but they were to large in diameter. I shaved the threads down to fit and now I can thread all the way in. Also I got the pump rod attached and functioning. Now all I have left is to modify the valve pin, and then I'm ready to make it pretty.1 Photo
- Likes 1
Comment
-
I have everything functioning now, but it seems like the hammer bounces slightly on the valve pin. I feel like I probably need a spring kit to dial that in. As soon as I get some more air I'm going to chrono it and see where I'm at but otherwise it works. I want to get a 50 round hopper, and possibly make a stick feed for it so its interchangeable. Also I added a SP progressive barrel but it's probably a .689. I'm still looking for a spyder freak back, otherwise it's going to be rollout city.1 Photo
- Likes 4
Comment
-
So I got my spring kit in, aired it up and it sounds like the hammer is double tapping the valve. I have the stiffest valve spring in and a soft hammer spring. The pin has been modified to be completely round so minimal air can get to the hammer, which has the oring removed. I'm about to drill a vent hole just past the valve to vent any air getting through the valve. Also its shooting like 360 so I might throw a reg on it to lower the fps. It's either that or cut a loop off the spring. Also the body leaks around the valve and the front block so I think I'm going back to the original Imagine body. Any tips to deal with the hammer double taping the valve?
Comment
-
I usually end up cutting about a half inch off spump main springs to get the velocity into the playable range. A vent hole will help, you might want to cut some chunks/slots out of the face of the stock hammer as well just to be damn sure that it's not catching any blowback gas still.
Body leaks are 99% just bad "o" rings, I notice some spyder bodies like to "clip" "o" rings during installation, so I'm guessing that's what happened here.
-
What about a regulator to bring velocity down? My body leaks were definitely because of the difference in size on the 32' body was larger by a half mm. I switched back to the Imagine body. I might do a halfback too. I kinda put this on the shelf for a while as I'm in the middle of rebuilding the engine in my Jeep
-
Comment