A local field had a small fleet of KP3s for a "sniper" package with unlimited paint. When they put these up for sale, I decided I didn't want one, but the other guys in the group bought some. Little did I know that I would end up working on six of them plus a newer KP+. I figured it would be in my own best interest to fix these, since I had been shot with one or more with a bad reg. Very hot.
I found the KP3s interesting. Lots of semi-auto hold over parts. I like the poppet design. The balanced pressure and huge hammer means it will shoot at very high pressure.
One of the things that were relatively maintenance free was the front o-ring for the poppet stem in the pump arm. I replaced a few, but they were all in decent condition and never leaked after. Same with the pump arm sealing o-ring. The valves and valve bumpers were good. Detents were good. The valve body set screws were pristine (it was weird).
Valve o-rings were generally trashed, as well as the reg piston o-ring.
As a maintenance thing, don't leave paint on the powder coated bodies, the screws, or the hammer/mainspring. The screws are just plated, and they will rot. The hammer can grow enough rust to bind itself in place, especially with some powder coat flakes added. You also have to keep the trigger group clean, as it has several steel parts.
I rebuilt all of the reg seats with 3d printed versions. I found the stiffer TPU, Prusaflex 98A, more responsive than the softer classic Ninjaflex. The softer seal would consistently creep to the setpoint for the last 25-50psi. The stiff TPU was more direct in sealing off.
The thingiverse file has some notes on heating up the old seat and prying the top off, then pressing it all back together. None of the printed seals leaked, and I was on the receiving end of three of these KPs recently so I know they are working. 🙄
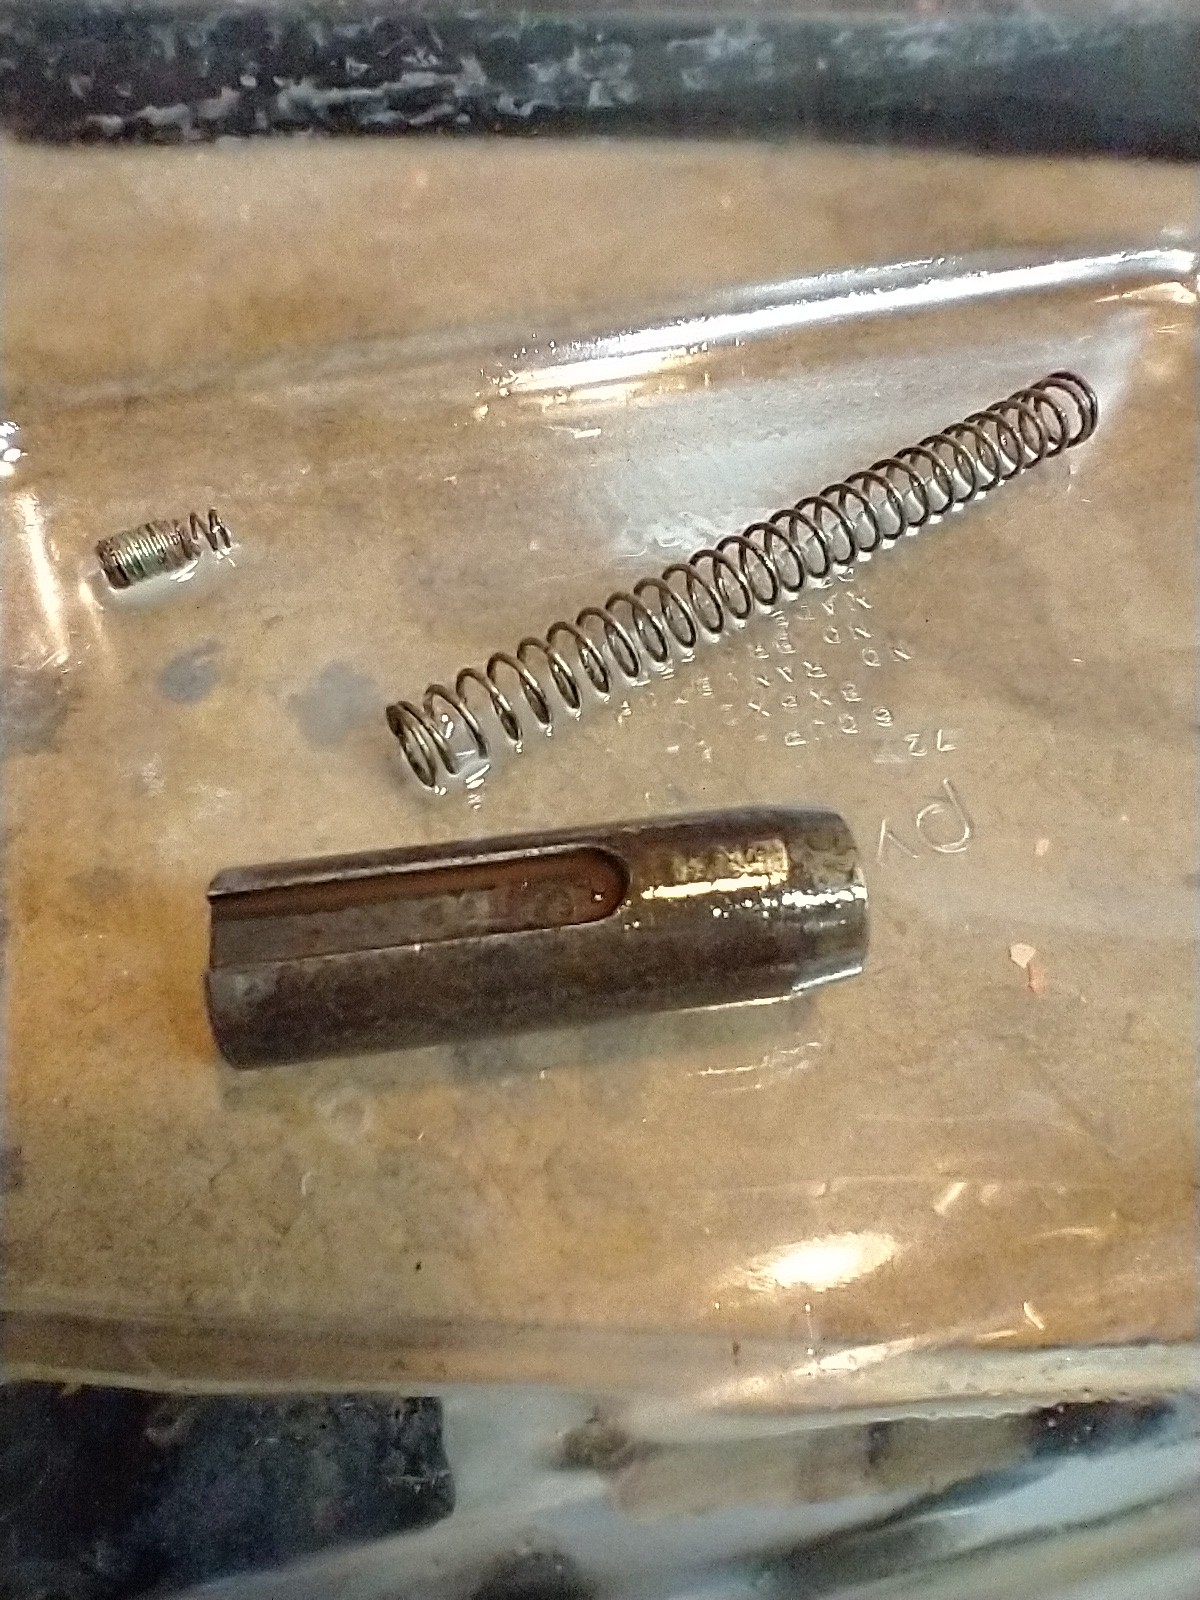
I kept a pyrex dish with WD40 on the bench to drop steel parts into. These are the clean parts.

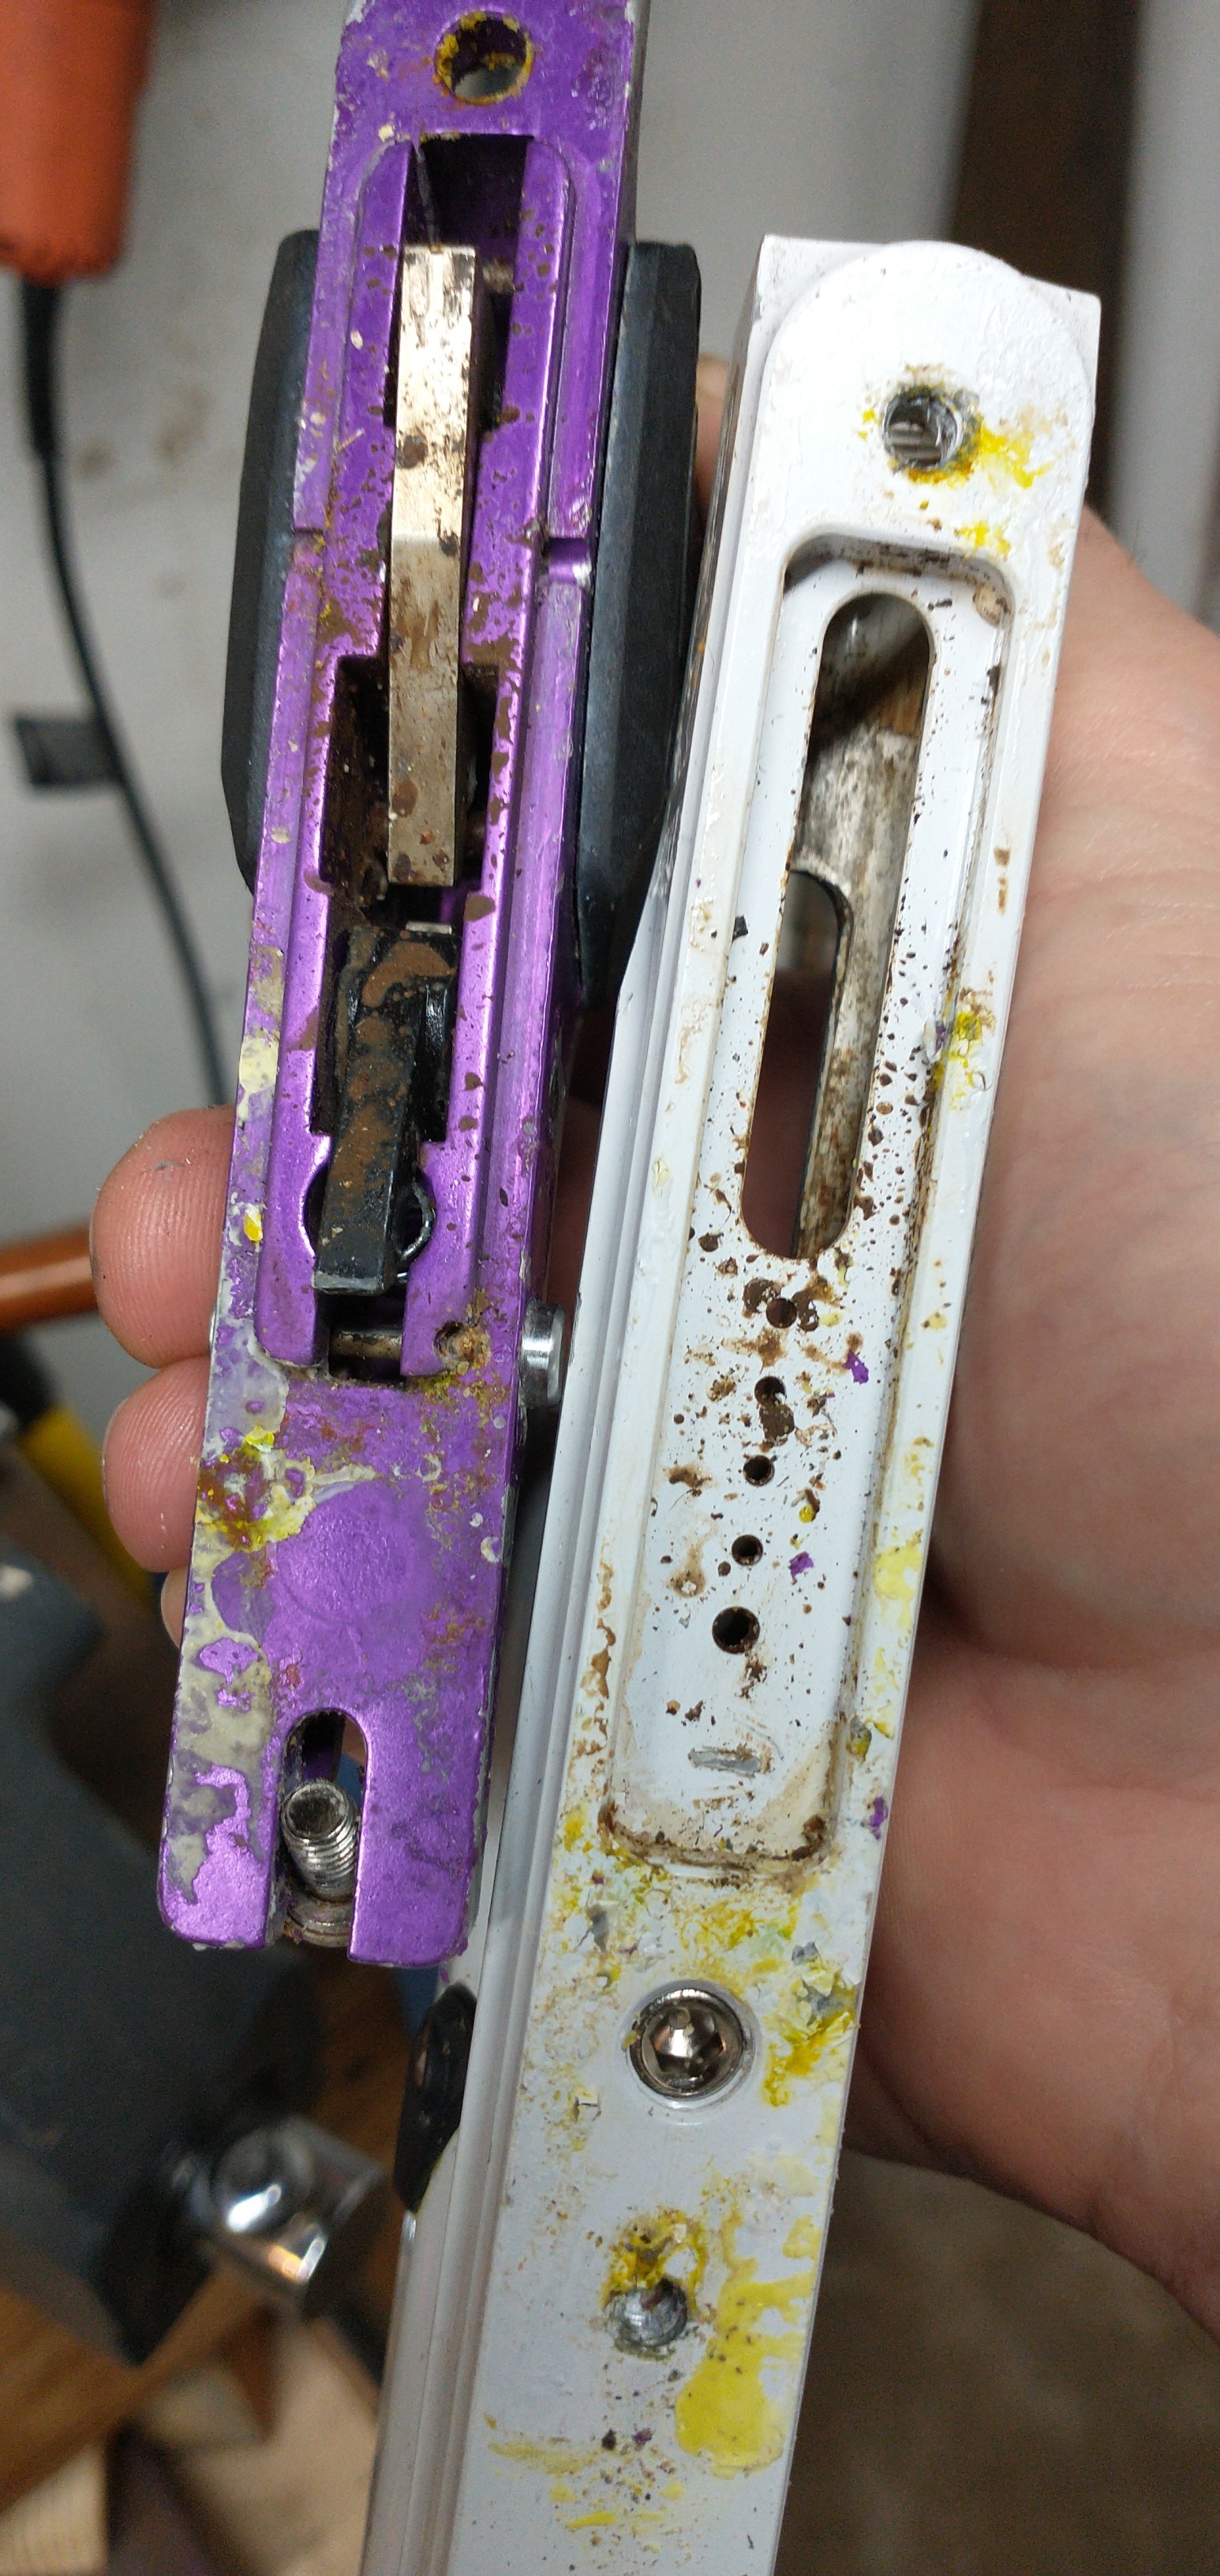
This is what happens when they are not cleaned.


The Chinese are pretty bad about the stabilizers they use in their urethanes, like the valve o-rings.

Most of the seats looked like this, completely gone.

Here's a seat that was partially there. The bits came from the top of the reg piston.

Heating it up to pry off the top.

The inside of the assembly.

After cleaning it up and putting the new seat in, I squished it back together with some leather in the vise.
If you don't have a printer, you could find a piece of urethane (6mm thick iirc), sharpen a brass tube on a rock, and drill yourself a new seat. It is mechanically held together, so it is fairly tolerant if you take care of the top cap (go slow, go around).
Snap-ring pliers are very nice for getting the reg apart.
I found the KP3s interesting. Lots of semi-auto hold over parts. I like the poppet design. The balanced pressure and huge hammer means it will shoot at very high pressure.

One of the things that were relatively maintenance free was the front o-ring for the poppet stem in the pump arm. I replaced a few, but they were all in decent condition and never leaked after. Same with the pump arm sealing o-ring. The valves and valve bumpers were good. Detents were good. The valve body set screws were pristine (it was weird).
Valve o-rings were generally trashed, as well as the reg piston o-ring.
As a maintenance thing, don't leave paint on the powder coated bodies, the screws, or the hammer/mainspring. The screws are just plated, and they will rot. The hammer can grow enough rust to bind itself in place, especially with some powder coat flakes added. You also have to keep the trigger group clean, as it has several steel parts.
I rebuilt all of the reg seats with 3d printed versions. I found the stiffer TPU, Prusaflex 98A, more responsive than the softer classic Ninjaflex. The softer seal would consistently creep to the setpoint for the last 25-50psi. The stiff TPU was more direct in sealing off.
The thingiverse file has some notes on heating up the old seat and prying the top off, then pressing it all back together. None of the printed seals leaked, and I was on the receiving end of three of these KPs recently so I know they are working. 🙄
I kept a pyrex dish with WD40 on the bench to drop steel parts into. These are the clean parts.

This is what happens when they are not cleaned.


The Chinese are pretty bad about the stabilizers they use in their urethanes, like the valve o-rings.

Most of the seats looked like this, completely gone.

Here's a seat that was partially there. The bits came from the top of the reg piston.

Heating it up to pry off the top.

The inside of the assembly.

After cleaning it up and putting the new seat in, I squished it back together with some leather in the vise.
If you don't have a printer, you could find a piece of urethane (6mm thick iirc), sharpen a brass tube on a rock, and drill yourself a new seat. It is mechanically held together, so it is fairly tolerant if you take care of the top cap (go slow, go around).
Snap-ring pliers are very nice for getting the reg apart.


Comment