I wanted to share my notes on the rebuild:
disassembly seems straight forward,
So you want to rebuild the ram housing... I added a beautiful stippling to mine. First you'll want to get a heat gun on it for a while to help melt the loctite,
then get a 5-FT steel pole and add that on to your wrench like below. This leverage should crack most of the bolts off, if not, drill out the rest.


oops sorry wrong thread, this ^^^ was the last time I saw this much loctite on a bolt - I carefully put the blazer in a soft jaw vice and used a fancy wrench with clean flats. The body was smoking hot! And still I barely got it to move, second try the brass rounded, so I moved to the wrench, Slow and steady won the race. All the orings melted, which took some effort to remove all the black mayo. I polished the piston shaft, soaked the ram nut in WD-40, brass wire brush & pick to remove the old loctite. Craig said I need to use loctite otherwise it will walk out.. BUT it's not like it will go flying out of there. This is more like a door hinge pin situation, you see the pin walk, and hammer it back down. So I added a paint mark to see if this nut decides to take a walk, and if it does, I'll wrench it back.

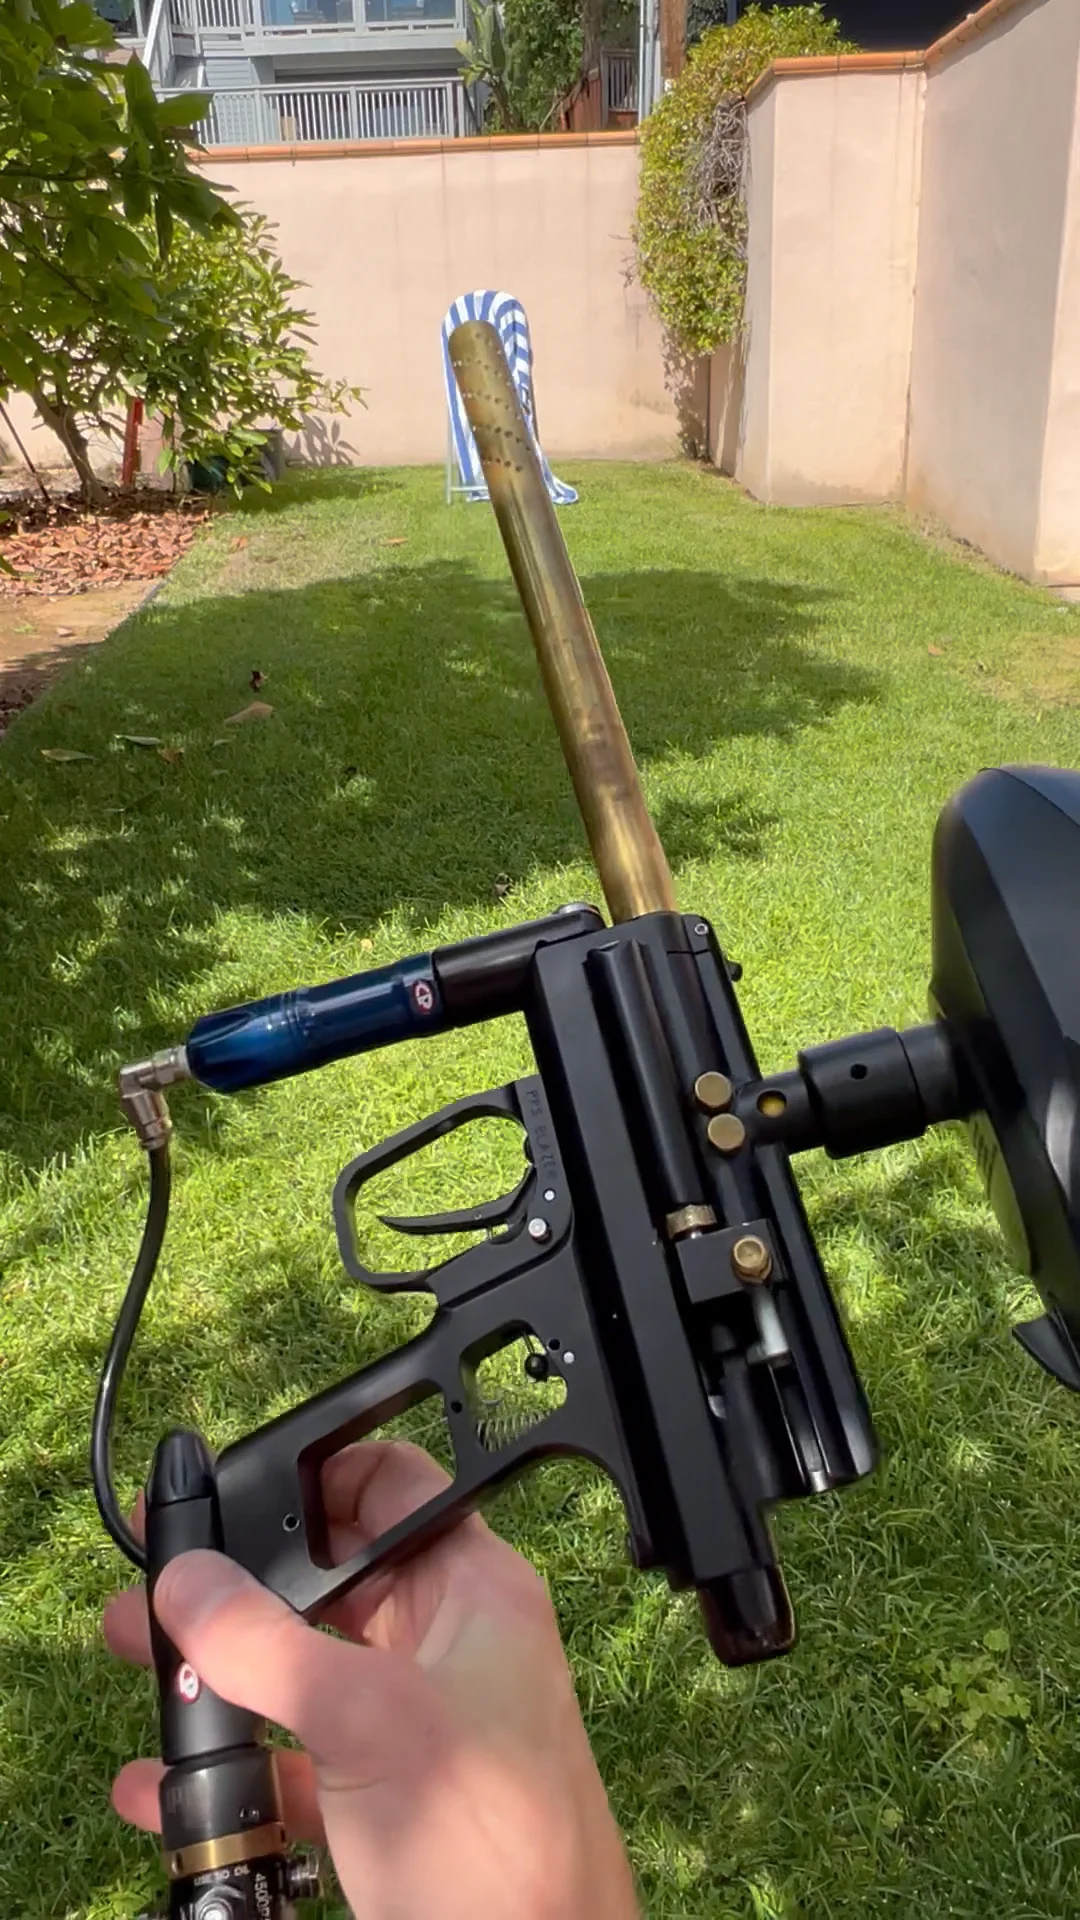
All went back together just fine, I had made a note of how many turns each nut had(LPR, HPR, IVG) Aired it up (with a test CP reg) and is shot 274 out of the gate.
disassembly seems straight forward,
- once the bolts to the frame come off separate slowly, so the 3way rod falls out with out bending it.
- BLUE Circle - once the ram is out, I removed the set screw used soft jaw vice to clamp the piston and the bolt carrier twists right off.
- Purple circle - there are two Schrader style seals to change, one over pressure relief inside the main piston
- Orange circle - 015 came off but it definitely did not want to go back in. I ended up using an 014 75D on the front, and 015 70D xring on the back along with some sticky dow 111 to help keep it all in place. I tried multiple 015 orings and it would not seat right.
- Green Circle - see blow
So you want to rebuild the ram housing... I added a beautiful stippling to mine. First you'll want to get a heat gun on it for a while to help melt the loctite,
then get a 5-FT steel pole and add that on to your wrench like below. This leverage should crack most of the bolts off, if not, drill out the rest.
oops sorry wrong thread, this ^^^ was the last time I saw this much loctite on a bolt - I carefully put the blazer in a soft jaw vice and used a fancy wrench with clean flats. The body was smoking hot! And still I barely got it to move, second try the brass rounded, so I moved to the wrench, Slow and steady won the race. All the orings melted, which took some effort to remove all the black mayo. I polished the piston shaft, soaked the ram nut in WD-40, brass wire brush & pick to remove the old loctite. Craig said I need to use loctite otherwise it will walk out.. BUT it's not like it will go flying out of there. This is more like a door hinge pin situation, you see the pin walk, and hammer it back down. So I added a paint mark to see if this nut decides to take a walk, and if it does, I'll wrench it back.
All went back together just fine, I had made a note of how many turns each nut had(LPR, HPR, IVG) Aired it up (with a test CP reg) and is shot 274 out of the gate.