instagram takipci satin al - instagram takipci satin al mobil odeme - takipci satin al

bahis siteleri - deneme bonusu - casino siteleri

bahis siteleri - kacak bahis - canli bahis

goldenbahis - makrobet - cepbahis

cratosslot - cratosslot giris - cratosslot

Announcement

Collapse
No announcement yet.

Autococker pump cycle options

Collapse
X
 
  • Filter
  • Time
  • Show
Clear All
new posts

    Autococker pump cycle options

    I'm new to pump, and basically new to autocockers. I recently picked up a pump and while mechanically everything is fine, I think the pump action can be improved.
    The pull is easy up until the back block catches the cocking rod, then gets stiff as you pull to to the stop. Is it possible to use a shorter cocking rod or fill the space between the block and the rod so that the pull is consistent? My guess is no as it would throw off the cycle with the bolt, but I don't know what options are out there.
    Feedback

    #2
    Is there a rubber bumper on the cocking rod? Shortening it might make the bolt not clear the breech properly.

    You might also check the pump arm to see if it runs against the back of the body. Depending on which pump kit, it could be misaligned and causing the pump arm to rub.

    Also it could be a stiff hammer spring, or the IVG being turned in too far. This gets into the territory of getting a lighter hammer spring, and going through the sweet spotting steps.
    Feedback 3.0

    Comment


      #3
      Throw a picture of up your marker and that's help us understand what we're dealing with.
      Cuda's Feedback

      Comment


        #4
        Bumper is on the cocking rod. Basically the resistance starts when the block reaches it, which I expect to some extent, but it makes it difficult to gauge when the bolt has actually cleared the feed neck. It may just be something I need to get used to, but the borrowed cocker pump I played with seemed to have a much smoother cycle.

        It also just started leaking out of the front block by the pump handle while I was testing it, so I think I'll just tear it all down and replace all the seals. Not sure how to strip it down to that level, but it can't be that hard.
        Feedback

        Comment


        • Cdn_Cuda

          Cdn_Cuda

          commented
          Editing a comment
          Nice! Glad I asked for a picture. I have red/black fade dragon cocker. Love these bodies

        #5
        It probably has a heavy spring in it. The only force acting on the pump before it hits the cocking rod is the spring on the main guide of the pump shaft. But once you start pulling on the cocking rod you're now fighting the hammer spring until the sear catches. You can play with springs to get a better feel, but personally I'd just throw in an SLPS spring kit and that usually gets most guns pretty close to butter.

        Comment


        • OpusX

          OpusX

          commented
          Editing a comment
          +1 for SLPS. I am a fanboy.

        • Brokeass_baller

          Brokeass_baller

          commented
          Editing a comment
          SLPS is the way

        #6
        Try taking your pump return spring off and see if that makes a difference as well. Most people put them side the pump handles now.
        Cuda's Feedback

        Comment


          #7
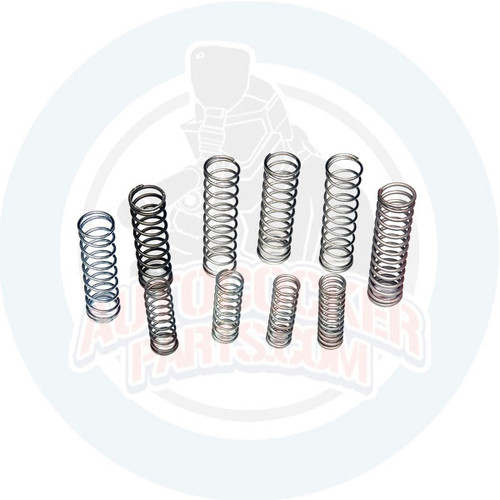
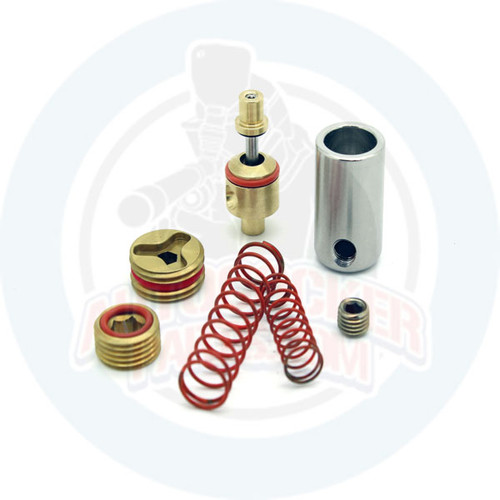
          Not sure what internals you are running. But it sounds like you got some stiff springs in it. Normally I would recommend a CCM lower internal set. But those can be hard to find and when you do people want big money for them now. The next best thing I would say is the higher end Autococker Parts lower internals. Provided the rest of your setup mechanics are properly setup it will shoot really nice without having to figure out a bunch of spring combinations.

          The kit is drop in and sweet spot. Lots of YouTube videos on how to do this properly.

          AutocockerParts.com has The Largest selection of Autococker Parts and Autococker Internal parts online.


          Another option is see what you got and play with spring combos.

          AutocockerParts.com has The Largest selection of Autococker Parts and Autococker Internal parts online.


          But if you can get your hands on a CCM lower kit it really don’t get better then that. Also take the return spring off the guide rod, and check your bolt for drag. If it’s got Orings put smaller ones on till it don’t drag on the body.

          Comment


            #8
            I noticed you have a snatch grip which I believe to be held in with a screw. If the screw is too long it be be the internals are dragging across it as you pump back. That maybe creating the sensation described. Worth a look I think.
            Feedback

            Comment


            • Brokeass_baller

              Brokeass_baller

              commented
              Editing a comment
              This is what I was thinking. It's real easy to use bolts that are too long.

            #9
            Like others have said. You’re describing normal operation of a gun with stiff springs. Ignore this non-issue and practice shooting.

            Comment


              #10
              Thanks for the suggestions! I took it out over the weekend, and it shot decent, but I'm still going to tinker with it. I have more questions now that I pulled the valve, so bear with me (1st cocker after only running mags). These things are like the Chevy small block of paintball guns with the amount of options available.

              1. Bolt dropped a bearing, any suggestions on a replacement? Apparently they come in different lengths.
              2. Any idea what the lower internals are? The valve is brass. The hammer is heavy, so steel I'm guessing. IVG is also brass but I have no idea on the make of any of it.
              3. The SLPS kit is inbound
              4. An externally adjustable reg is inbound
              5. Had an issue with ball rollout so I'd like to go with a old freak back. Any idea if it will work with the front? I'm hoping to keep the matched anno and I don't want to drop the $ on an XL kit.
              6. Detent is stripped, any suggestions on a replacment?
              7. The trigger frame bolts don't appear to extend in to the lower tube, no weird scratches on any moving parts.
              8. Thanks again!
              Feedback

              Comment

              Working...
              X