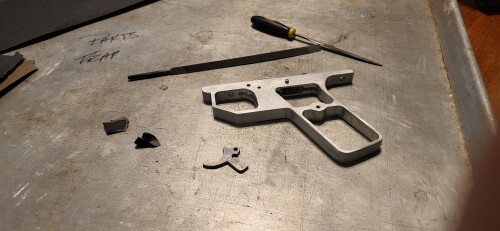
So, the other day, I saw this billet looking aluminum Line SI esque sheridan frame for sale in one of ECAPS black Friday posts. It looked ratty, but from what I could tell had a lot of potential for a sick anodizable sheridan frame. When I got it, I have it a quick glance. I noticed it was heavily pitted, had machining marks in the radiuses, had a custom home brew sear spring, and the trigger pull was heavy and gritty, but I was short on time so I tossed it in my paintball room.
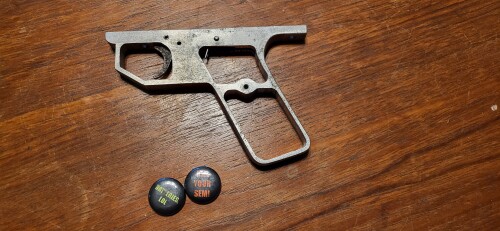

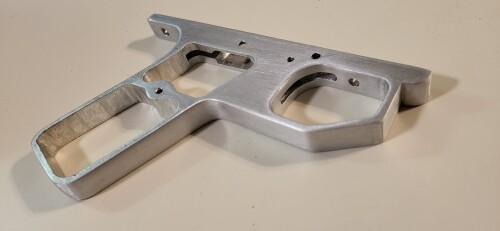
I left it sit for a week of so, but for some reason this thing has sparked some dopamine in me. I want to polish this turd. So I started with 220 grit, and scrubbed my arse off for hours over two seperate days to get to this.
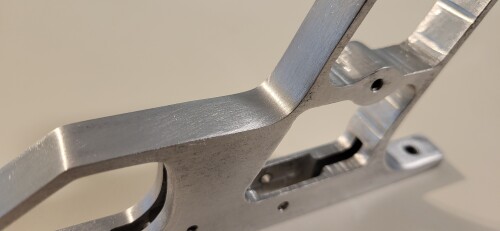
This is the first day of rough sanding
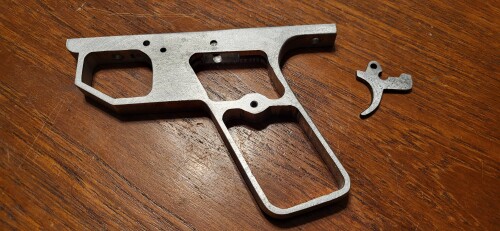
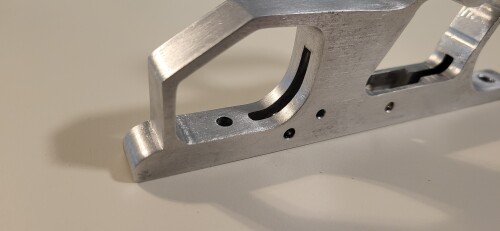
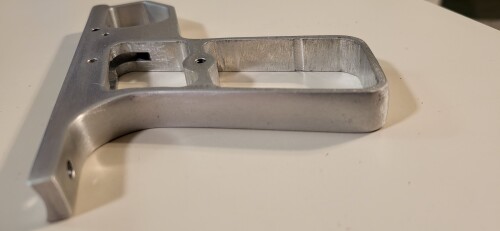
Day two of poking at this in my free time with 220.
Last night I sent the above photos to a group chat I have with the KC MCB crew (Love yall). KCcockerDoc suggested I use 160 grit sand paper to get more work done on the machining marks.
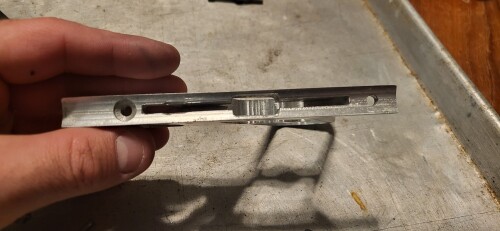
I also got the riot act form my wife as I have scratched the kitchen table sanding last night. This morning, I set up an old cookie sheet to protekt my table, and kept working. I robbed a sear from a ratty sheridan frame for the intact sear spring. When in installed it, it was still gritty. I noticed first, the front edge of the sear rubbed in the slot. While looking at it, I realized the slot was off center causing a bind. I also noticed the rearward pocket was a bit short so the heel of the sear spring was dragging on the rough machined surface.

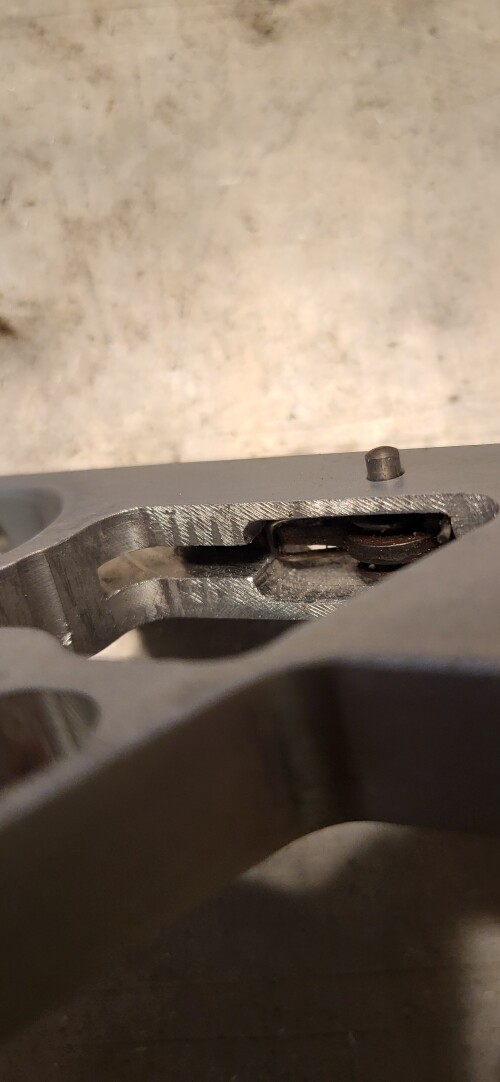
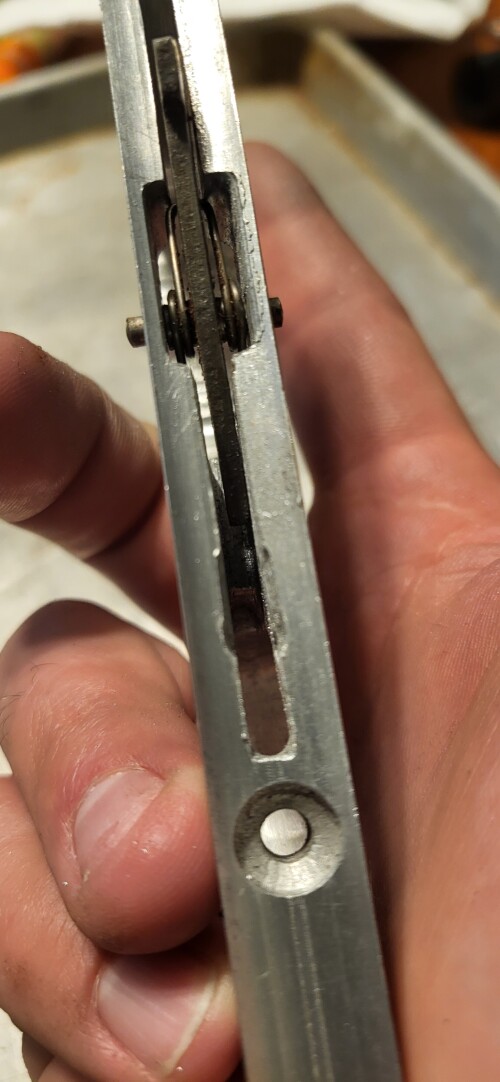
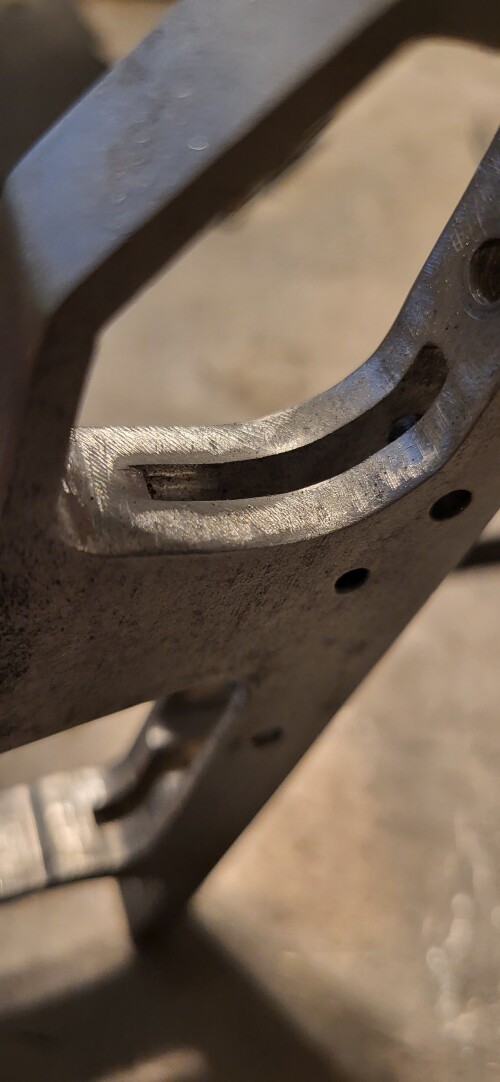
I found some needle files, and got to work. Once I got enough clearance to allow the sear to move freely, and squared the pockets up best I could, I went back to working the surface.
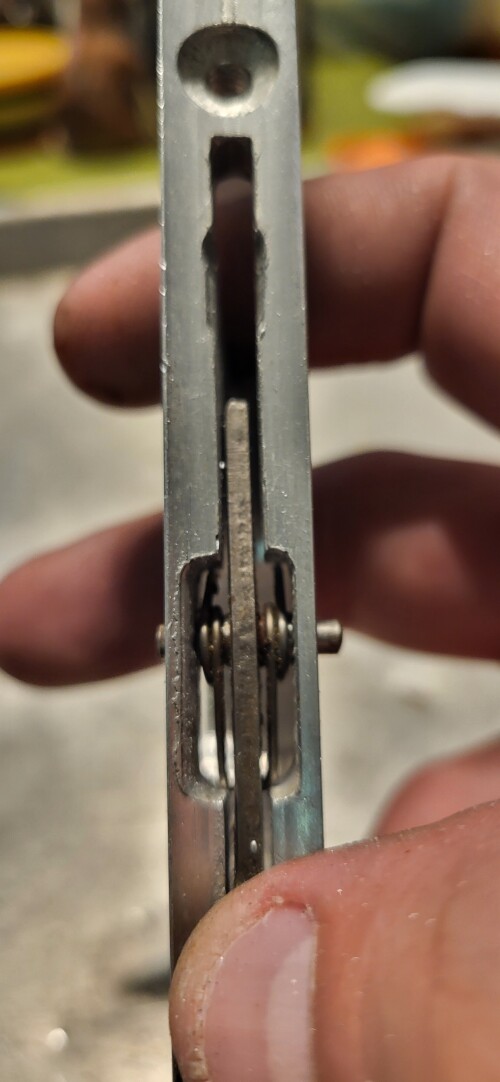
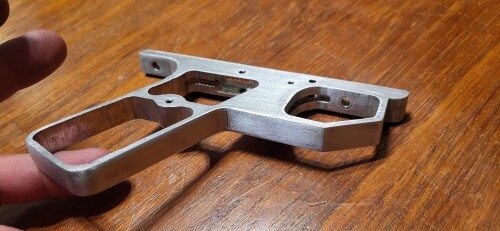
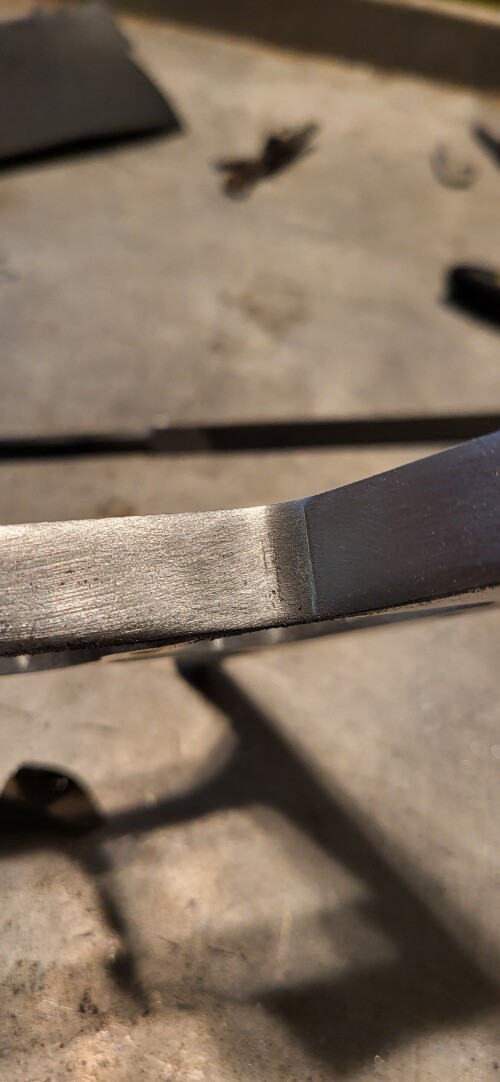
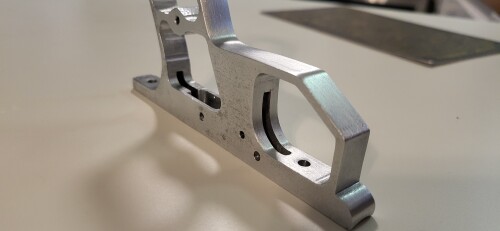
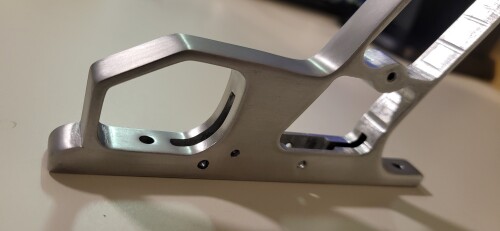
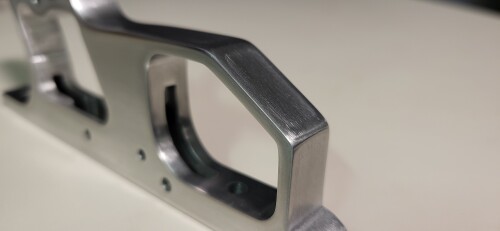
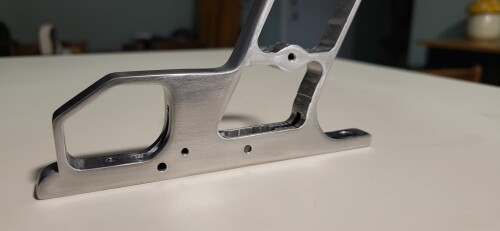
I sanded for a few hours, with 120 working on the radiuses mainly. My sandpaper kit only had 120 grit, but I'm not mad at the sanding results I'm getting out of it.
Before:
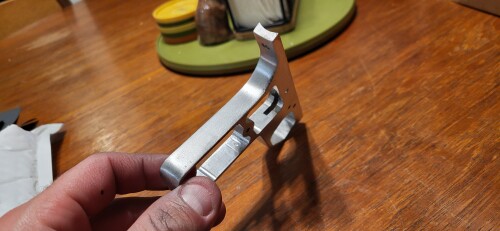
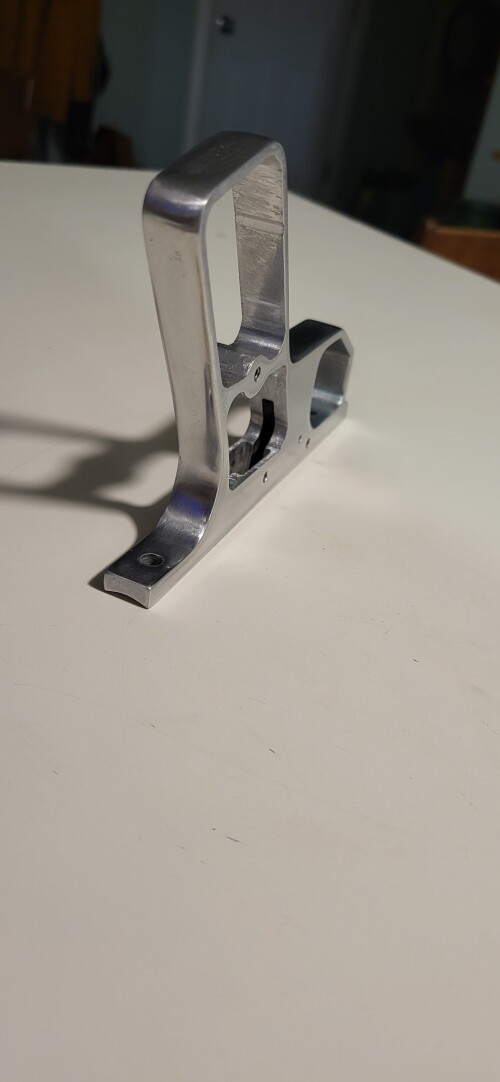
After:
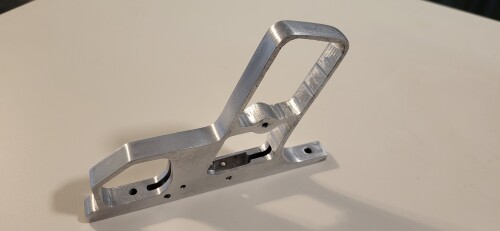
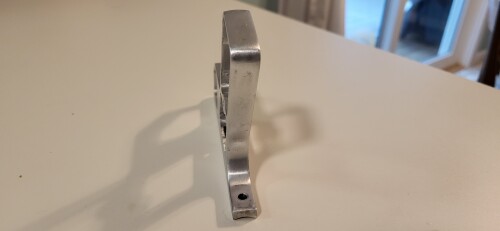
I've obviously got a bunch more work to do before she is ano ready, but I'm pretty excited to see it coming to life. Had to stop so I could go see a movie with the wife, but I'll like get back to scrubbing after this post.
Thanks for looking! Stay tuned!!
I left it sit for a week of so, but for some reason this thing has sparked some dopamine in me. I want to polish this turd. So I started with 220 grit, and scrubbed my arse off for hours over two seperate days to get to this.
This is the first day of rough sanding
Day two of poking at this in my free time with 220.
Last night I sent the above photos to a group chat I have with the KC MCB crew (Love yall). KCcockerDoc suggested I use 160 grit sand paper to get more work done on the machining marks.
I also got the riot act form my wife as I have scratched the kitchen table sanding last night. This morning, I set up an old cookie sheet to protekt my table, and kept working. I robbed a sear from a ratty sheridan frame for the intact sear spring. When in installed it, it was still gritty. I noticed first, the front edge of the sear rubbed in the slot. While looking at it, I realized the slot was off center causing a bind. I also noticed the rearward pocket was a bit short so the heel of the sear spring was dragging on the rough machined surface.
I found some needle files, and got to work. Once I got enough clearance to allow the sear to move freely, and squared the pockets up best I could, I went back to working the surface.
I sanded for a few hours, with 120 working on the radiuses mainly. My sandpaper kit only had 120 grit, but I'm not mad at the sanding results I'm getting out of it.
Before:
After:
I've obviously got a bunch more work to do before she is ano ready, but I'm pretty excited to see it coming to life. Had to stop so I could go see a movie with the wife, but I'll like get back to scrubbing after this post.
Thanks for looking! Stay tuned!!


Comment