I realize, I'm the king of "ridealong" threads of projects that never get finished, but... Hear me out. I mainly wanted to share some of this as Cal440 was askinjg about the mash up of P series and K series bits.
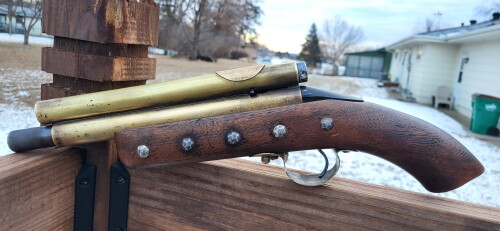
I saw this awesome side tubed PGP in an appreisal thread from RAZRBAKK a while back, and with the cool pirate grip, I had to have it. It was sold at "just a side tubed pgp with extended feed knob."
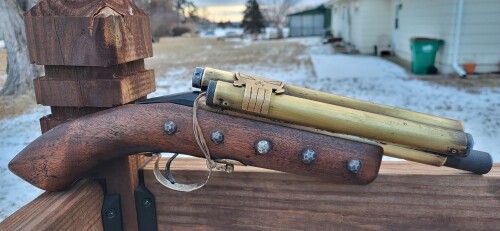
It arrived looking like this:
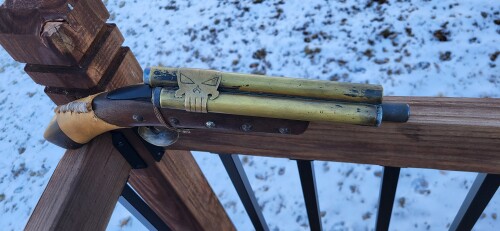
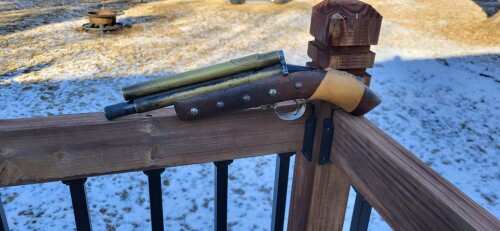
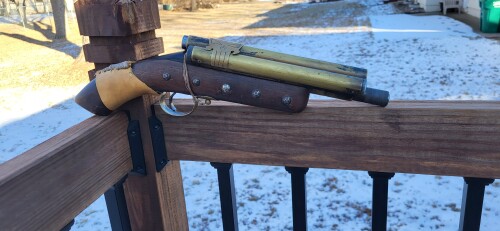
I removed the leather grip to clean the wood. I cleaned the wood up with Murphys wood oil soap. I also took some "The Pink Stuff" polishing compount carefully to specific spots to clean up, now not "polish out the character" but I wasnt able to get the leather grip back on after the fact. It did hold air, but you could hear the 12G face seal bleeding air quietly. I figured I wanted to make it right hand cocking anyways as I wanted the realistic action of up, back, forward, down. It makes reloads harder, but makes the cocking action feel more fun, plus if makes you wrist roll the side tube pretty naturally. I went to take The left handed cocking rod out, to find it was JB welded into place. it broke free cleanly luckily. I drilled the cocking rod hole the rest of the way through, but I stayed small until a plan could be decided.
Yesterday, I got into the guts to fix the face seal. the seal was toast as always, and I installed onf of my personally made red TPU face seals that XEMON desidned. its held air all night.
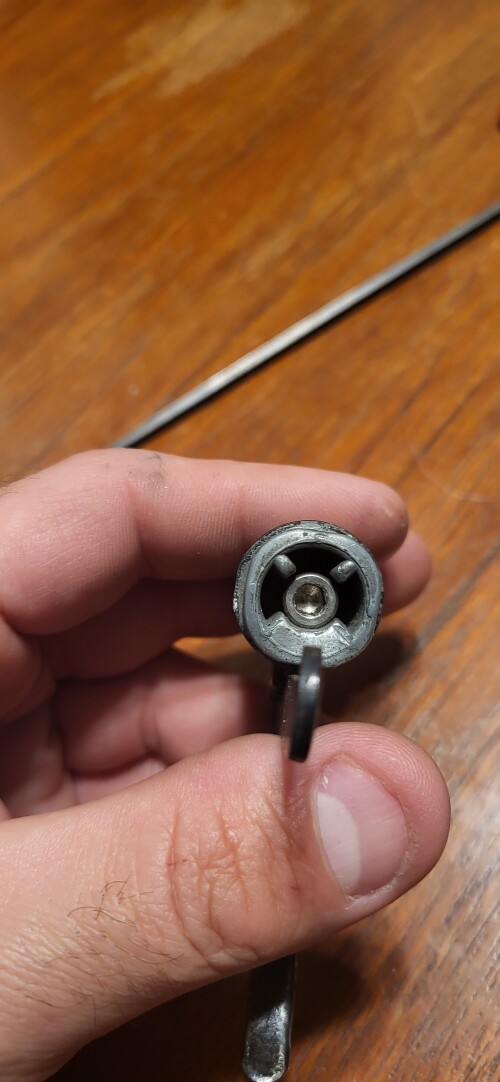
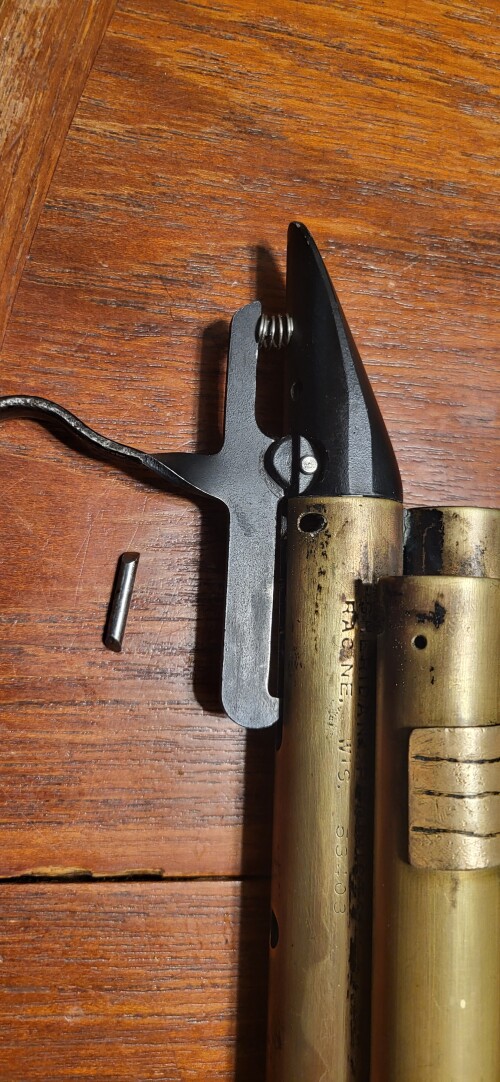
Much to my surprise, this "just a pgp" has a pps dyna valve in it!!! I figure I'll be back in here soon, so I simply cleaned, and greased the guts and re assembled. I added a few pics showing this is simply a PGP lower with a KP back cap on it. the back cap has a screw in it to take up spring space, but an RVA should be added. It may not chrono at the end of the day, and there is NO margin for extra space.
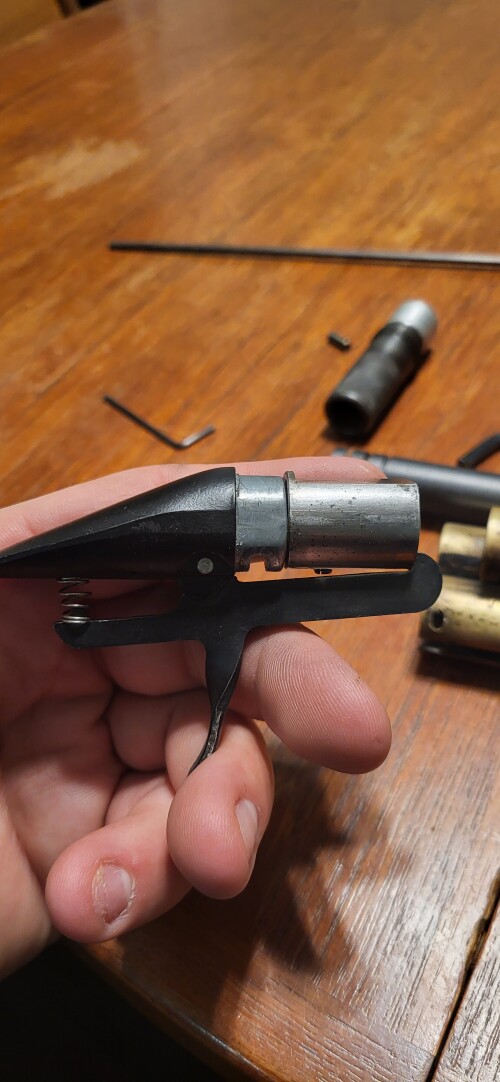
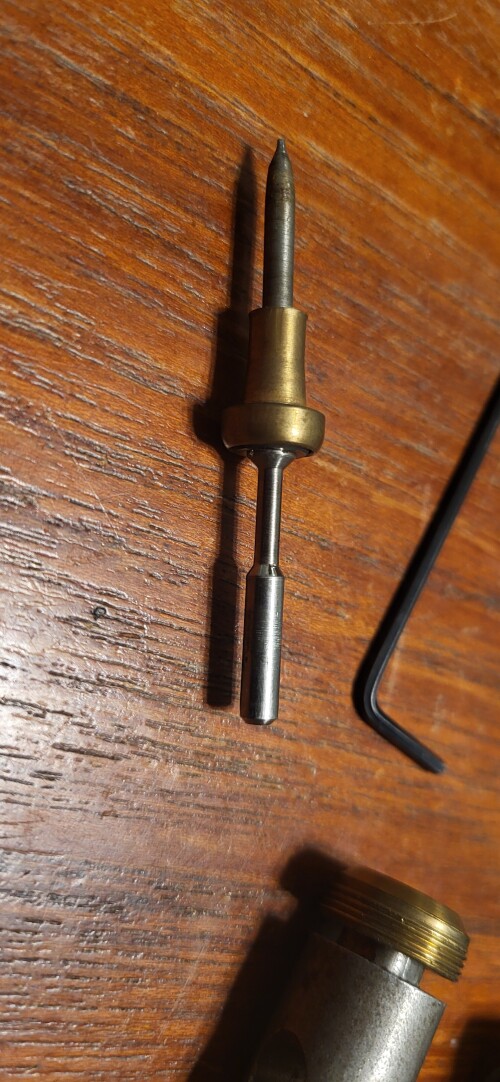
I threaded a 10-32 shoulder bolt into the threads just to test proof of concept.
Now, I have trust issues with those 5 aluminum threads. I could get a 10-32 threaded pull handle and simply thread into the bolt,. I really feel the bolt threads would fail eventually. That being said, I plan on utilizing a through screw, socked tight in the bolt threads. then a female to female coupler to pinch the through screw on the bolt. My theory is that this will make a much more secure bolt handle. Here is my initial temporary handle, followed by another temporary handle with a tough bolt assembly of parts I had laying around..
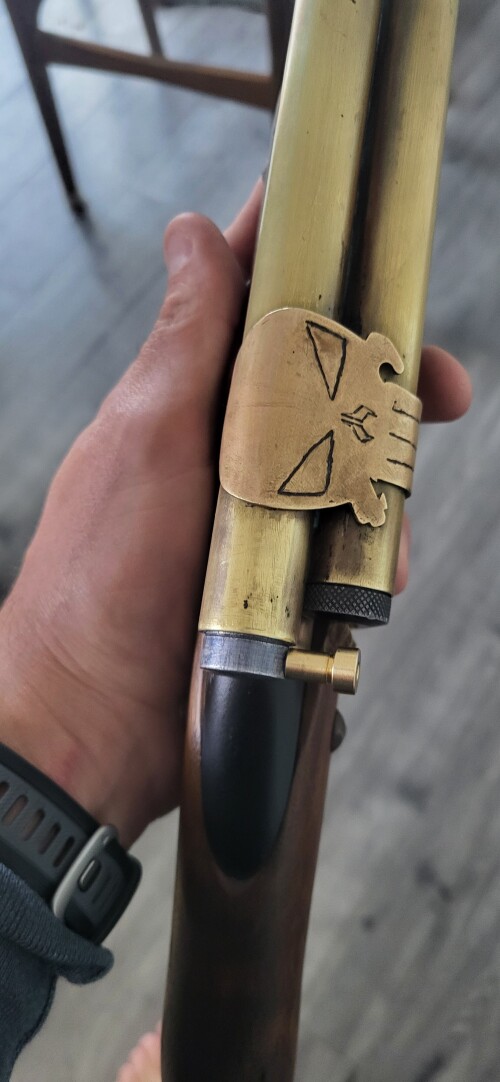
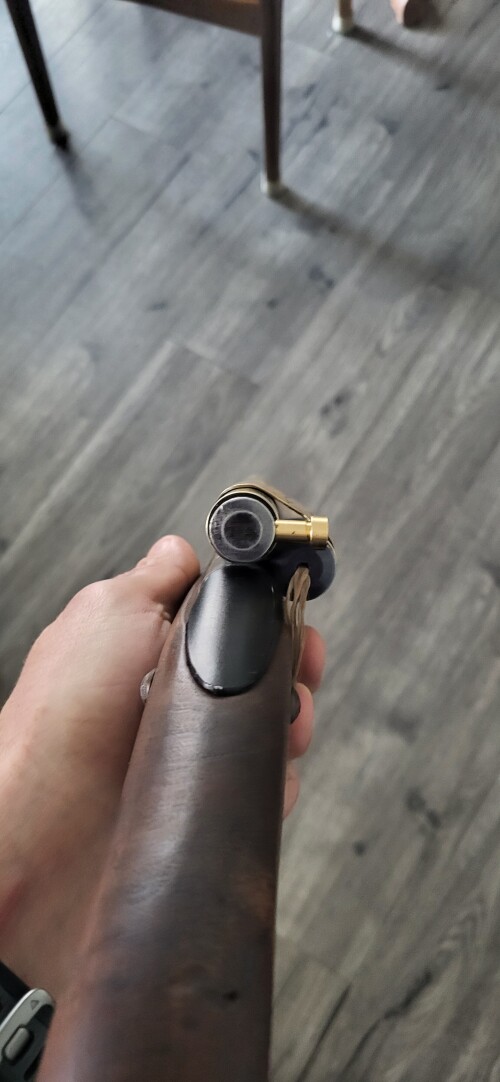
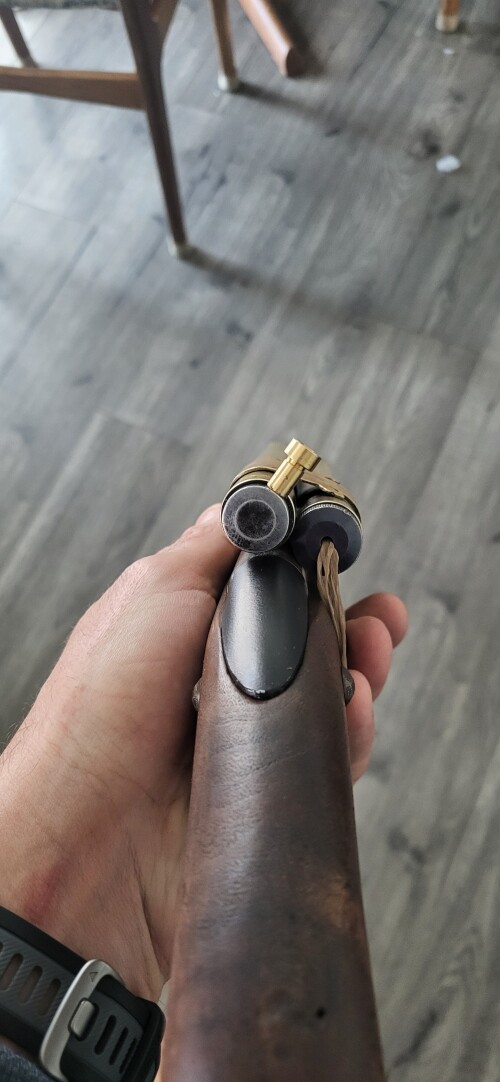
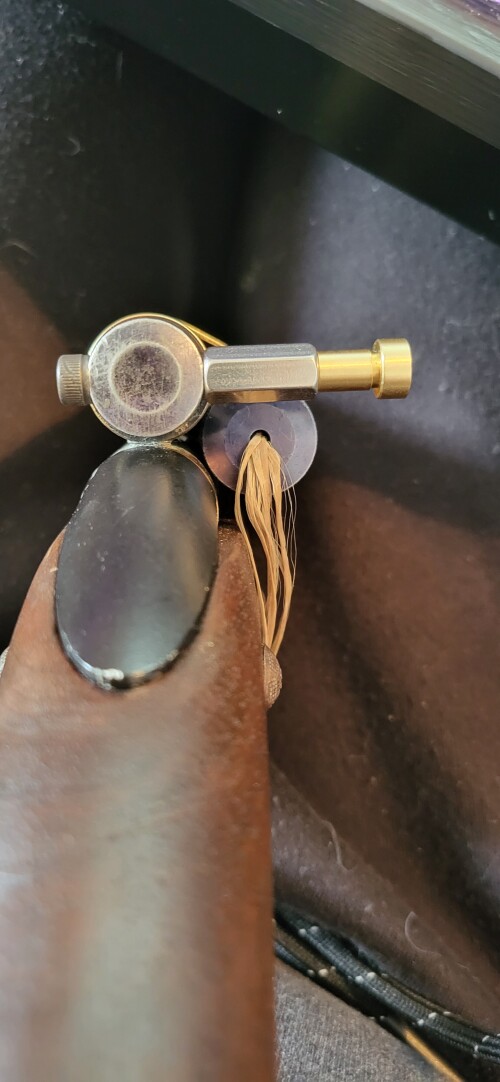
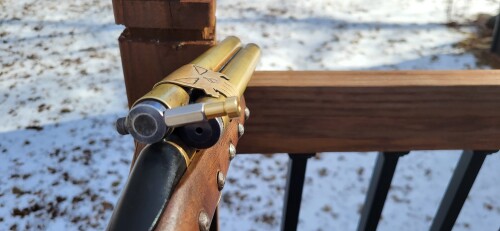
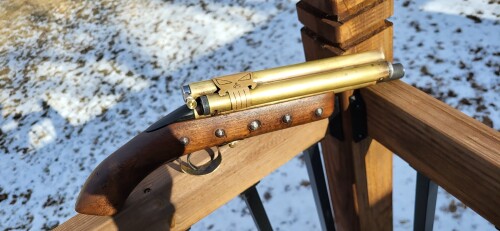
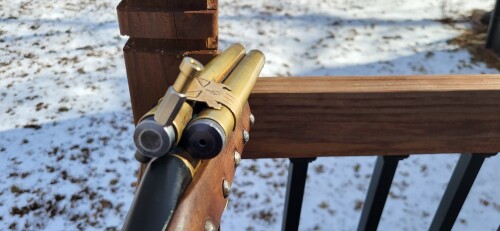
That COULD be good enough no?
Last night I ordered $56 worth of crap from McMaster, which was NOT the cheap route to go with this, hindsight says a Mauser bolt arm would have achieved a nice bolt handle for $15..
regardless I think its going to look bad ass onse all assembled.
McMaster-Carr 10-32x1/2 long brass button head bolt for a ball pusher in the bolt face. - 97715A213
McMaster-Carr 10-32 x 1" Stainless Steel low profile socket head cap screw - 93615A390
McMaster-Carr 10-32x 3/4" rounded stainless steel coupling nut - 90202A202
McMaster-Carr 10-32x 3/4" Stainless Steel Ball Lever Shaft - 8384K53
McMaster-Carr 10-32x 1" dia. brass ball handle - 60215K54
I attached the catalog numbers as I assume the links to Mcmaster will all just take you to a the home page.
Things it still needs:
nail polish wigits
RVA?
a new longer feed cap tether line. I wanted to save the old school cordage, but i I need it longer so I can pull the plug out via the cord. reloading this beast will be a challenge, but I'm always in for a challnge.
but... it lives!
I saw this awesome side tubed PGP in an appreisal thread from RAZRBAKK a while back, and with the cool pirate grip, I had to have it. It was sold at "just a side tubed pgp with extended feed knob."
It arrived looking like this:


I removed the leather grip to clean the wood. I cleaned the wood up with Murphys wood oil soap. I also took some "The Pink Stuff" polishing compount carefully to specific spots to clean up, now not "polish out the character" but I wasnt able to get the leather grip back on after the fact. It did hold air, but you could hear the 12G face seal bleeding air quietly. I figured I wanted to make it right hand cocking anyways as I wanted the realistic action of up, back, forward, down. It makes reloads harder, but makes the cocking action feel more fun, plus if makes you wrist roll the side tube pretty naturally. I went to take The left handed cocking rod out, to find it was JB welded into place. it broke free cleanly luckily. I drilled the cocking rod hole the rest of the way through, but I stayed small until a plan could be decided.


Yesterday, I got into the guts to fix the face seal. the seal was toast as always, and I installed onf of my personally made red TPU face seals that XEMON desidned. its held air all night.
Much to my surprise, this "just a pgp" has a pps dyna valve in it!!! I figure I'll be back in here soon, so I simply cleaned, and greased the guts and re assembled. I added a few pics showing this is simply a PGP lower with a KP back cap on it. the back cap has a screw in it to take up spring space, but an RVA should be added. It may not chrono at the end of the day, and there is NO margin for extra space.


I threaded a 10-32 shoulder bolt into the threads just to test proof of concept.
Now, I have trust issues with those 5 aluminum threads. I could get a 10-32 threaded pull handle and simply thread into the bolt,. I really feel the bolt threads would fail eventually. That being said, I plan on utilizing a through screw, socked tight in the bolt threads. then a female to female coupler to pinch the through screw on the bolt. My theory is that this will make a much more secure bolt handle. Here is my initial temporary handle, followed by another temporary handle with a tough bolt assembly of parts I had laying around..


That COULD be good enough no?
Last night I ordered $56 worth of crap from McMaster, which was NOT the cheap route to go with this, hindsight says a Mauser bolt arm would have achieved a nice bolt handle for $15..
regardless I think its going to look bad ass onse all assembled.
McMaster-Carr 10-32x1/2 long brass button head bolt for a ball pusher in the bolt face. - 97715A213
McMaster-Carr 10-32 x 1" Stainless Steel low profile socket head cap screw - 93615A390
McMaster-Carr 10-32x 3/4" rounded stainless steel coupling nut - 90202A202
McMaster-Carr 10-32x 3/4" Stainless Steel Ball Lever Shaft - 8384K53
McMaster-Carr 10-32x 1" dia. brass ball handle - 60215K54
I attached the catalog numbers as I assume the links to Mcmaster will all just take you to a the home page.
Things it still needs:
nail polish wigits
RVA?
a new longer feed cap tether line. I wanted to save the old school cordage, but i I need it longer so I can pull the plug out via the cord. reloading this beast will be a challenge, but I'm always in for a challnge.
but... it lives!


Comment