Originally posted by DocsMachine
View Post
Announcement
Collapse
No announcement yet.
Vee Twin Autococker
Collapse
X
-
Made some edits to the above post for you. I do hope it's not as pronounced on the others! They're beautiful markers regardless, and awesome machines.
-
Sweet, Woofs! My compliments to Mozak, that'll look great polished and annoed.
Siress- gotta at least partially disagree with you, there. You can see the periphery of the plug is rounded slightly- no 'acid etch' did that. That's a buffing issue.
And in this case, being an already-bare body (that is, it wasn't stripped of a previous coat) there's no "etch" step- this isn't painting, we're not prepping it for primer. Preliminary steps are washing and desmut, the desmut strips off whatever thin oxide layer has built up just from the bare metal having been exposed to air. (And, if we really wanted to get pedantic, the process uses a base, not an acid. )
)
An any acid bath that could erode the edges of the plugs that much, would also similarly damage threads, making the detents, barrels, pump rod and so on looser and sloppier.
One body I did years ago, the shop did an "electropolish", or bright-dip. That does actually remove material, albeit very, very minutely, to smooth the part slightly. It removes the "points" of scratches and the like. I used to have photos of that around here somewhere, but the plugged holes were only barely visible as a faint line. Headshot's are far more visible- those were buffed, not done chemically.
We'll see one way or the other once I have 'Zilla's back.
Doc.
- Likes 3
Leave a comment:
-
finally, I can use my mat sci degree... *flex*....Originally posted by DocsMachine View Post-The "plugs" are the same 6061 as the rest of the body. Not the same "billet", of course, but very much the same alloy. You don't start getting coloration issues unless you use different alloys- the famous one being older 'Cocker vertical ASAs. Those I think were made from 2021, and due to the increased copper content, don't take the color the same way. (No issue with black, but gets more obvious with lighter colors.)
I try to smooth them up as best as I can, but there will always be some trace visible. I will say on Headshot's, it looks to me like the polisher got WAY too aggressive with the buffer.
The ports can't be easily drilled from underneath (and still have a valve retaining screw, which, with an 11/16" valve, is the only thing holding the valve in place) and if I TIG welded the holes shut, which I could easily do, the welding appears as a "stain" in the anno. Anyone who's ever owned a Blazer, especially one annoed a bright color, knows about the little 'cloud' stain where they TIGged the inner air passages closed after drilling.
This has nothing to do with buffing. In fact, I'd challenge you to create a crevice with a buffer without the below being true.
One-two-three sequence here: 1) the filed finish is rough on the feature edges (both ID of hole and OD of pin), causing them to chip more than an abrasive would. Not much , but it counts. 2) those chips, or any edge defect really, are not observable because they are filled in with the fine metal powder being generated and, under those same shearing forces, can pack in tight enough to appear like the bulk material but it's really just superficial particulate. 3) and this is the big one in that it makes this all visible: anodizing requires an acid etch.1 The little particulate have higher surface energy and etch preferentially. It doesn't take much for the particles to lose the tight packing holding them in place, so that superficial particulate falls out - if not immediately then certainly during cleaning/polishing/buffing.
All of that said, this is still about as good as one can get for such a feature. Everything else Doc said is right on the money.- For those that need clarification, the acid bath electrolysis step is an electrochemical etch of the aluminum part.
Last edited by Siress; 11-16-2022, 08:45 AM. Reason: Adding clarification for the 'acid etch' comment, and further detail on how a large particle mass can be etched away without over-etching of other features.
- Likes 4
Leave a comment:
-
A million years ago, I made an "L" stock for an early 'Cocker I had, to mount a tank ring to hold one of the early Paintball Mania FW-71 HPA tanks- the old flat-bottom bottle.
(Sorry about the size, that pic is literally 25 years old, and dates back to the 640x480 monitor days. I've been meaning to do a fresh photoshoot and write-up of the gun, which I still have. The idea, by the way, was based off of how Dave Youngblood had his set up on some of his guns- and, point in fact, he used the same tank and a very similar stock for the famous ESPN games.)
Anyway, I didn't have a way to cleanly bend the bar to make the tail, so I made a separate piece, and had a local shop TIG weld it on. The guy did kind of a sloppy job of it (and it later cracked for lack of penetration) and lord only knows what rod he used. But I was able to sand and file it smooth (which admittedly didn't help the strength) and it looked pretty much like one piece when I was done. But, when I got it back from anno:


The weld is obvious- and in the second photo you can see the crack, which I repaired by putting a screw in from the back. I'm not sure it's so much a difference in density, there shouldn't be a significant difference, really, but it's definitely a difference in alloy.
In this case, the two bars I used were 6061, and the rod used to weld it was probably 4043. I'm told that 5356 makes a better match, but really, the weld will never be "invisible". I recall Glenn saying they tried several alloys for the Blazer, and settled on the best of the lot, but even those welds are still visible.
For the Vee-Twin, an option might be to press in a close-fitting pin, and peen it in place. If any of you have watched Clickspring videos, you'll see him do that a lot in brass, and the hole and plug vanish entirely. In this case, however, there's no easy way to support the underside of the tube when the plug is being peened into place, and that the plug is really only being held in by friction.
If done right, it should be a good deal of friction, and there's no pressure on the backside trying to push it out, but either way, I tend to prefer the security of a mechanically-retained threaded plug.
Doc.
- Likes 2
Leave a comment:
-
Welding changes the density of the material making it take Ano differently even if it’s the same exact material. It’s why patched markers never come out perfect. You could take a piece of the same material tig it together re grain polish and just the heat will make it look different.
-
"and if I TIG welded the holes shut, which I could easily do, the welding appears as a "stain" in the anno."
Okay, that's what I've seen before, especially with eye-hole repairs. I figured if it's the same alloy it'd be nearly indecipherable.
-
-The "plugs" are the same 6061 as the rest of the body. Not the same "billet", of course, but very much the same alloy. You don't start getting coloration issues unless you use different alloys- the famous one being older 'Cocker vertical ASAs. Those I think were made from 2021, and due to the increased copper content, don't take the color the same way. (No issue with black, but gets more obvious with lighter colors.)Originally posted by zinger565 View PostLt. head-shot I have to ask, any anno issues where Doc "plugged" the valve holes? I always wondered if mis-matched aluminum, even just the grain structure, would be visible.
I try to smooth them up as best as I can, but there will always be some trace visible. I will say on Headshot's, it looks to me like the polisher got WAY too aggressive with the buffer.
The ports can't be easily drilled from underneath (and still have a valve retaining screw, which, with an 11/16" valve, is the only thing holding the valve in place) and if I TIG welded the holes shut, which I could easily do, the welding appears as a "stain" in the anno. Anyone who's ever owned a Blazer, especially one annoed a bright color, knows about the little 'cloud' stain where they TIGged the inner air passages closed after drilling.
Wait'll you guys see Sethzilla's. Not fancy anno, but a little extra milling.
Doc.
- Likes 4
Leave a comment:
-
There are actually. It doesn’t bother me since the splash is very random, but there are some spots. Not 100% sure if it would show on everything, or maybe it was a polishing issue.Originally posted by zinger565 View PostLt. head-shot I have to ask, any anno issues where Doc "plugged" the valve holes? I always wondered if mis-matched aluminum, even just the grain structure, would be visible.
- Likes 2
Leave a comment:
-
Lt. head-shot I have to ask, any anno issues where Doc "plugged" the valve holes? I always wondered if mis-matched aluminum, even just the grain structure, would be visible.
Leave a comment:
-
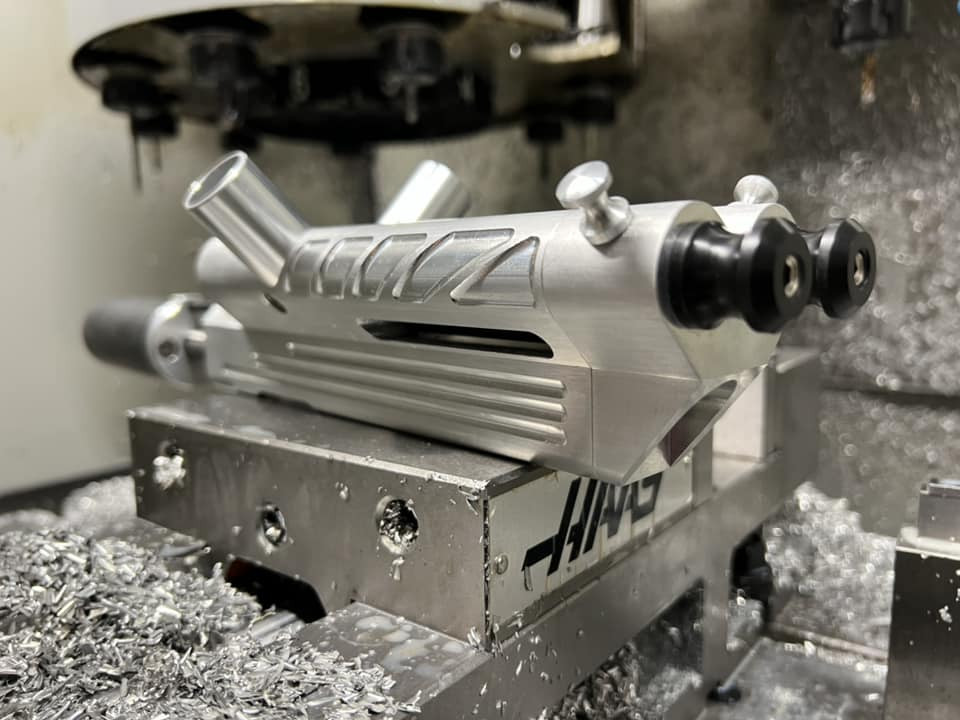
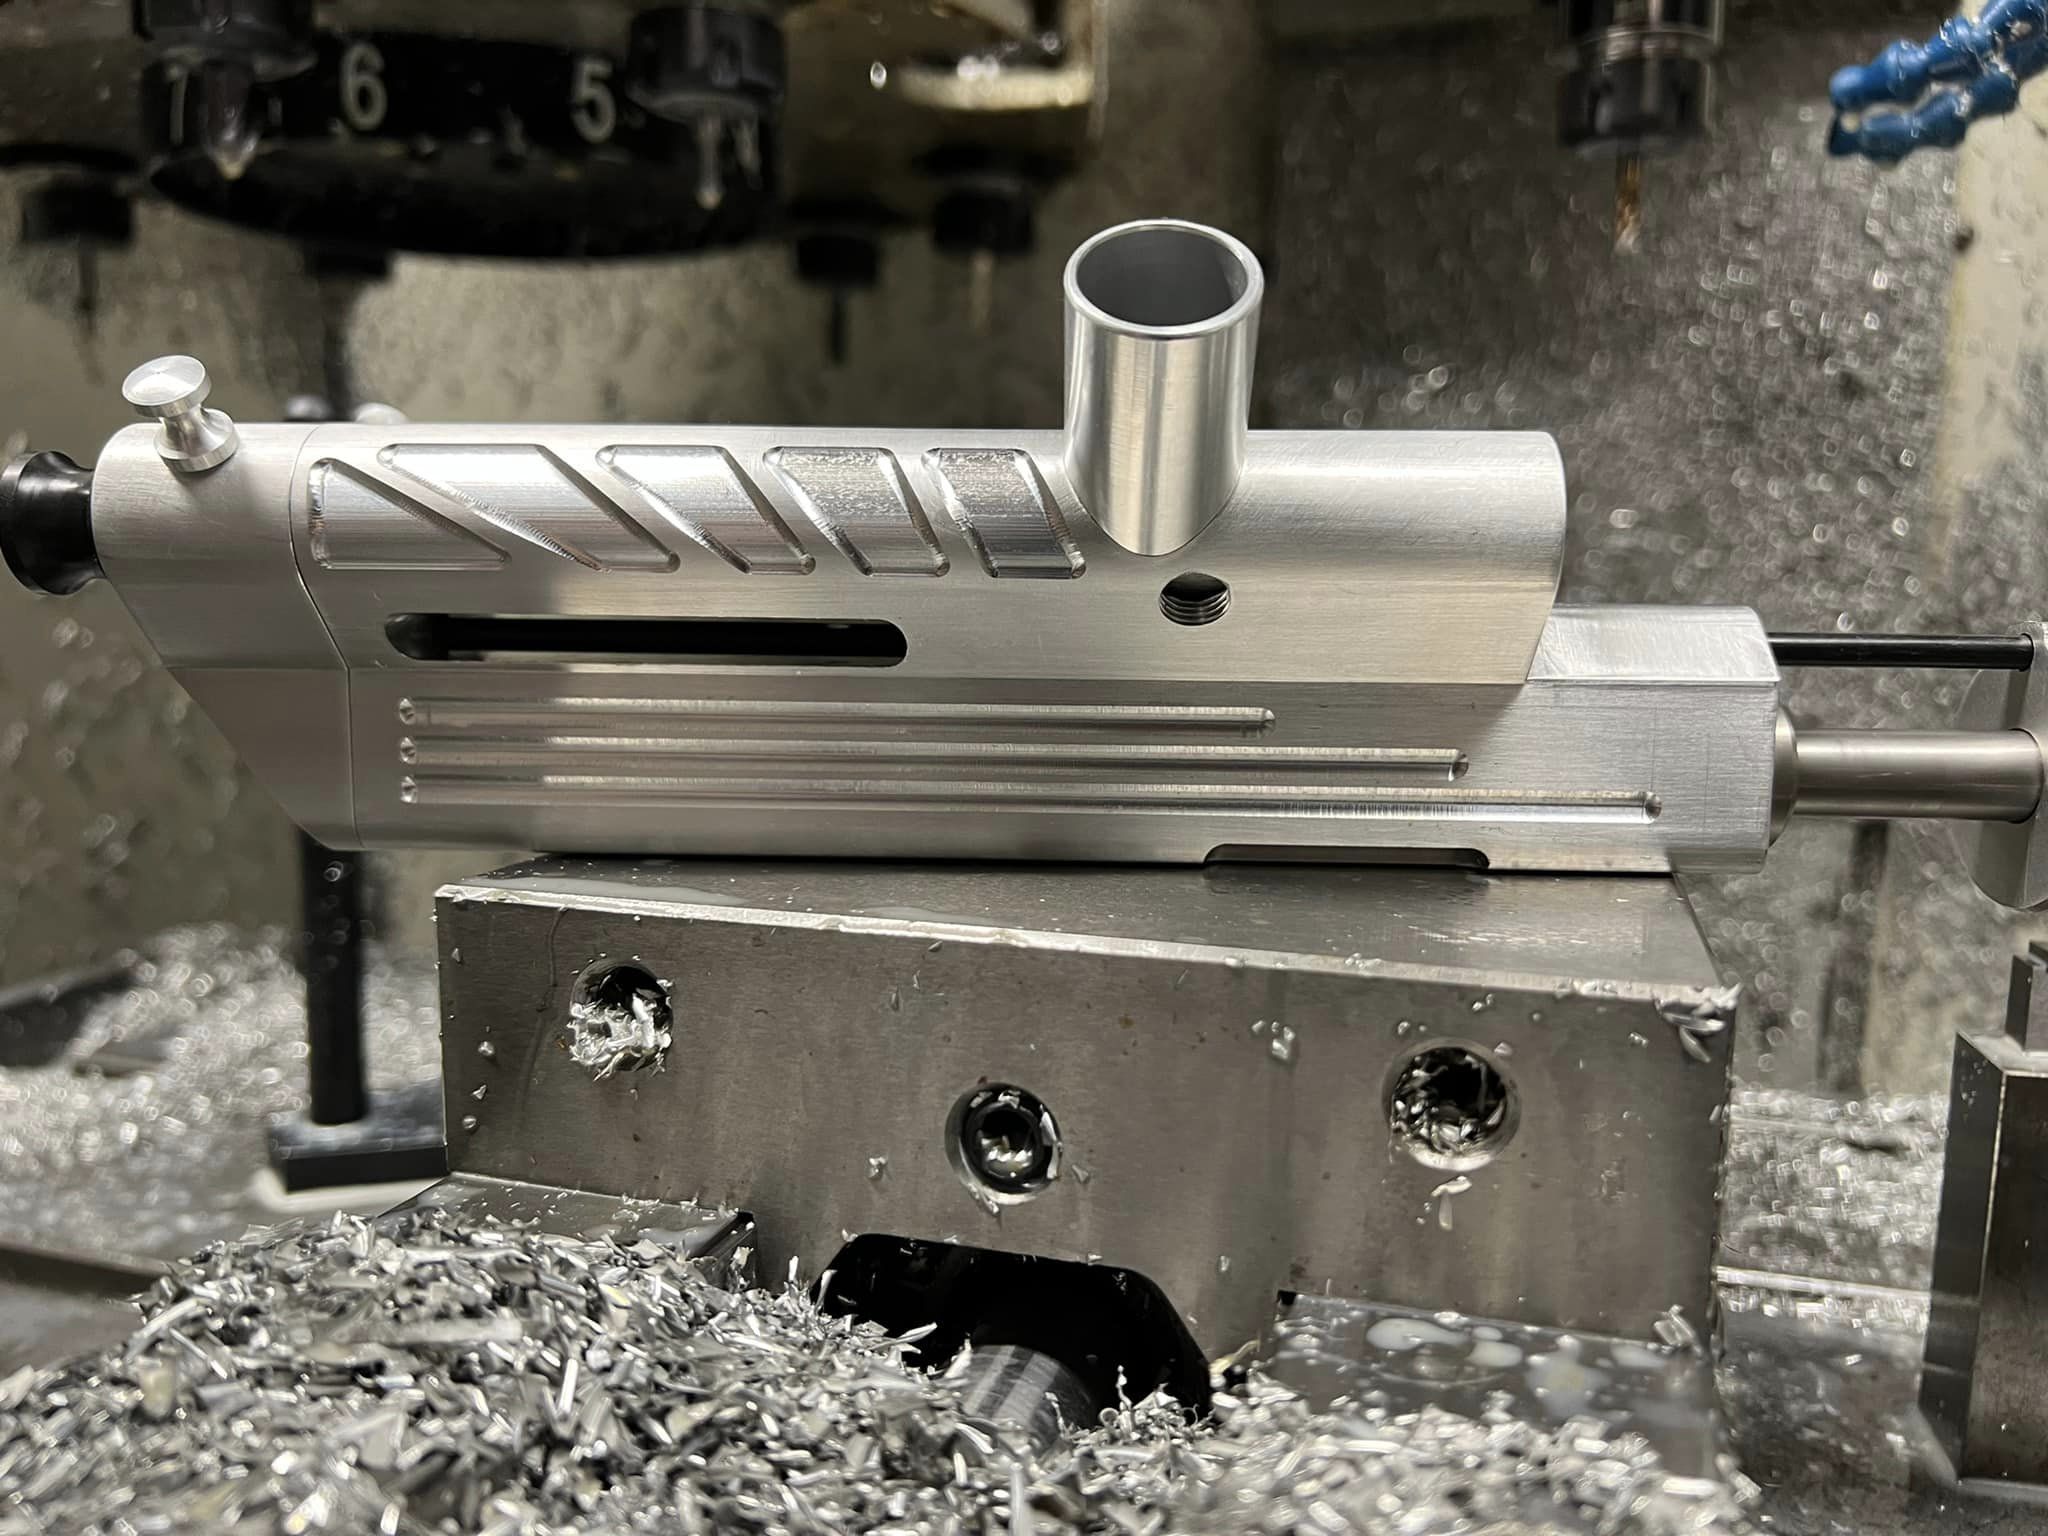
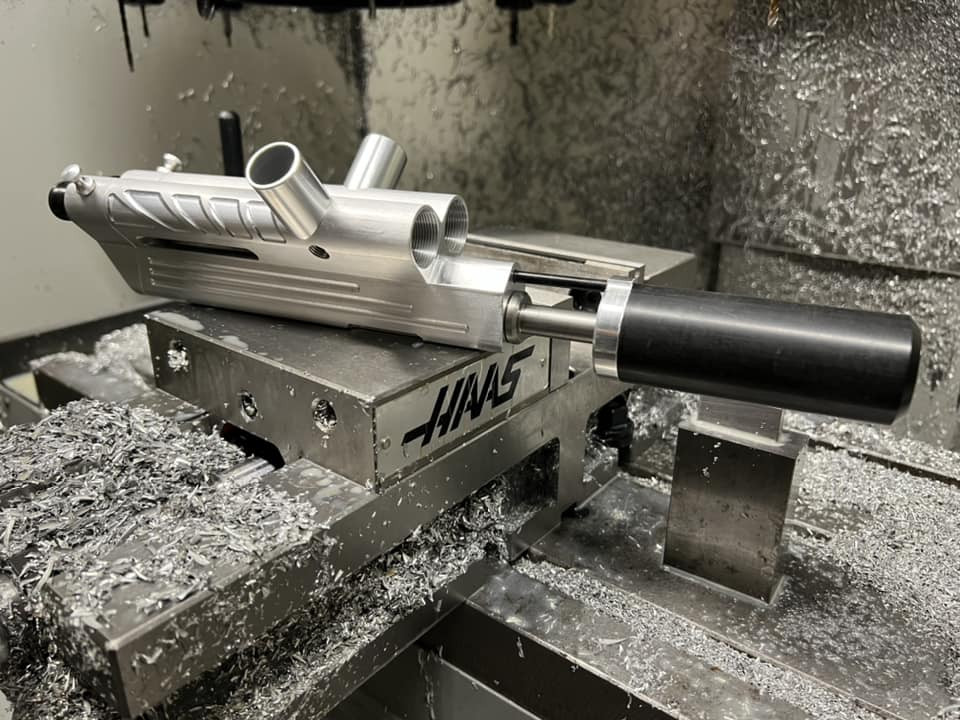
I am so flipping excited for this... just waiting for the anodizer to do their thing and send me a bill for 1 billion dollars. The trio are getting the same ano.1 Photo
- Likes 6
Leave a comment:
-
Reasonable vs awesome can be two opposite sides of the coin. For something truly crazy/custom, Arc and Caustic seem to be the go to. But when I had my Godzilla cocker built by Hellion, he used Annotech metal finishing and the cost was really good, quality for the work was good as well.
-
Beautiful work, I need to find a good anodizer myself. Who has reasonable prices these days?
Leave a comment:


Leave a comment: