Inside Doc's Shop 2026

Collapse
X
 
  • Time
  • Show
Clear All
new posts
  • DocsMachine
    MCB Member
    • Jul 2020
    • 2715
    • Alaska

    #61
    Mystery solved! Yep, it was almost certainly moisture from pores in the cast iron- and presumably a little "dirty", still, from the removed chemically-stripped paint.

    Turns out this stuff is an acrylic enamel- water based- whereas the stuff I've used on almost every other machine in the shop, has been an alkyd enamel, or oil-based. So yeah, the moisture in the pores simply seeped into the paint, making the teeny spots.

    But, today the part and paint was well dried, and the spots just as dry- they didn't "wipe off" even with a touch of mild solvent, so they're IN the paint. Two more quick coats over the top, however, covered things nicely.
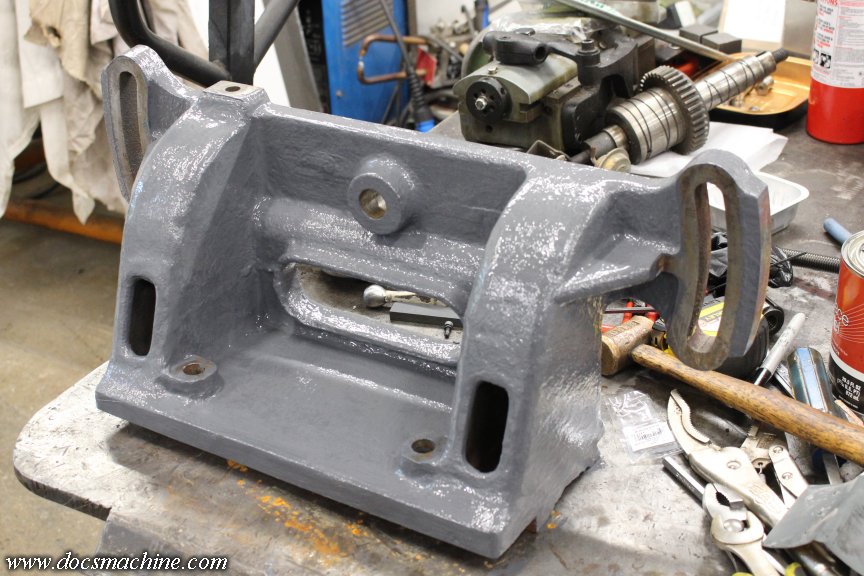


    Tomorrow or later this week, I'll scrape the drips and runs off the machined surfaces, and dust off the flash-rust, and she'll be ready to install.

    That, however, is going to be a task- I'm going to need some help and an engine lift, and to do a heavy cleaning of the machine first. There's still a small mountain of alloy-steel turnings back there from those big rings I cut back over the Holidays. That needs to go, I'll have to get the drip tray out of the way so I can stand back there... and heck, I ought to have that sheetmetal cut and finally put up that backsplash while I'm at it.

    If it's not one thing, it's two- as they say.

    Doc.​
    Doc's Machine & Airsmith Services: Creating the Strange and Wonderful since 1998!
    The Whiteboard: Daily, occasionally paintball-related webcomic mayhem!
    Paintball in the Movies!

    Comment

    • DocsMachine
      MCB Member
      • Jul 2020
      • 2715
      • Alaska

      #62
      Wasn't planning to spend a lot of time on the taper attachment today, I had plenty of other things that needed to get done.

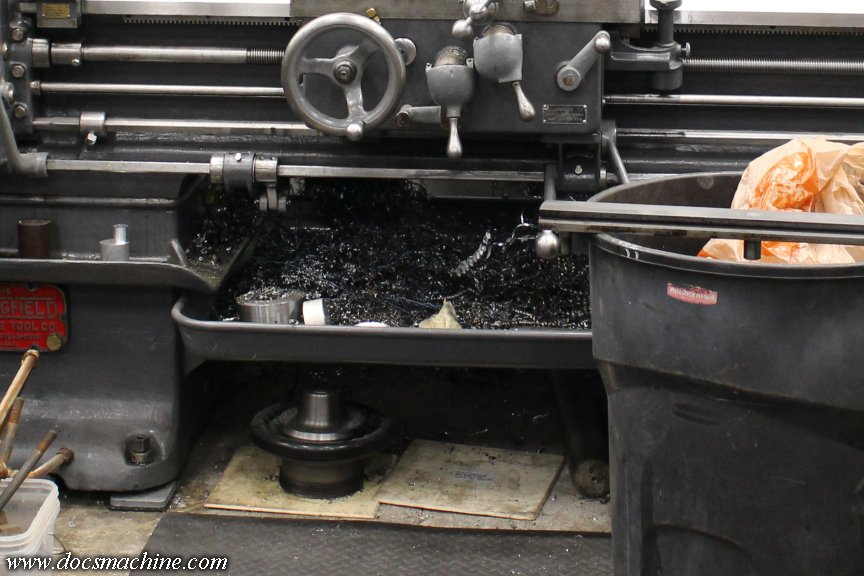
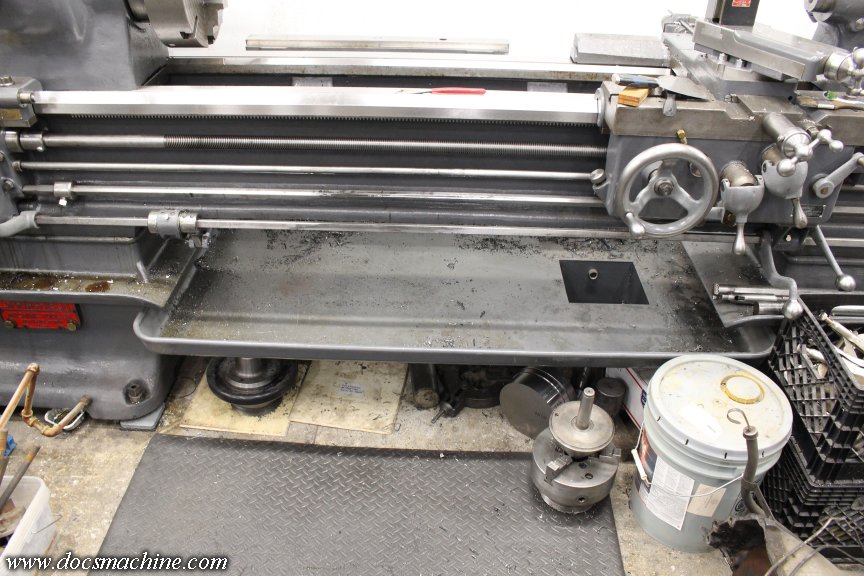
      But, I also needed to do a major trash run, so I figured I'd at least clean out the chip tray.

      Before:


      And after-ish:


      The two trash cans ended up totalling about 78 pounds- mostly steel, but there was aluminum, brass and plastic in there too.

      Doc.​
      Doc's Machine & Airsmith Services: Creating the Strange and Wonderful since 1998!
      The Whiteboard: Daily, occasionally paintball-related webcomic mayhem!
      Paintball in the Movies!

      Comment

      • DocsMachine
        MCB Member
        • Jul 2020
        • 2715
        • Alaska

        #63
        The problem with Rainmakers...

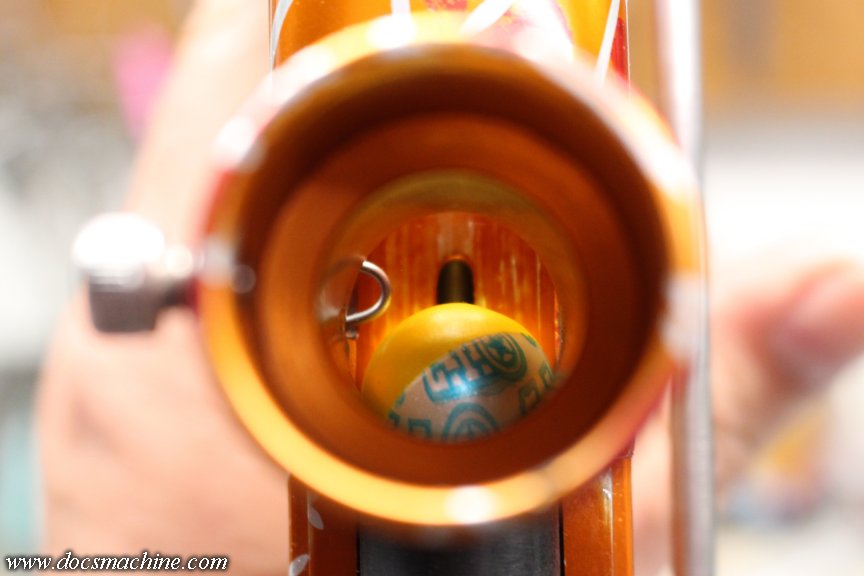
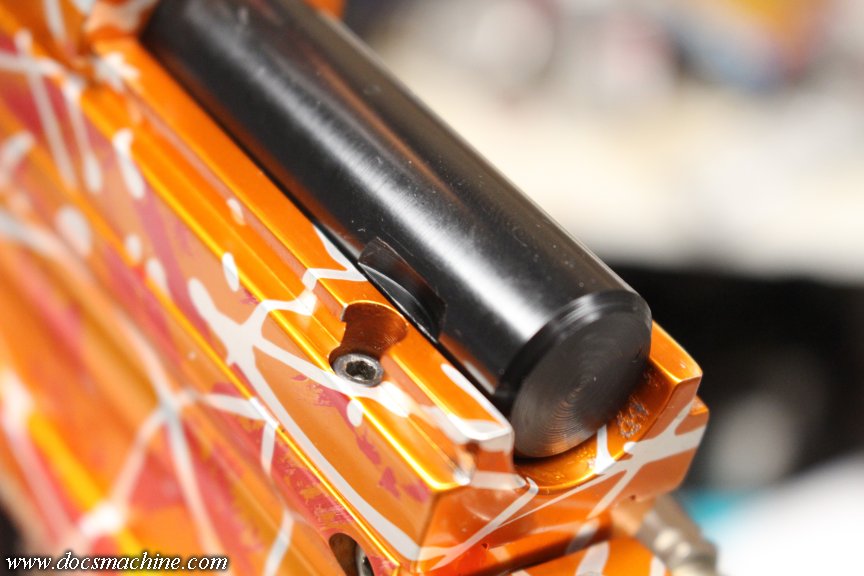
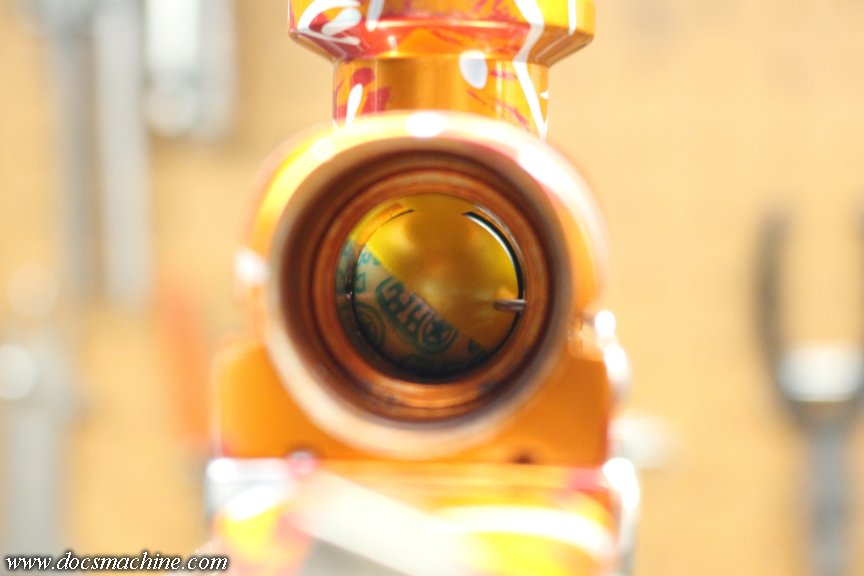
        I have a Rainmaker- the famous "Monsoon"- on my bench, and one of the last fixes I needed to do was basically tweak the wire detent to work with today's smaller paint. The problem is, that's easier said than done... Because Rainmakers have a breech geometry problem, one that was all too common back in the day:


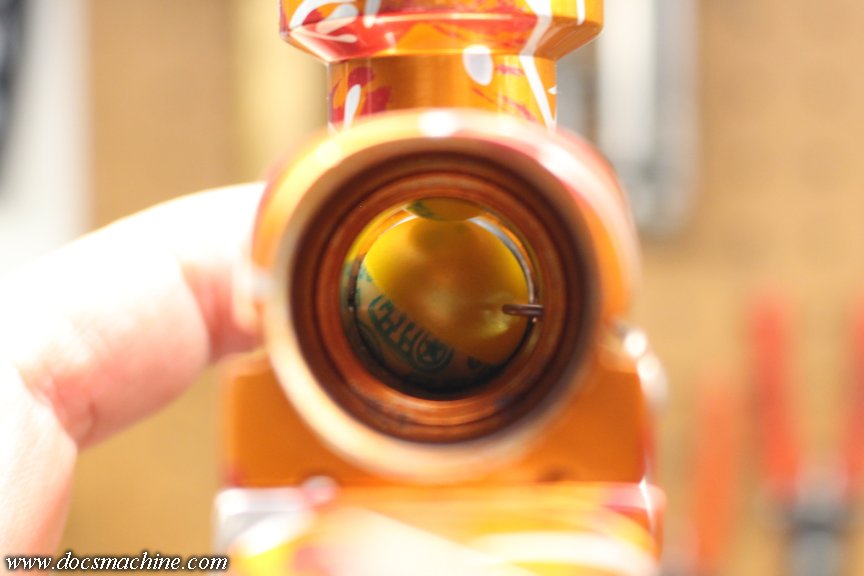
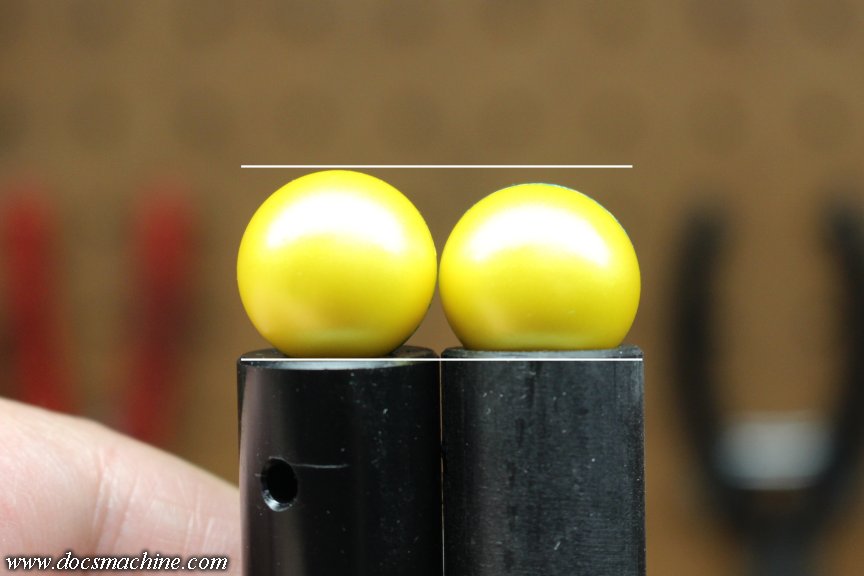
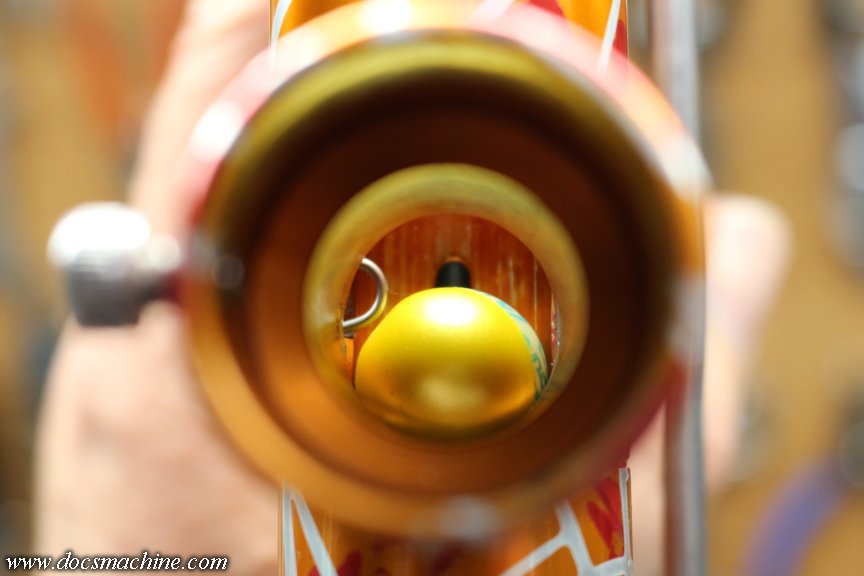
        Like the first several generations of the WDP Angel, the combination of bolt and breech dimensions lets the chambered ball roll backwards, and by a lot. This allows the next ball in the stack to drop partway into the breech, like so:


        Again, similar to the early Angels. The Rainmaker, thankfully, doesn't have as badly-oversized a breech as those Angels (I measured one at .710"!) but that's still not a great setup.

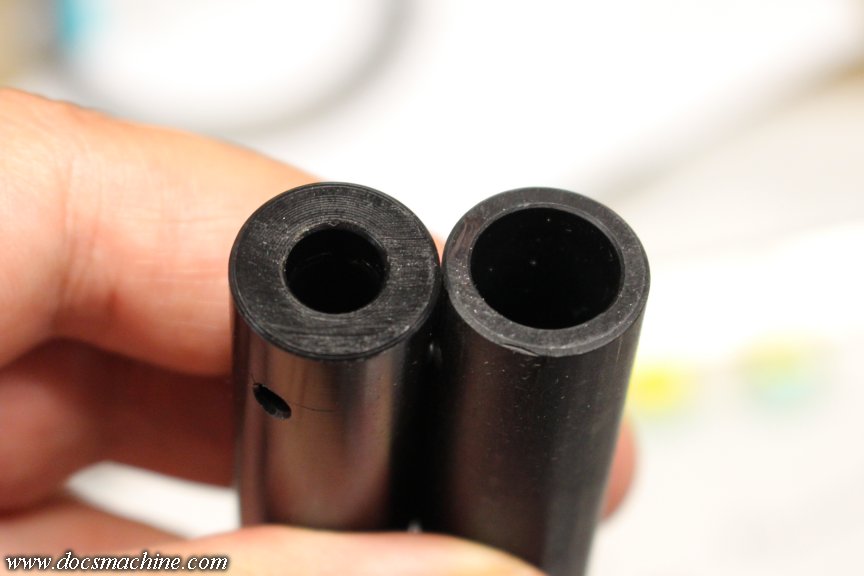
        Now, part of that issue- just as it was in the Angels, is the concave bolt. Those early WDP guns had a "venturi" style bolt with a cupped face, and most aftermarket bolts had a huge, open bore for "more flow".


        (Some aftermarket "high flow" bolt on the right, my custom-fitted bolt on the left- and in this case, a bolt worth over 30FPS all by itself.) I've ranted before that flow has nothing to do with it- the trick is to try and keep the gas charge from expanding, at least as little as possible, before it hits the ball. Those wide-open bolts are just empty space for the gas to expand into, and thus expend some of its energy before it ever hits the ball.

        Throw in the fact it also lets the ball roll even further back in the breech...


        And it just makes bad geometry worse.

        (Oh, and unlike the cheap aftermarket thing, I added finger notches to mine, like the factory bolt, so you don't have to keep prying the damn thing out of there with a spoon. )


        With my bolt in place... well, it's still bad, but at least less bad.


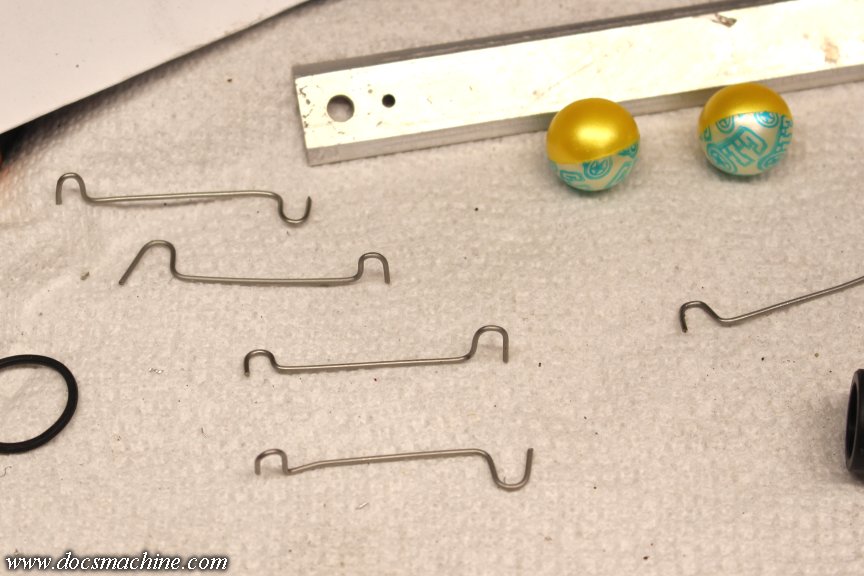
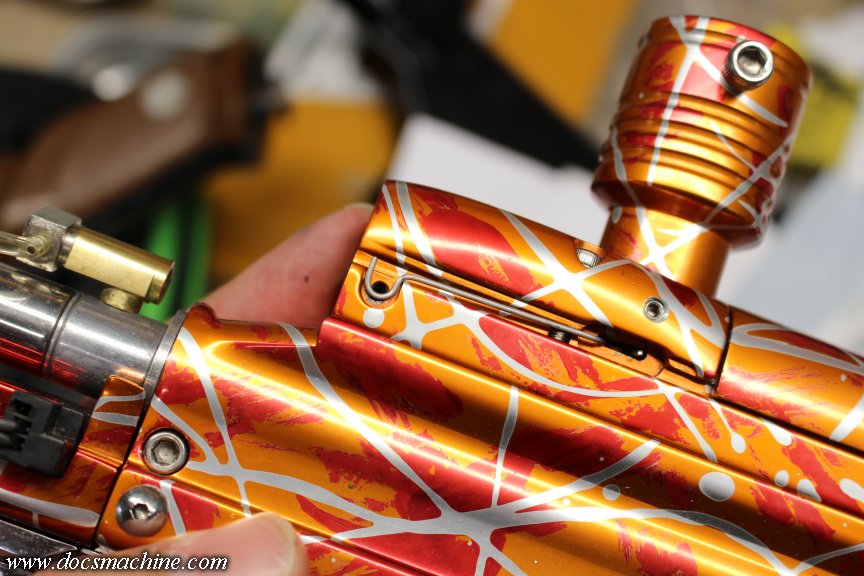
        The next step was to tweak the wire detent to work with smaller paint. The detent that was in the gun when I received it, had already been tweaked slightly in a similar attempt, and I picked up some stainless music wire to try and make my own.


        I'd also picked up some wire-bending pliers, which worked fine, but sometimes it was hard getting the spacing right.


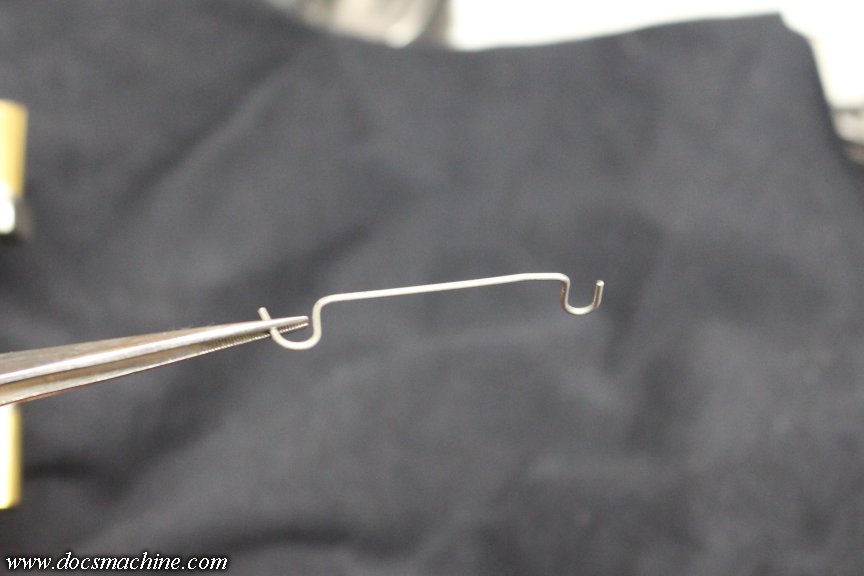
        After a few tries, I got a final version down...


        And installed and tested.


        Well, I haven't tested the gun extensively yet, as I'm still not happy with that breech geometry. I haven't had a chop or break in it yet, thankfully, but I have an idea to make an improved bolt, kind of like I made for the Angel, above, that may help a little. If that works, I'll need a slightly different bend to the detent, since the factory shape and location is actually too far back, and there's no easy room to move it forward to where it should be.

        Stand by.

        Doc.​
        Doc's Machine & Airsmith Services: Creating the Strange and Wonderful since 1998!
        The Whiteboard: Daily, occasionally paintball-related webcomic mayhem!
        Paintball in the Movies!

        Comment

        • DocsMachine
          MCB Member
          • Jul 2020
          • 2715
          • Alaska

          #64
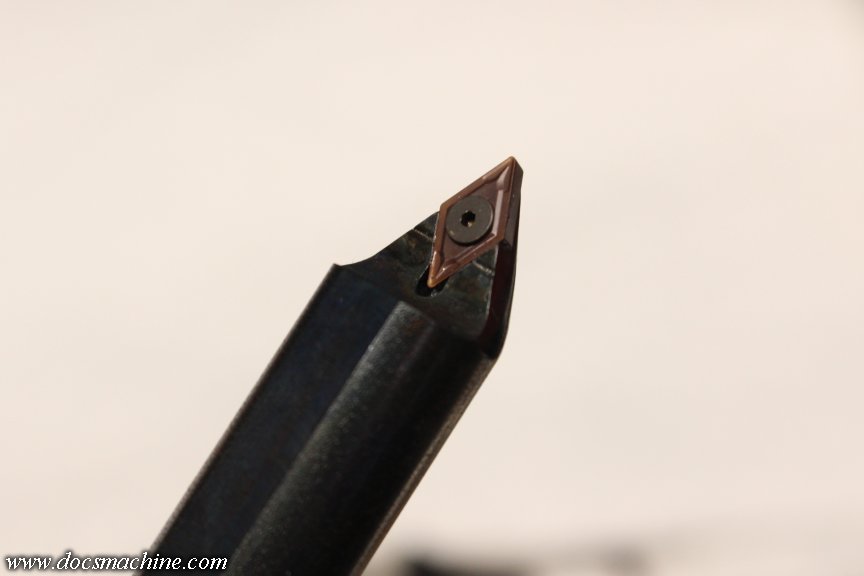
          Once again I needed a tool that either wasn't made or I couldn't find. In this case, a 5/8" shank profiling tool for my CNC turning center, that holds a small DCMT 55 degree diamond (shaped) carbide insert. I had one that takes a 3/8" sized insert, but I wanted one that took the smaller 1/4" size, for smaller details. (And I already had a boxful of inserts- why not use 'em?)

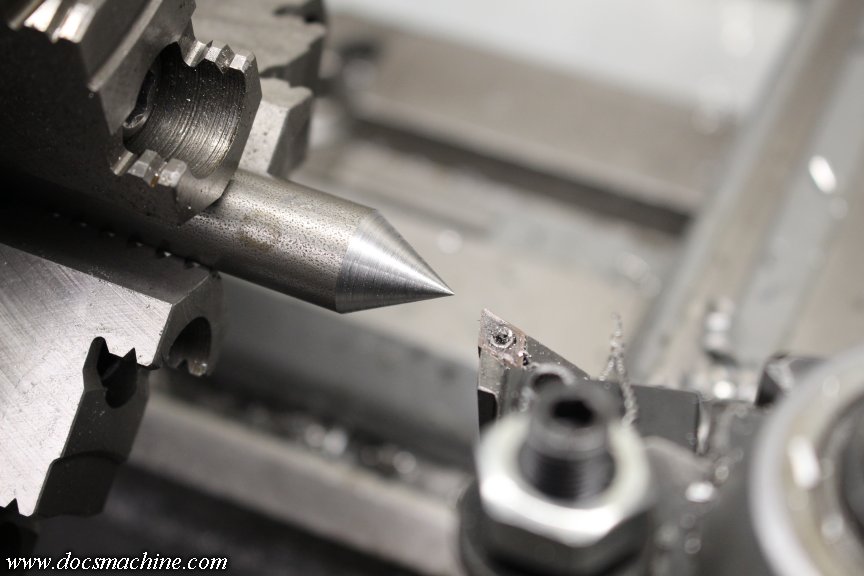
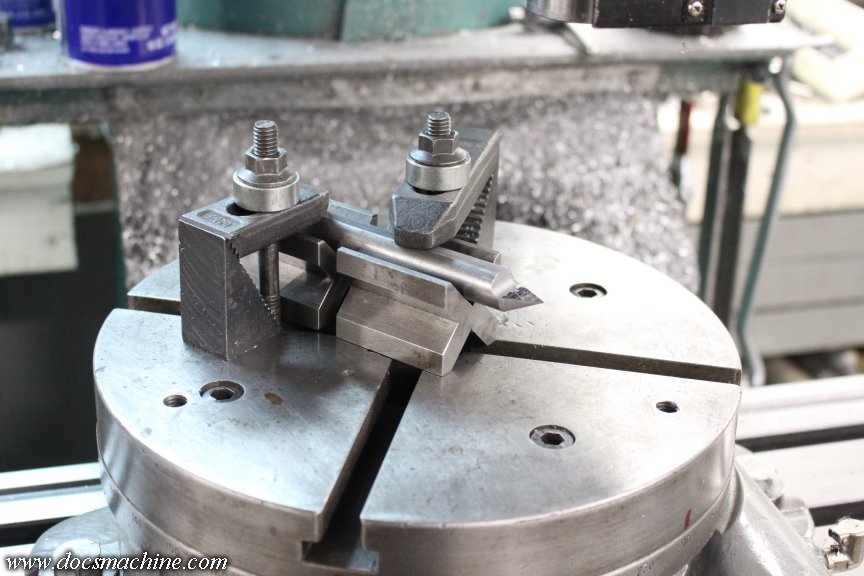
          So I dug out a chunk of 5/8" cold-rolled, lopped off a section that looked about long enough, faced one end, and put what I thought was a 55 degree point on the end.


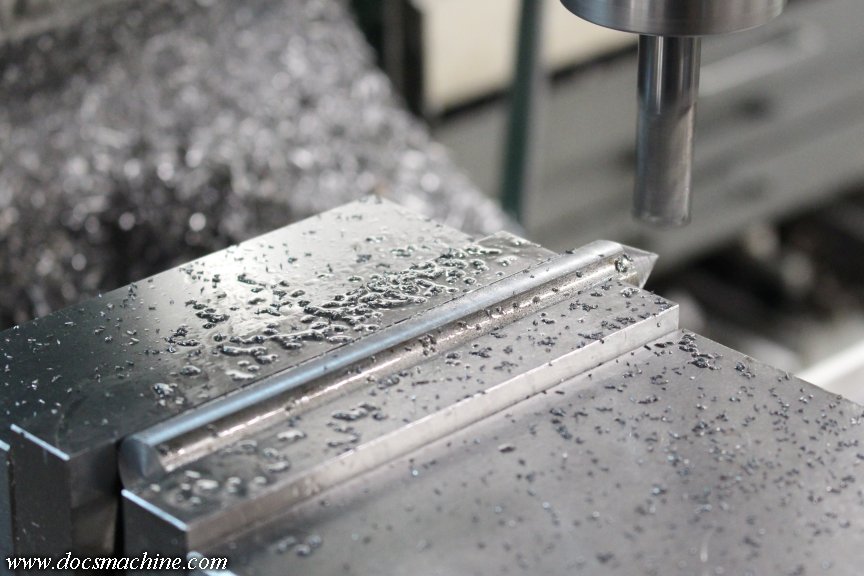
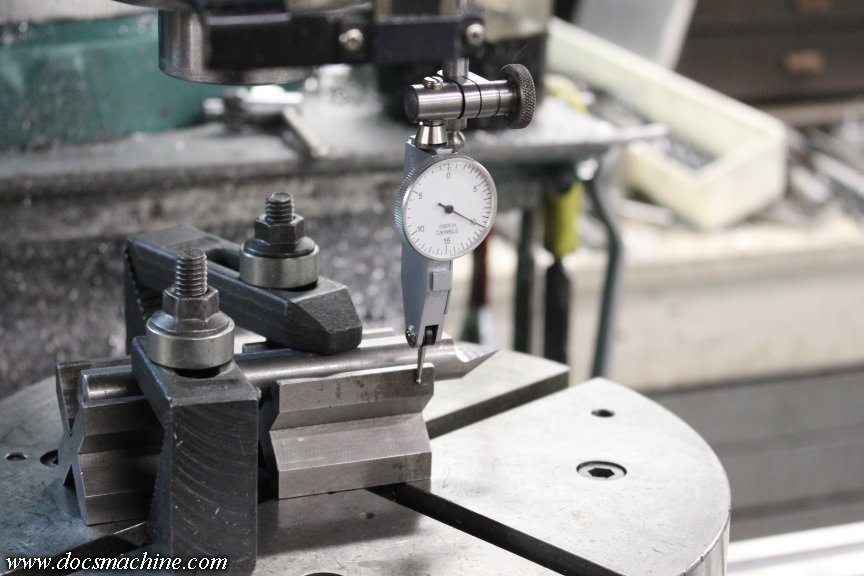
          Over to the mill for an alignment flat on what was now the "top" of the bar...


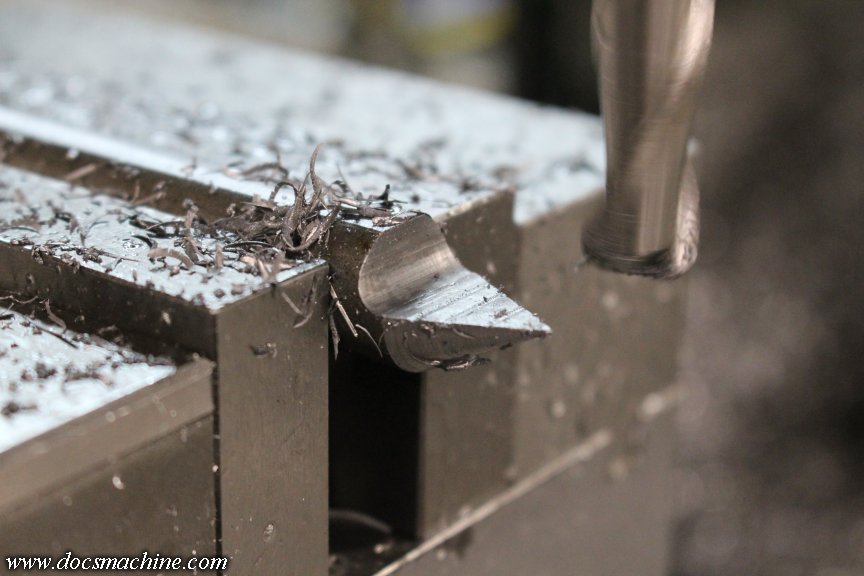
          And then I milled half the point off.


          In retrospect, I should have turned the bar 90 degrees and milled it that way, but hey, I've only been doin' this half my life, I can't be expected to remember everything.

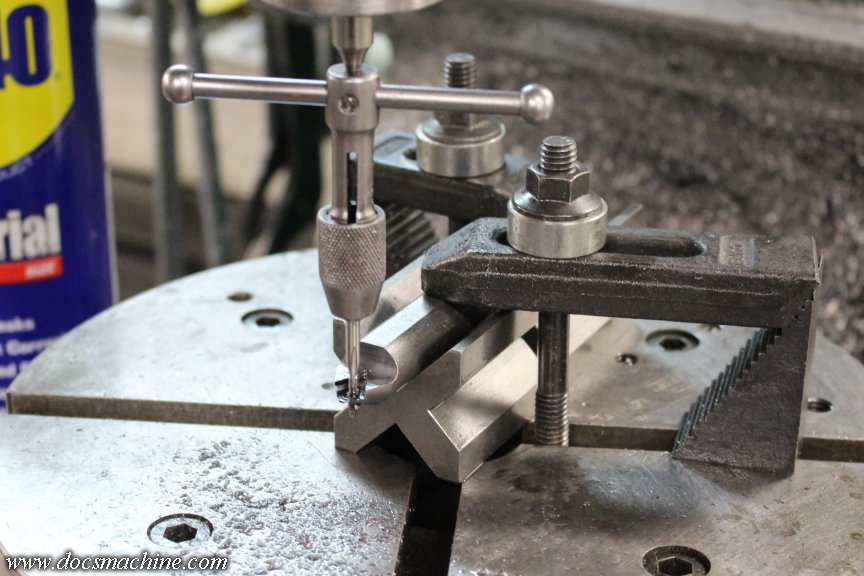
          After that, I swapped out the vise for the rotary table, and set the rod up in a couple of V-blocks. This would allow me to machine precise angles in the insert pocket, easily and quickly.


          Line it up square to the table travel, zero the table pointer, find the center of the rod...


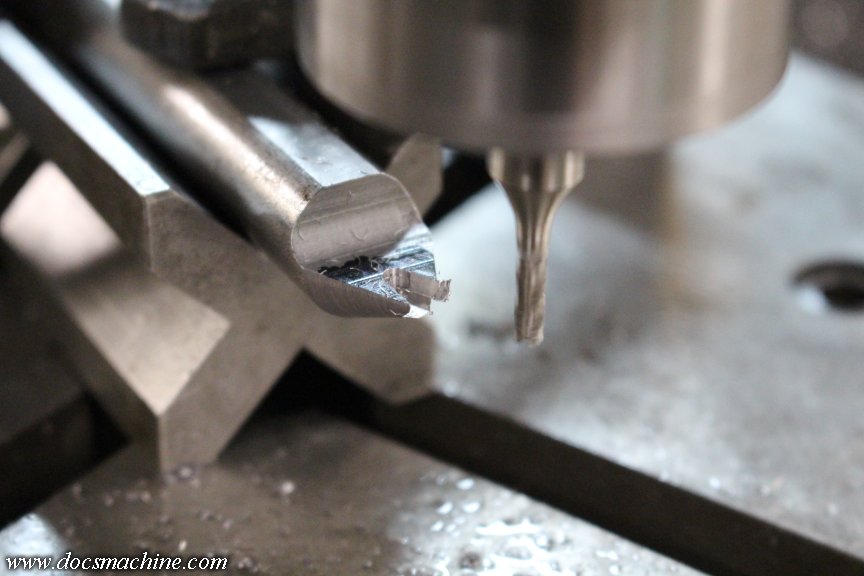
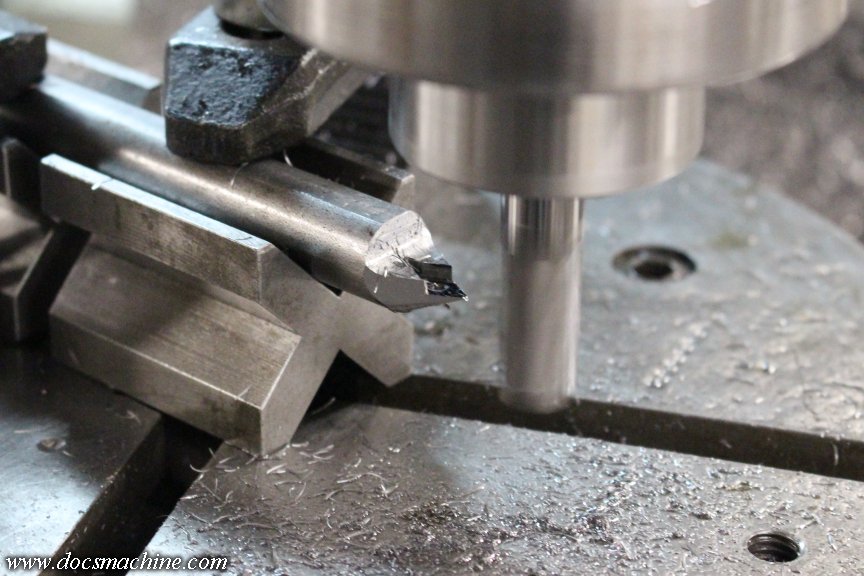
          Crank it over 27.5 degrees, and start milling a pocket, very gingerly with some itty-bitty endmills.


          Like so. It's also at this point I realized I might have been off on the compound setting when turning the point.


          I think what happened was, the compound has degree marks, but after 90 degrees- parallel to the bed- they're not numbered. I think I miscounted and went 22.5 degrees (past 90) rather than 27.5.

          No big, I can fix it, and the tool will still work.

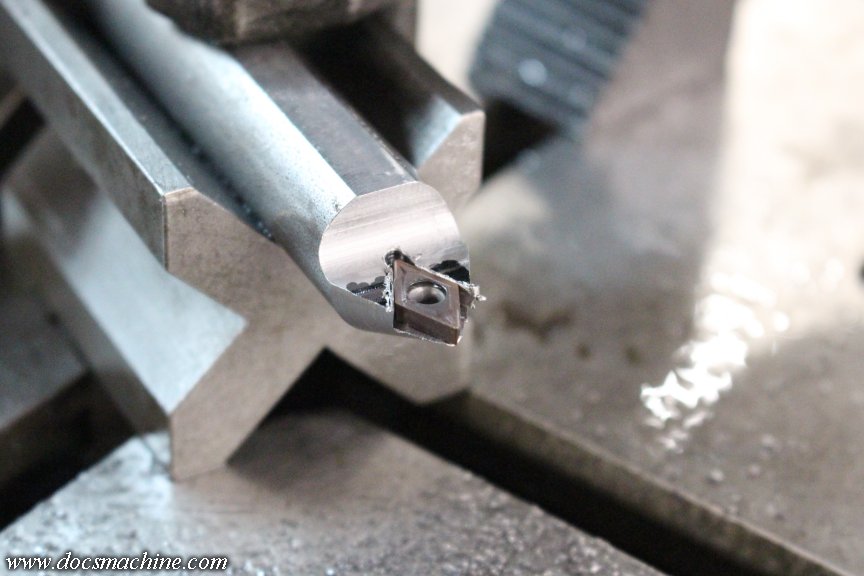
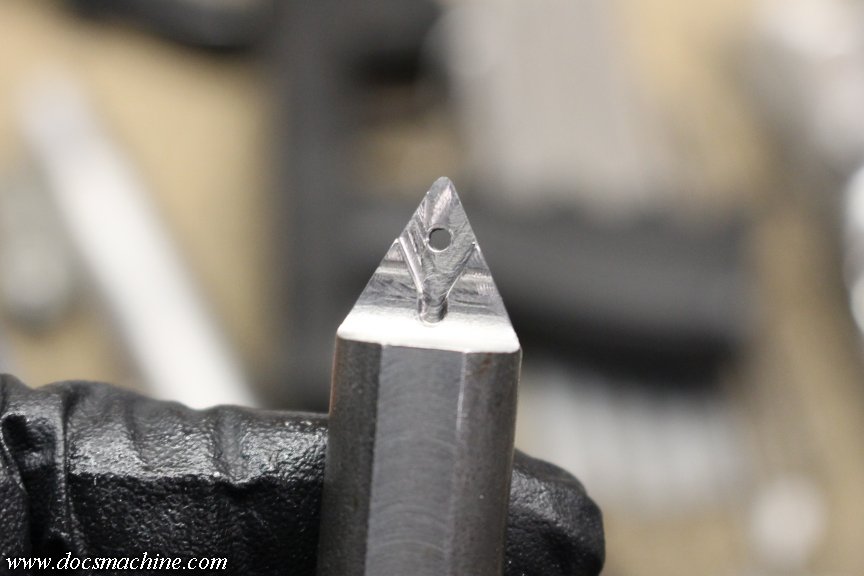
          I located and drilled the mounting screw hole for the insert...


          And of course realized too late I didn't have a tap for the correct M2.5-0.45 Torx insert screw, so I tapped it to 2-56, which I did have, and is, by blind luck, not only very close to the same thread pitch, but slightly smaller too. At some point I'll make another McMaster order and get the proper tap, lightly retap the hole, and swap to the right screw.

          Then, while it was still on the table, I simply turned it to the same angle as I'd milled the insert pocket, and shaved down the sides to match.


          A little careful stoning to break the sharp edges a bit, a little gentle beltsanding to smooth some of the machining...


          And just because, a good hot scrub and a wipe of Casey's Gun Blue so it kind of matches the other machine tooling.


          Maybe not quite perfect, but 100% functional. Next up, I guess now I gotta make another whole tool block...

          Doc.​
          Doc's Machine & Airsmith Services: Creating the Strange and Wonderful since 1998!
          The Whiteboard: Daily, occasionally paintball-related webcomic mayhem!
          Paintball in the Movies!

          Comment

          • DocsMachine
            MCB Member
            • Jul 2020
            • 2715
            • Alaska

            #65
            So I just finished my third day of therapy, and I must say, it's done wonders for me.

            Wednesday afternoon, I told the world to take a hike, raised the drawbridge, set the autoturrets to "pink mist", and took a pile of drawings I've been working on for a couple of weeks out to the shop, and started making chips.

            I'd settled on finally doing a "totally just for fun" build a couple of weeks ago, and ordered a double-fistful of tooling and materials specifically for it.

            Not to brag too loudly, but when I can focus- single mindedly focus- on a single task... I can work small miracles. I spent half of Wednesday, almost all of Thursday, and chunk of Friday, finally working on an idea I've had rolling around in my skull for literally 20 years. Not an exaggeration, I found a post on my board, the Tinker's Guild, referencing the idea from back in 2007.

            Now don't get me wrong- it's a dirt-simple and very basic idea. I'm not reinventing the wheel here, I'm more... putting car tires on an old stagecoach. This is all stuff you've seen before, just... not quite this way.

            What is it? Stand by on that one, I'm hoping to do a short video series for it. Suffice to say I have the bits right here beside me, and picking them up puts a great big smile on my face.

            In the meantime, here's a sampler of the 120+ photos I've taken of the build so far, carefully selected to not give the wizard behind the curtain away.

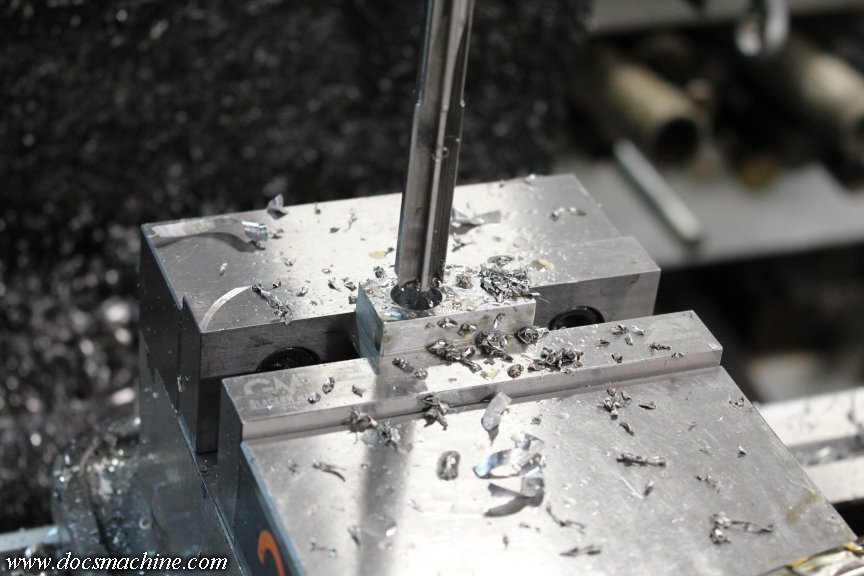
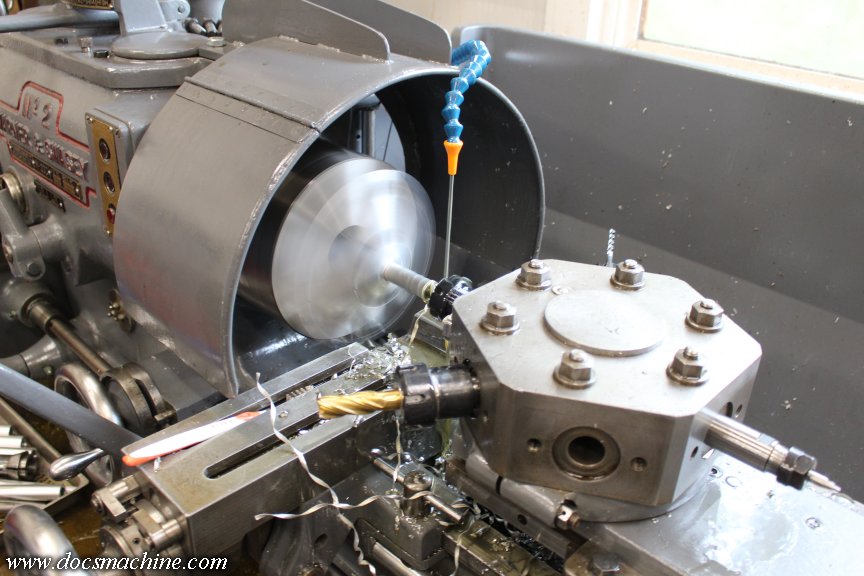
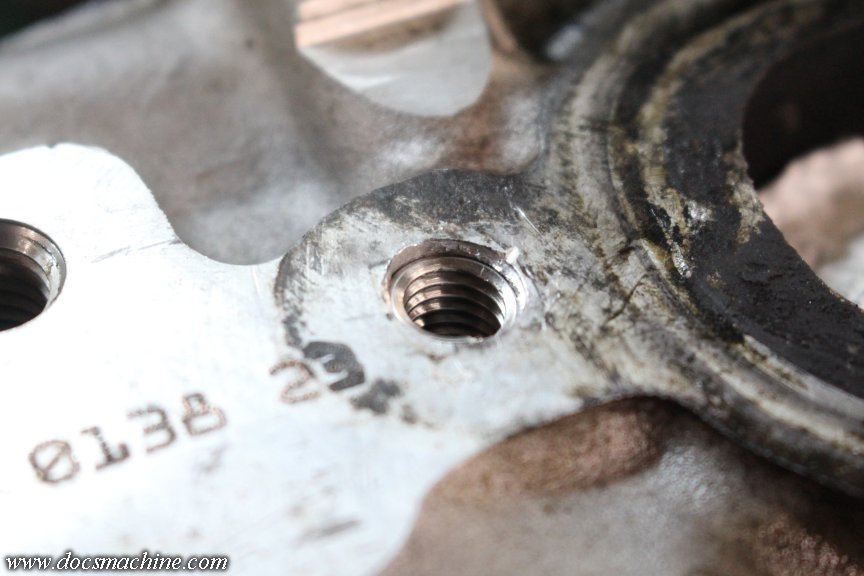
            A bit of reaming...


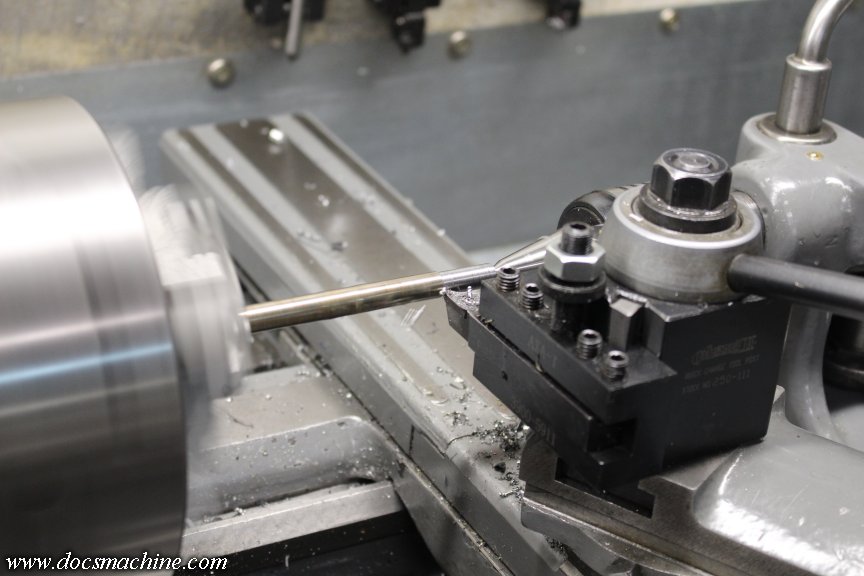
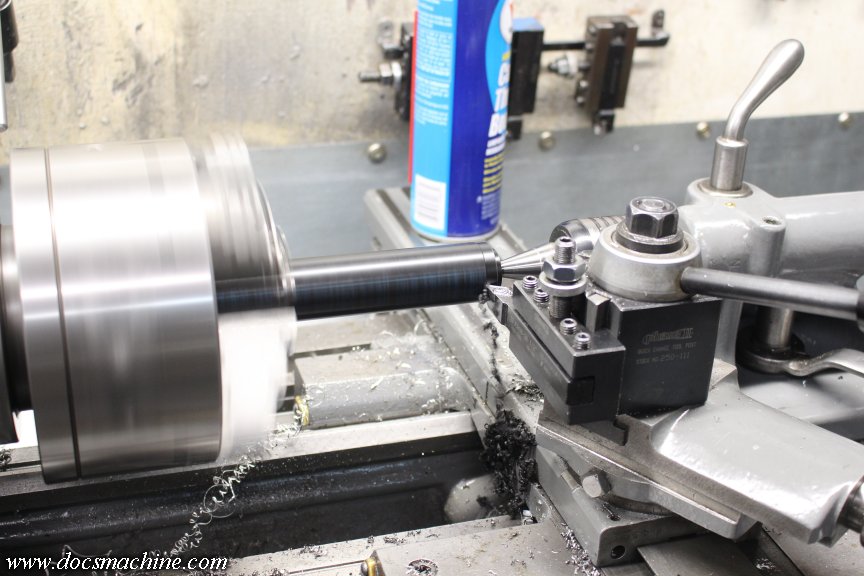
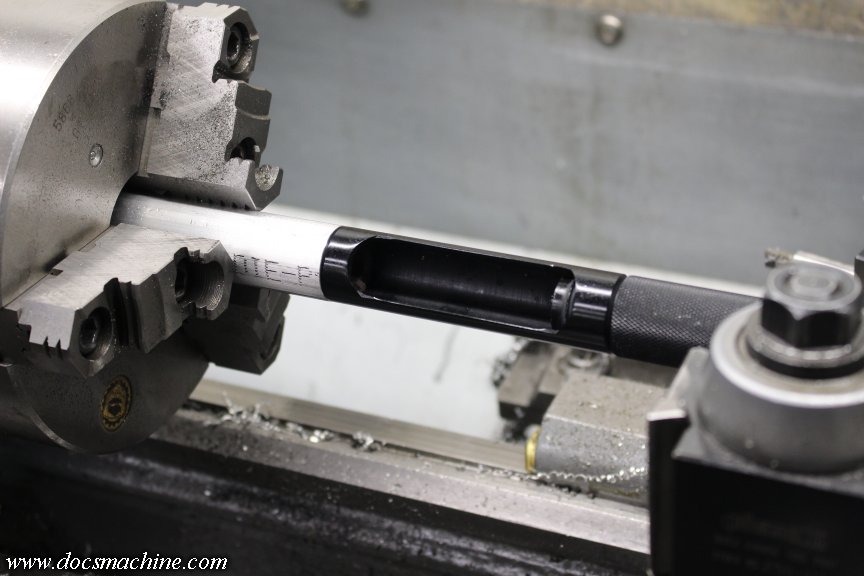
            Turning what is probably some 12L14, scrap from an old copier...


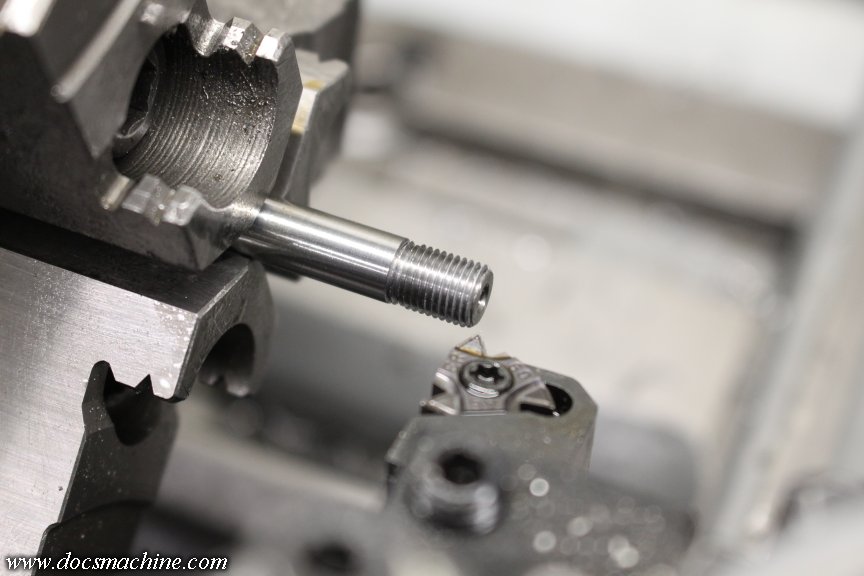
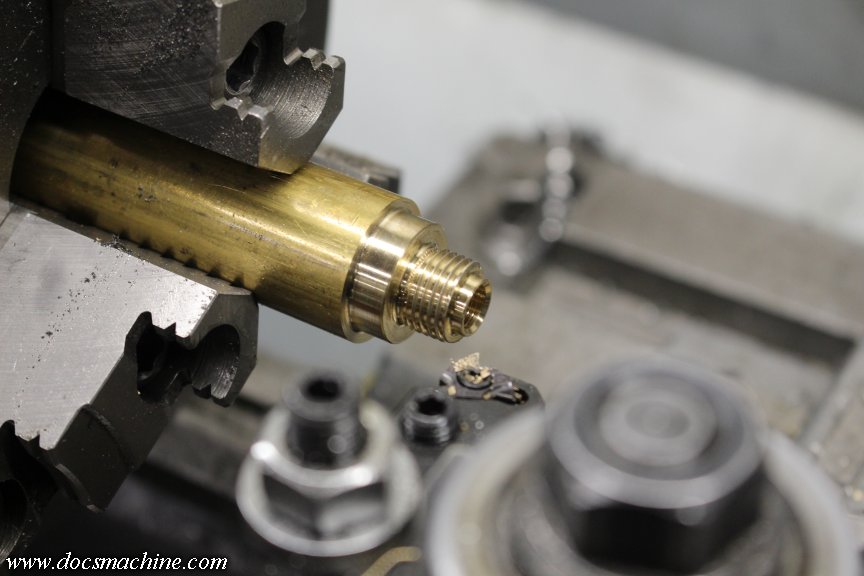
            Then threading same, in a nonstandard pitch...


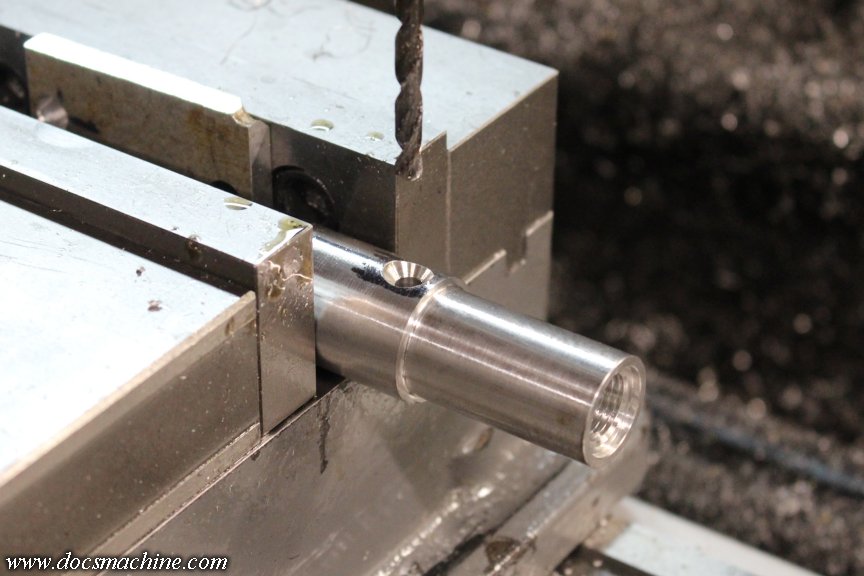
            A little heavy but shallow drilling...


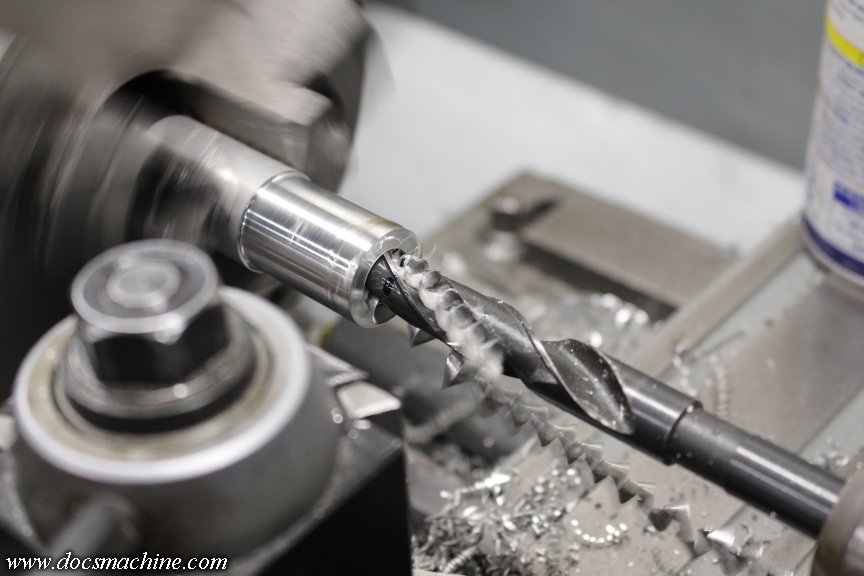
            Some light but deep drilling (nothin' beats a big Turret lathe for drilling)...


            Turnin' down some black Delrin...


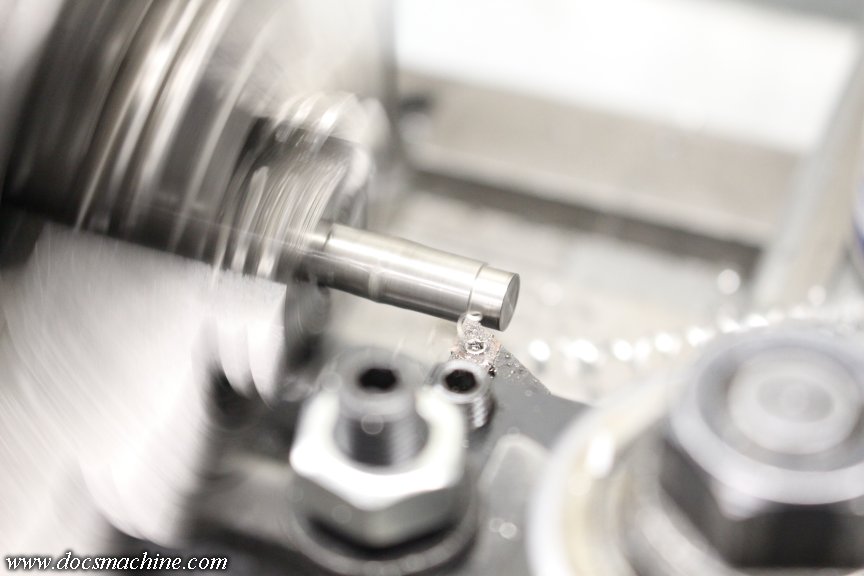
            And some 303 stainless...


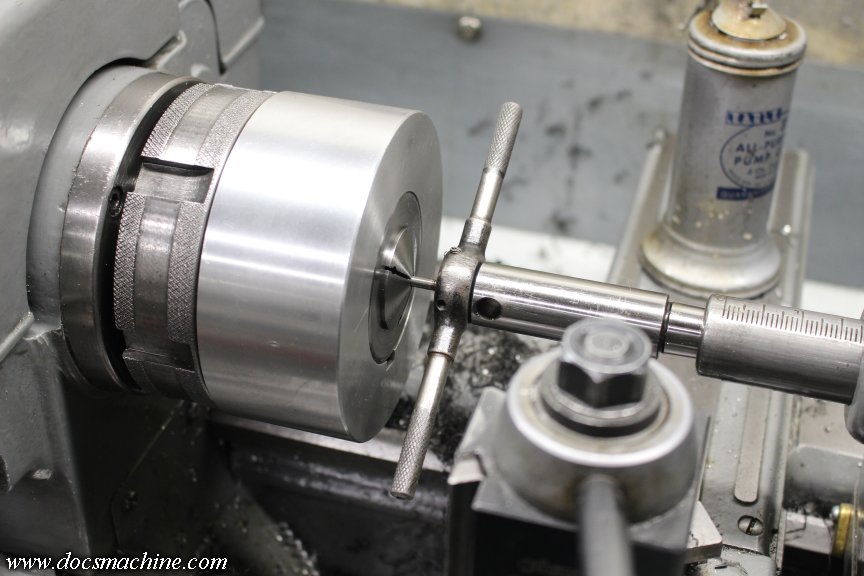
            And then threading some small rod- too small to single-point, so I had to use a small die.


            I wasn't joking about the therapy- that's been the most fun I've had in the shop in a fair while. I had the tooling I needed, I had the material I needed, I had the drawings and dimensions I needed, it's a project I've had gnawing at the back of my head for years, and best of all, everything was working smoothly. I was amazed more than a few times just how neatly a few things fell into place.

            I'll have a better, and more detailed write up soon, but for now... man I needed that.

            Doc.
            Doc's Machine & Airsmith Services: Creating the Strange and Wonderful since 1998!
            The Whiteboard: Daily, occasionally paintball-related webcomic mayhem!
            Paintball in the Movies!

            Comment

            • DocsMachine
              MCB Member
              • Jul 2020
              • 2715
              • Alaska

              #66
              Summer is rapidly winding down up here, so I'm trying to get a last few outdoor projects done before the snow flies. (Statistically in about six weeks. Welcome to Alaska! )

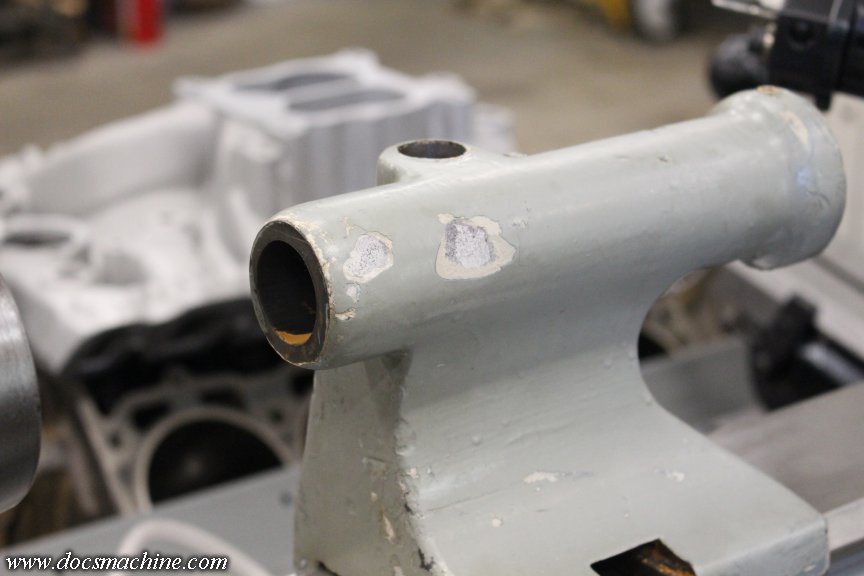
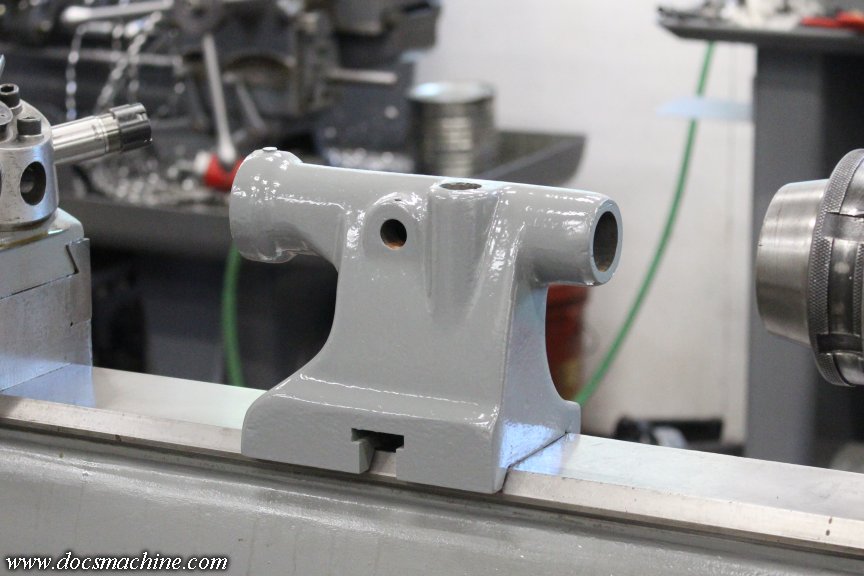
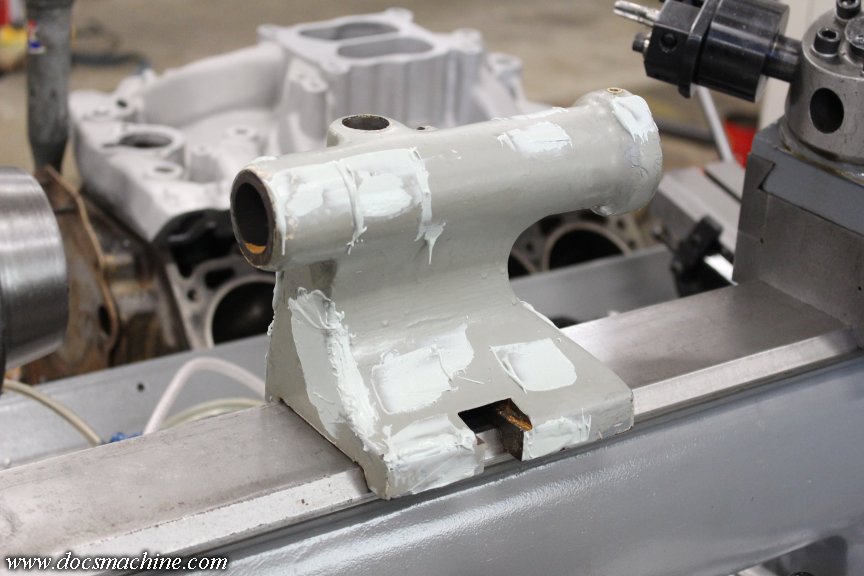
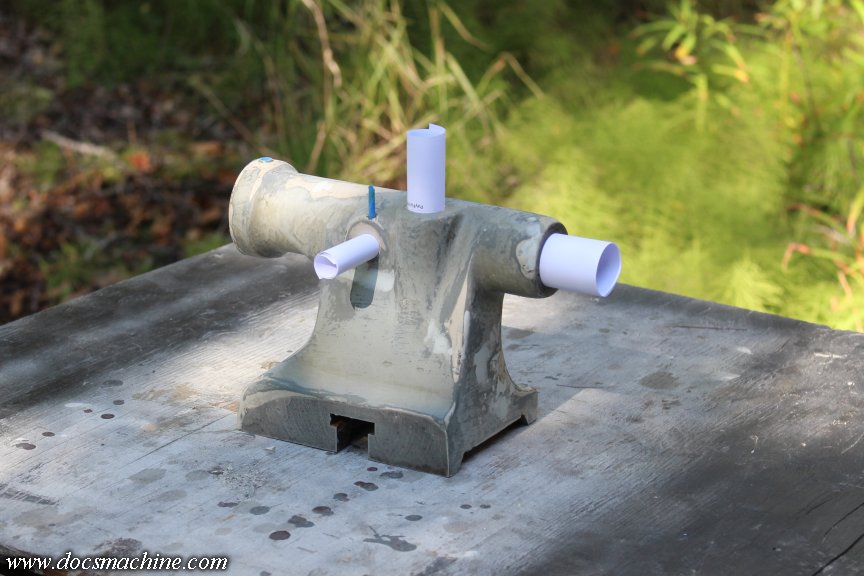
              One such is the new-to-me tailstock I picked up for the Rivett lathe. Why is that an outdoor thing? Because it needed a little bodywork and paint, and I don't want to do any sanding or dust-production in the same room as the oil-coated machine tools. And sanding outdoors is a lot more pleasant at 60F rather than 20F.

              The tailstock in question was in good shape, really just needing a good cleaning, a little rust-removal and a paintjob.


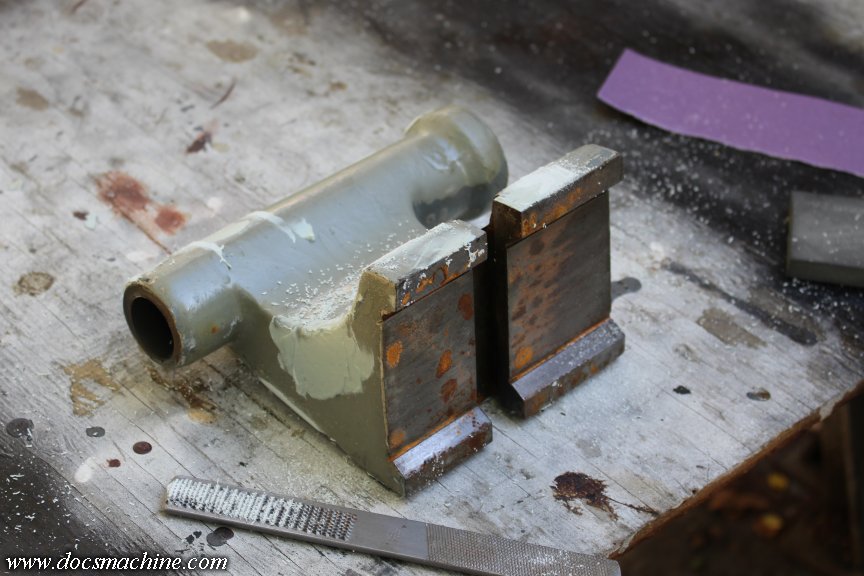
              First thing, I cleaned and degreased it, then mixed up a dab of Bondo and smeared some in the various nicks and chips.


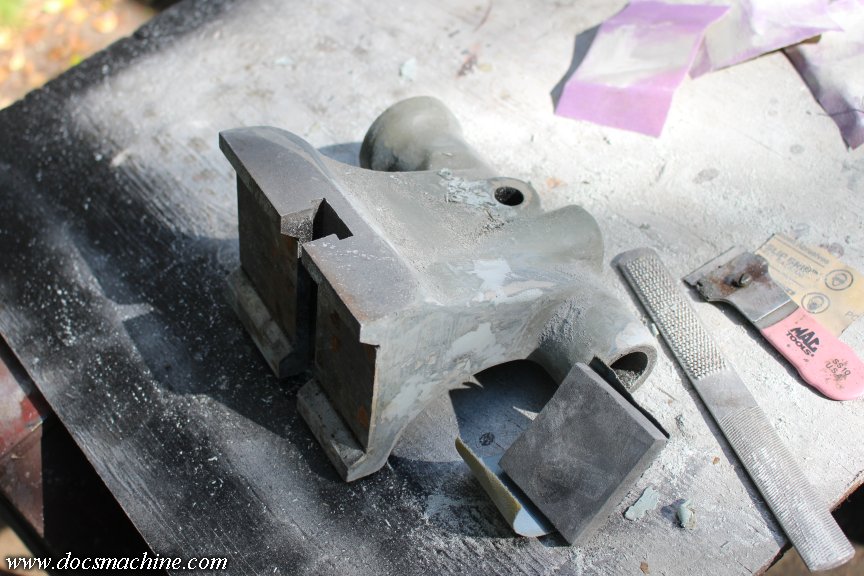
              After that 'soft cured', I took it out and roughed down the blobs with an old rasp....


              And then spent good long while sanding it all as smooth as my patience was willing to make it.


              Then roughly masked...


              Primed with the usual self-etching...


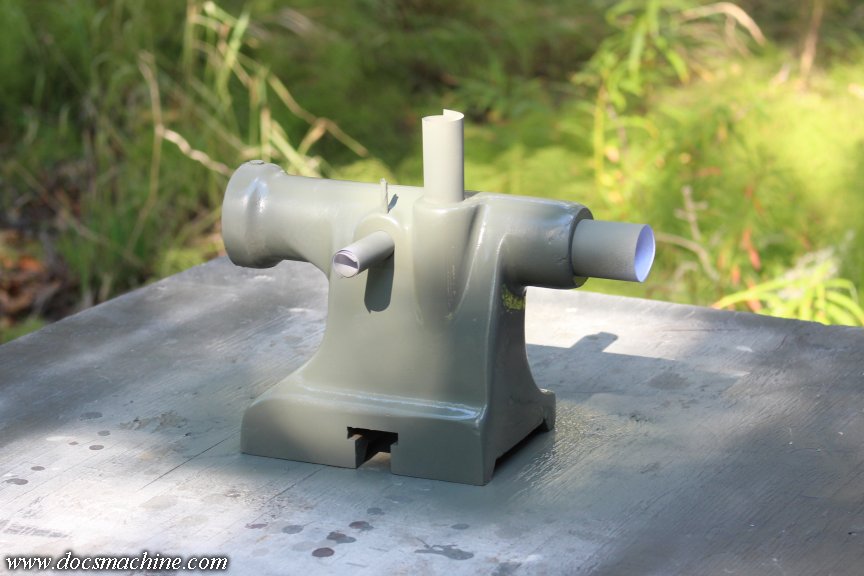
              And painted!


              Later this evening I'll give it a second coat, and then it'll be ready to reassemble... when time permits.

              Doc.
              Doc's Machine & Airsmith Services: Creating the Strange and Wonderful since 1998!
              The Whiteboard: Daily, occasionally paintball-related webcomic mayhem!
              Paintball in the Movies!

              Comment


              • XEMON
                XEMON commented
                Editing a comment
                What paint do you use?
                I should be doing my lathe at some point ...

              • DocsMachine
                DocsMachine commented
                Editing a comment
                On most of my machines I've used an alkyd enamel. This particular stuff is an "all surfaces" enamel from Sherwin Williams, which I had scanned and custom mixed from an older, now-discontinued Behr enamel, originally called "light machine grey", I think.

                The stuff holds up well, resists all but then nastiest chemicals (like brake cleaner or some of the water-based coolants, which rather famously soften many paints) and 'self levels' nicely to give a pretty good finish.

                SW also has an acrylic enamel, that is, water based rather than oil based- and I ended up using that on the tape attachment I posted a page or so up. Seems to be similarly durable, but I haven't subjected it to heavy use yet.

                Doc.
            • DocsMachine
              MCB Member
              • Jul 2020
              • 2715
              • Alaska

              #67
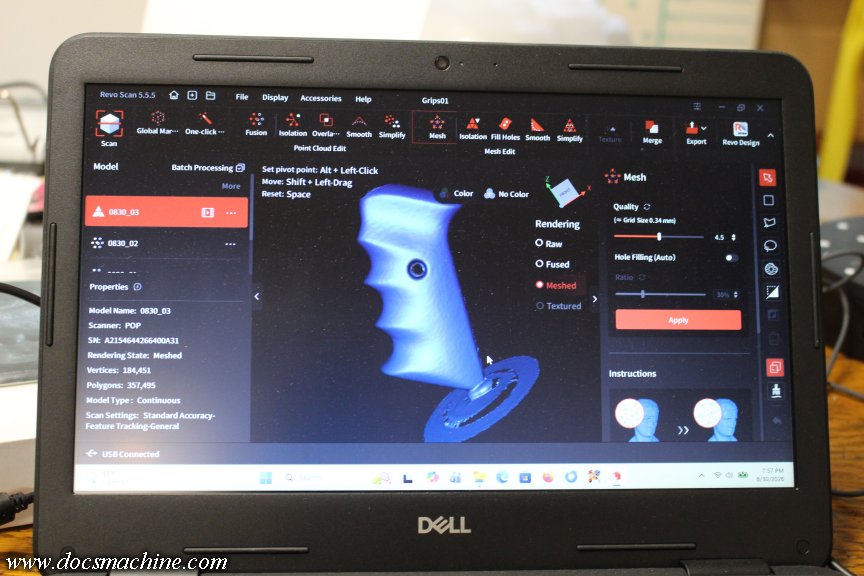
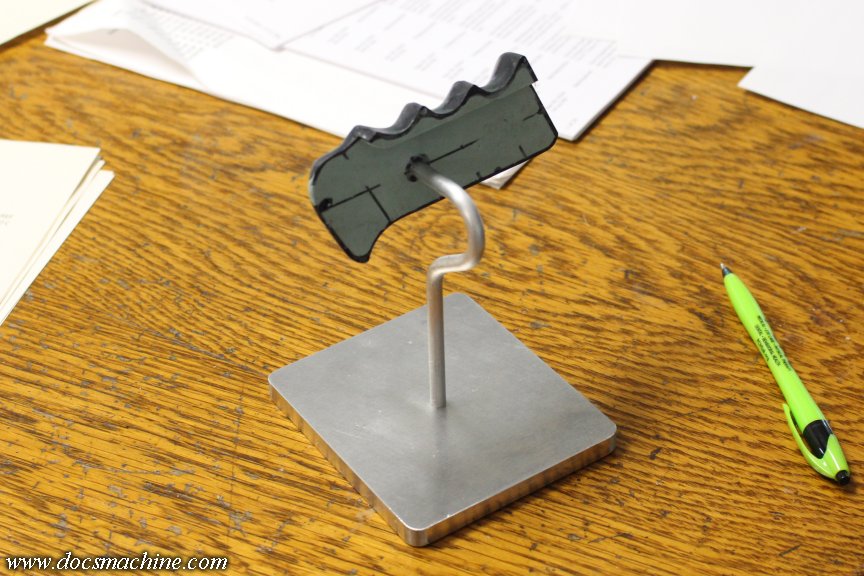
              Another little side-track! I had a chance to borrow another 3D scanner, to do a couple of parts for that personal project I've been tinkering with.

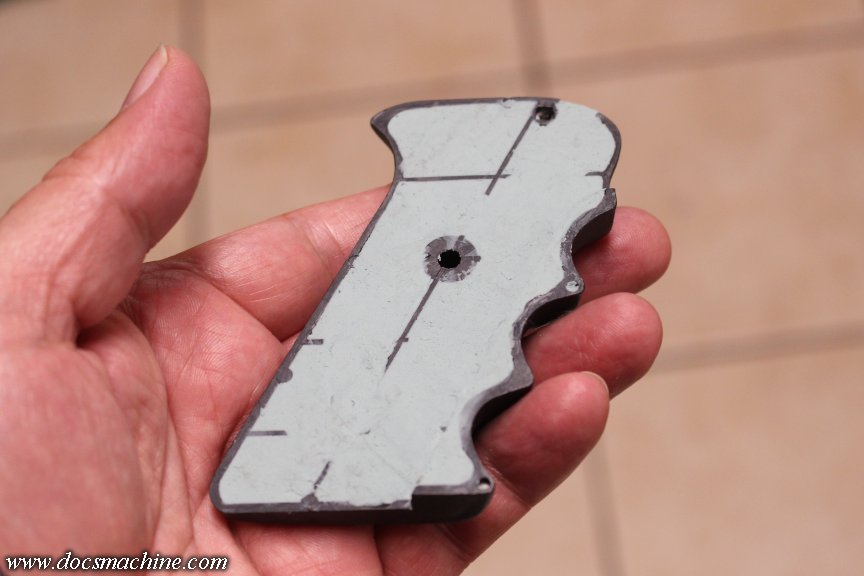
              Easy enough to do, but ran into a common problem: the part was black. The scanner uses an IR laser mesh projection, and this black plastic basically absorbs it- it was completely invisible to the scanner.

              The "correct" fix is to use a 'scanner spray'- the best stuff applies a coat of a matte white material, that is ideal for scanning, and then after a few hours, simply evaporates, leaving no residue behind.

              The problem is, that stuff's expensive, usually about $35 a can- and for me, in Alaska, tack on another $20-$25 in shipping, if they'll even ship it up here. (The shippers have been picky about aerosol cans and whatnot.)

              The internet, of course, has a few ideas for alternatives, the two top ones being something called "dry hair spray", and an athlete's foot spray. Since I don't believe in the concept of a shampoo, and have never been athletic enough to have one of his feet, I jogged up to the local supermarket... and paid almost that exact same $35.

              Well, for a can of each and a fresh sandwich, but hey.

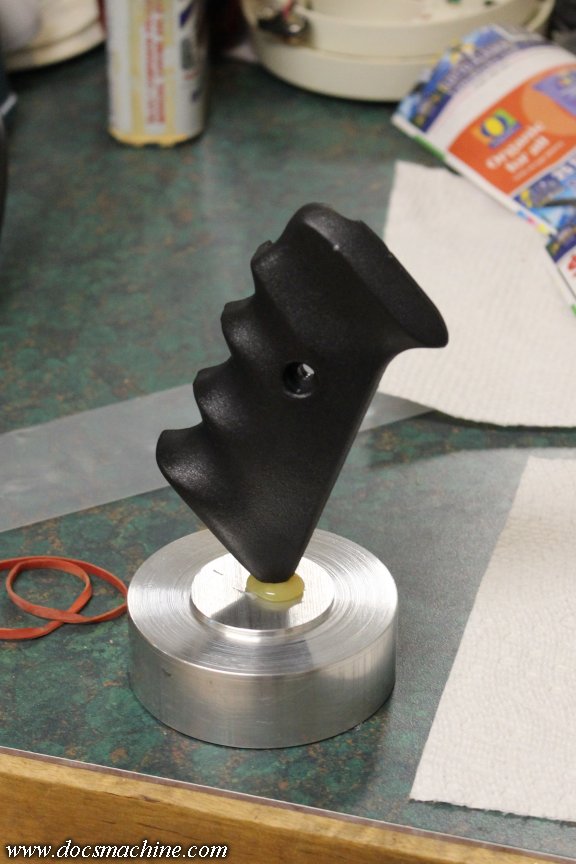
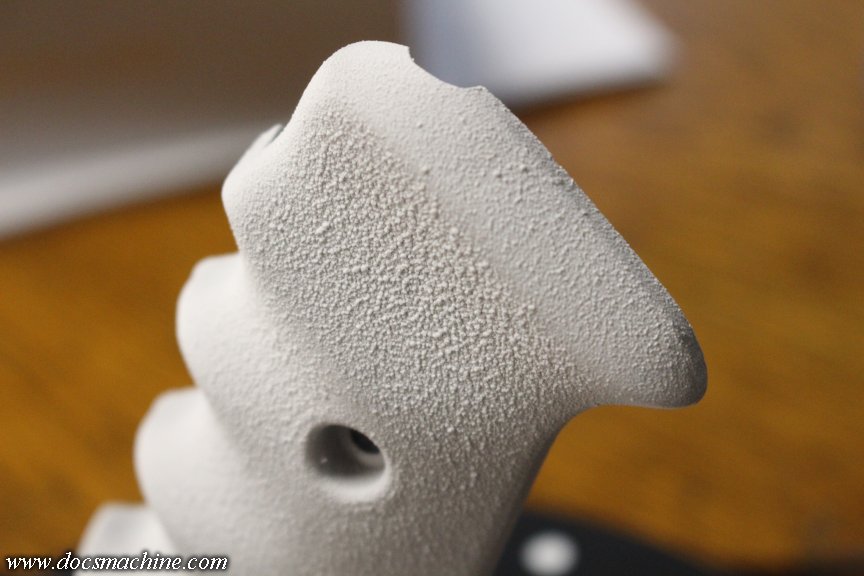
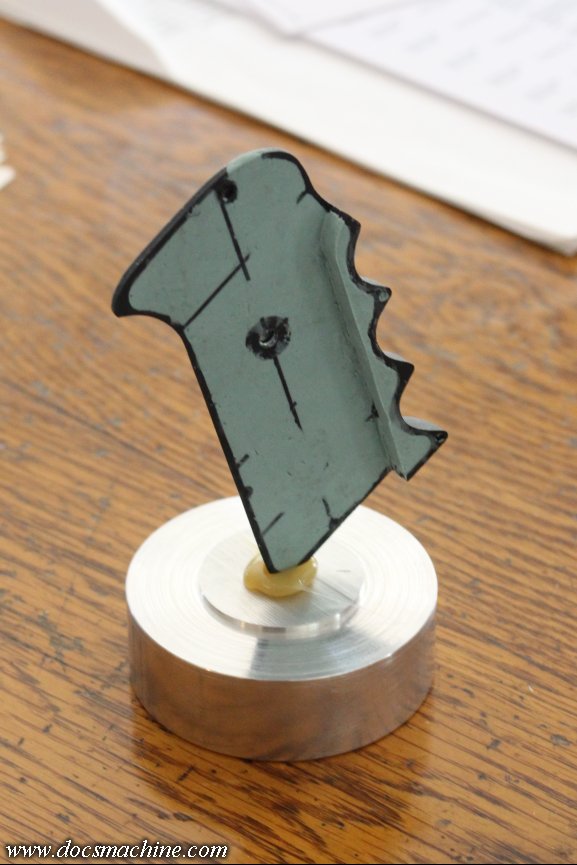
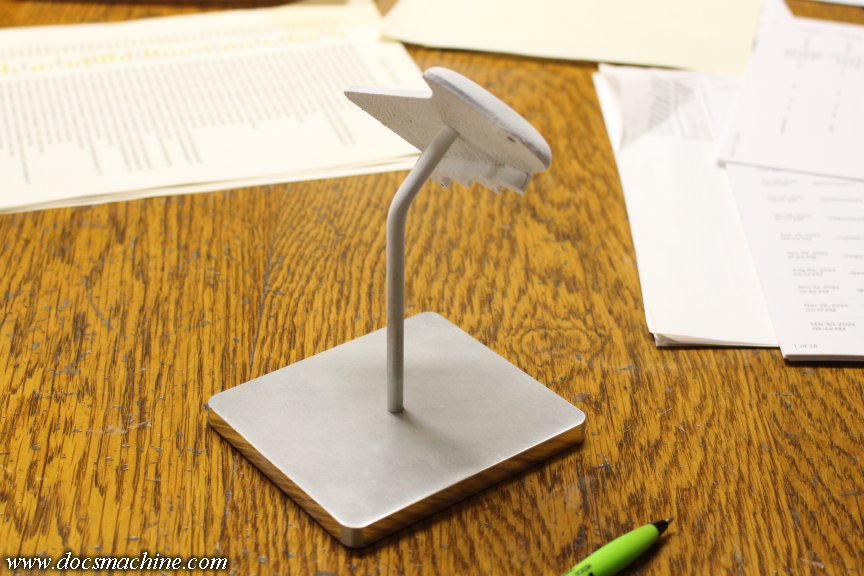
              Back at the lair, I knew I wanted to try and get as much of the surface as possible, so I found an offcut of aluminum to act as a base, and hot-glued the grip panel to it.


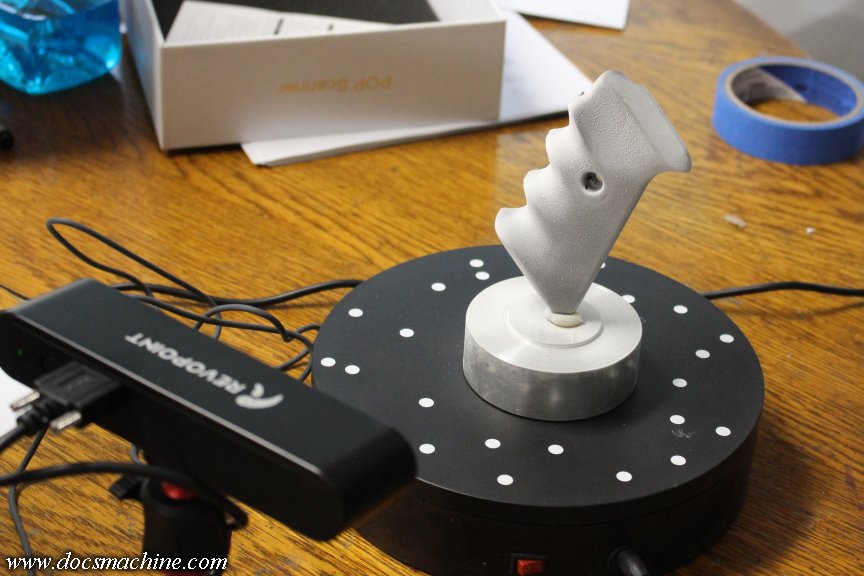
              I tried both sprays (not at the same time) and both worked pretty well, actually.


              The athlete's foot spray gave a smoother finish, but was tough to get even. It had to "dry to a haze" sort of thing, and then you had to re-spray the thin spots. More practice with coverage would help, and it's probably the better choice for closer-precision parts.

              The "dry shampoo" gave much better coverage, but was easy to "build up", in places, even excessively.


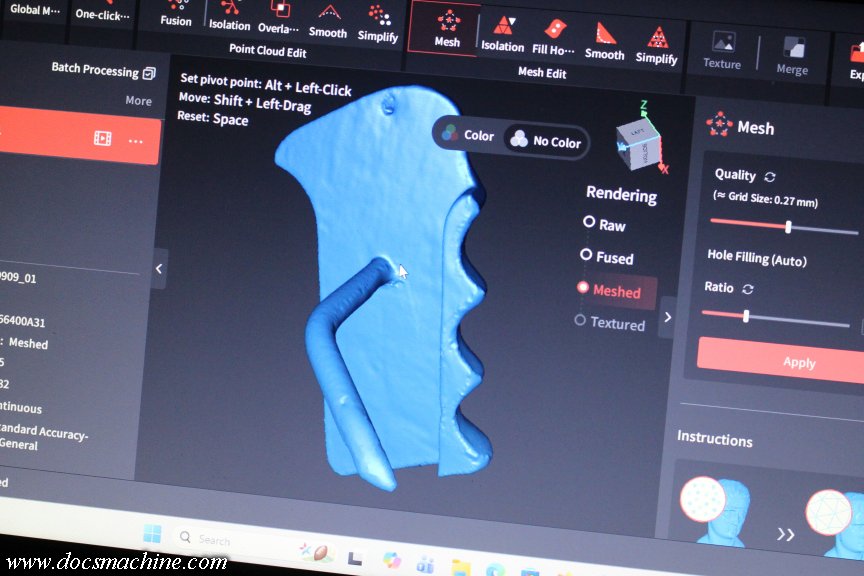
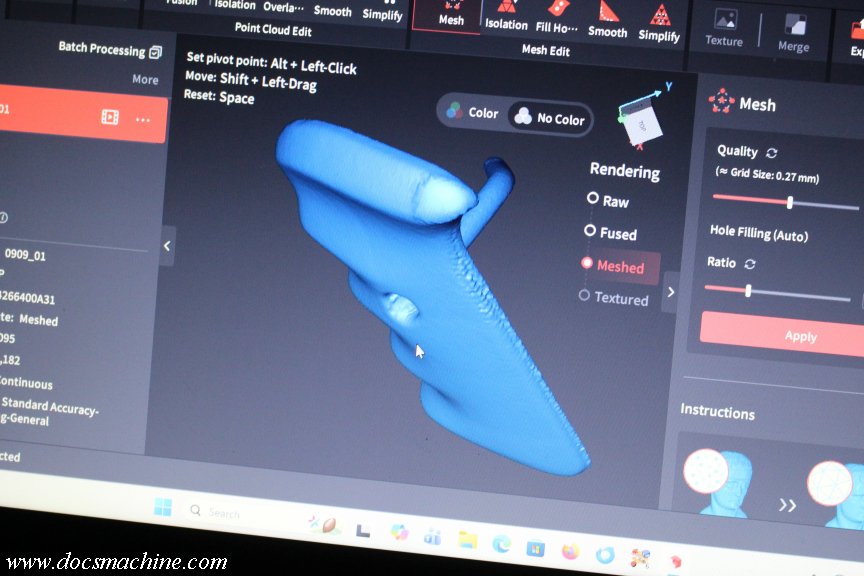
              On this part I wasn't worried, as the shape is more important than a few thou here and there. And the smoothing feature in the software took care of the bulk of the fuzz, anyway.


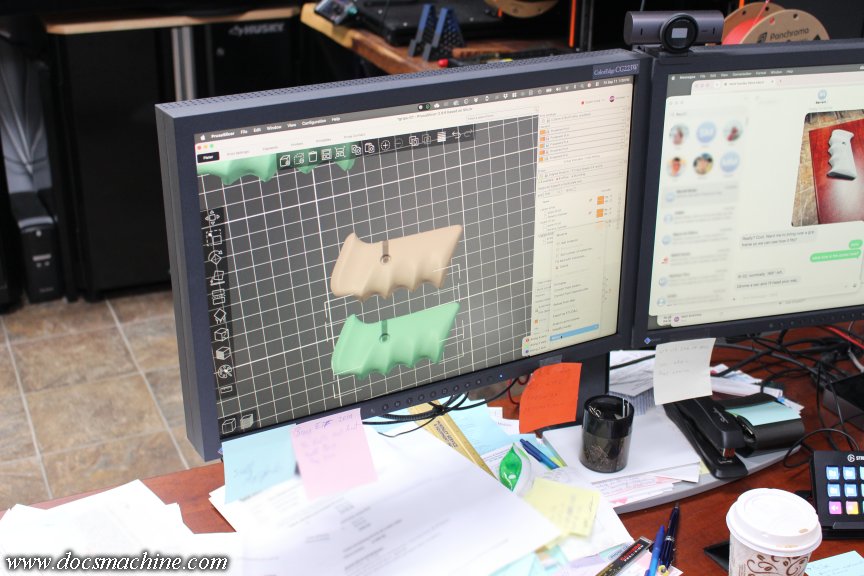
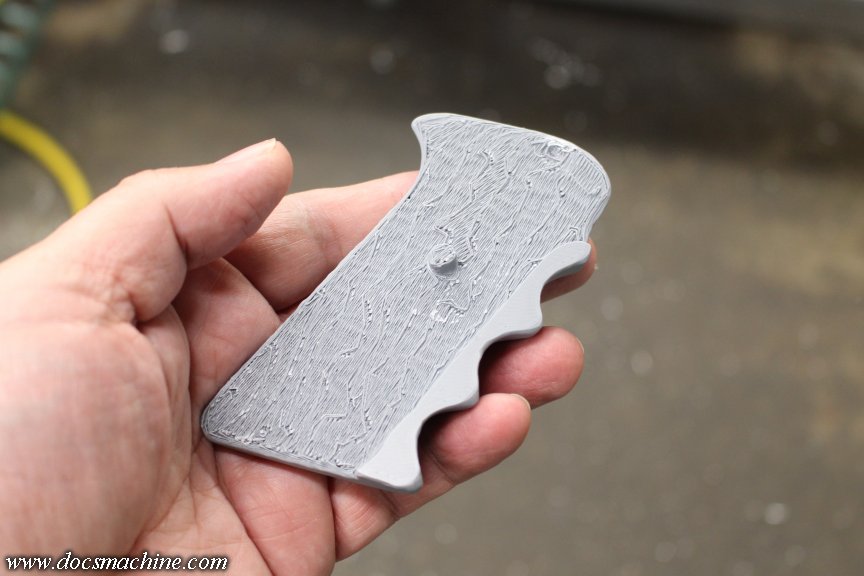
              Pretty happy with how the scan came out, but the tricky part now is turning the .ply point-cloud/mesh into a solid model we can run through a slicer and 3D print. And that's after cleaning up some of the glitches- the backside is uuuuugly.

              I'm still real green with Fusion, and it's kind of tricky, apparently, to work with a mesh in that anyway, so not lookin' forward to it. I suspect there's a lot of YouTube watchin' in my future.

              Doc.
              Doc's Machine & Airsmith Services: Creating the Strange and Wonderful since 1998!
              The Whiteboard: Daily, occasionally paintball-related webcomic mayhem!
              Paintball in the Movies!

              Comment

              • DocsMachine
                MCB Member
                • Jul 2020
                • 2715
                • Alaska

                #68
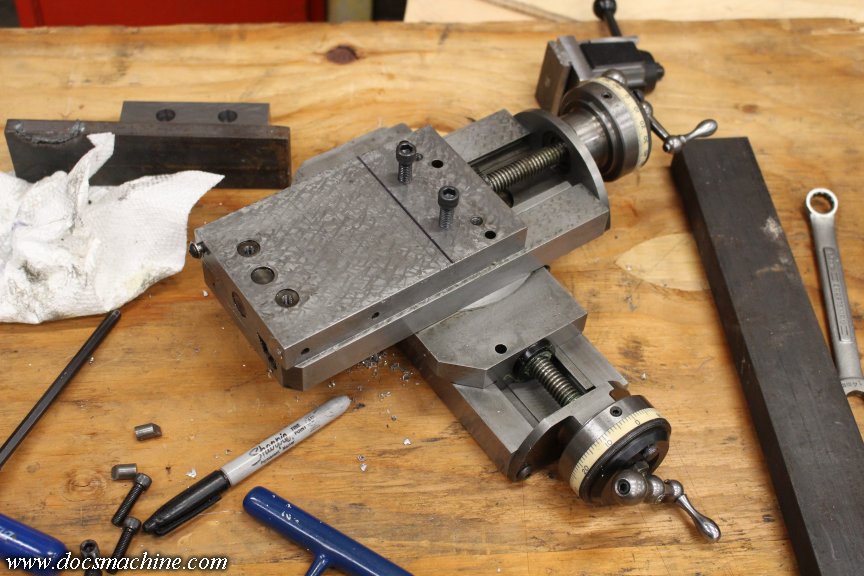
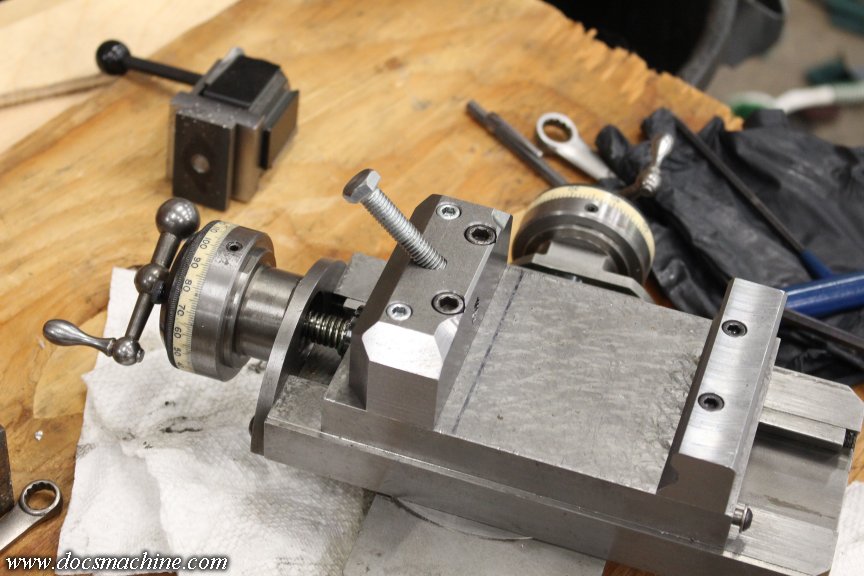
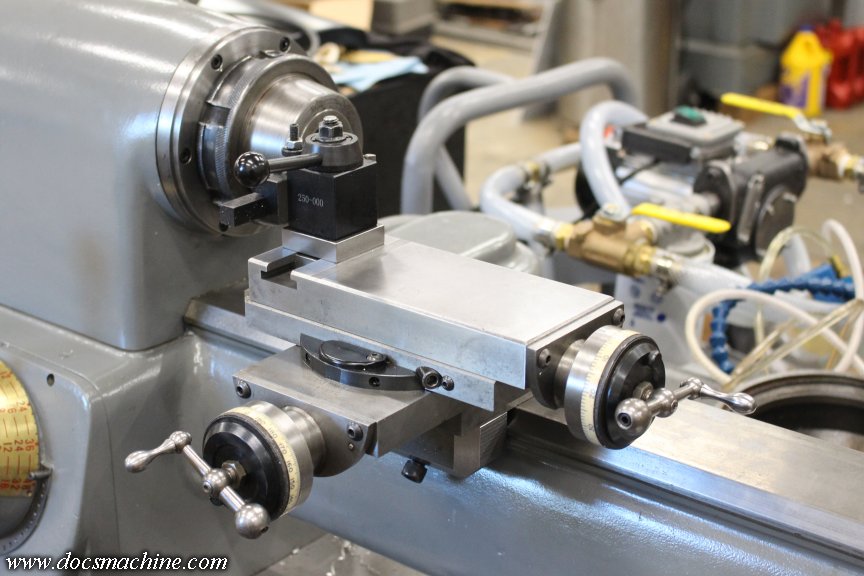
                Thanks to finally getting around to that Rivett tailstock, I started thinking of another minor annoyance on that machine. Back when I rebuilt it, since original Rivett X/Y slides are all but unobtainium, I picked up a Hardinge cross slide, intended for a DV-59.

                I had to make custom mounts for it since the Rivett has a different bed profile than the Hardinges, and have used it a few times ever since. My mistake, though, was making it so the assembly had to be slid on from the end of the bed. That meant I had to remove the nearly-hundred-pound turret first, and that gets tiresome.

                The original Hardinge setup lets you drop the slide assembly on anywhere and lock it down. Since I'd recently been annoyed when doing some small and fairly precise parts, and didn't want to take the trouble to swap the turret, I decided to see what I could do about that, today.

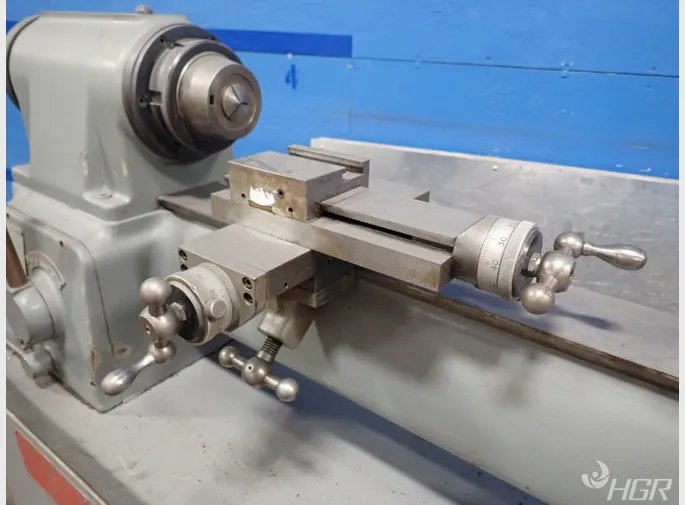
                I'd saved a photo of what I believed was an original Rivett X/Y slide, off a machine dealer's site:


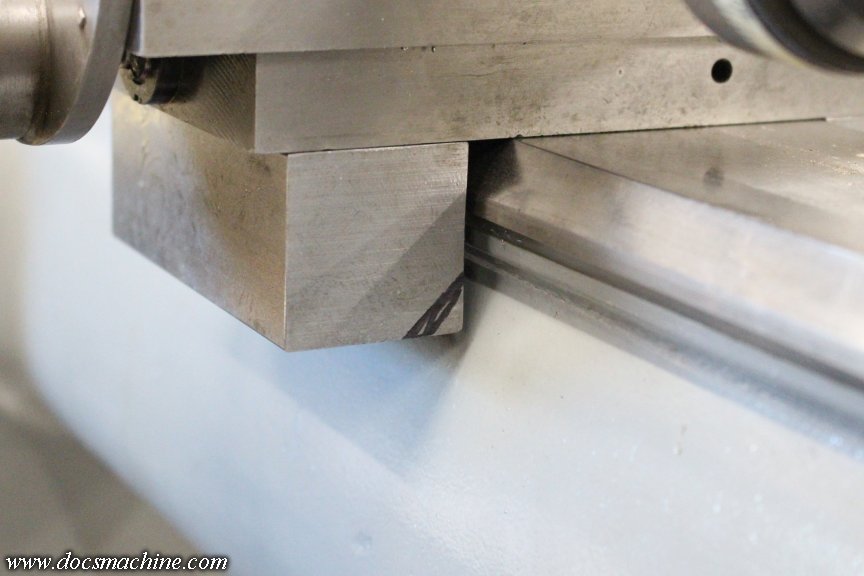
                Note the angled T-bar at the bottom- that locks it to the bedrails. So I figured I'd try something like that. I got out the Hardinge slide assembly I had, and stripped off the mounts I'd made.


                After a quick check, I needed a little more clearance in order to be able to tilt the clamping arrangement over the bedways, so I machined the old rear rail back about 50 thou.


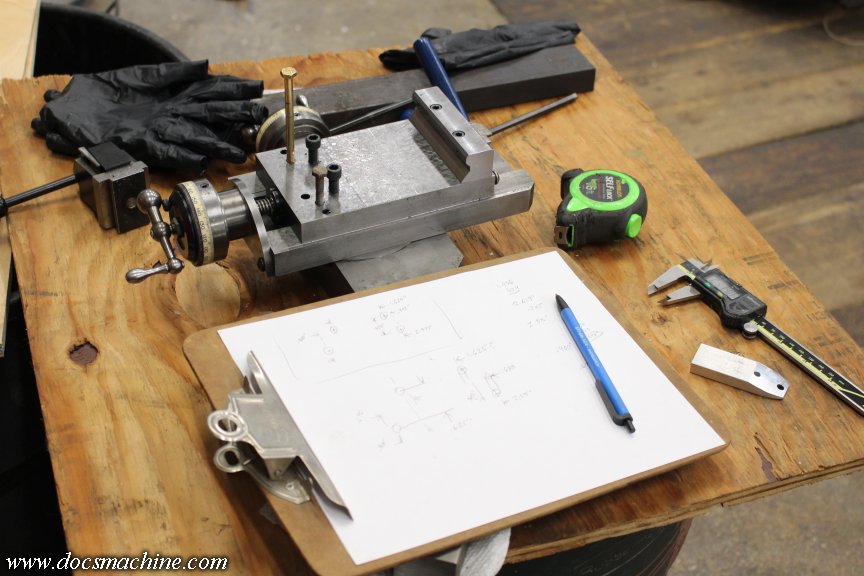
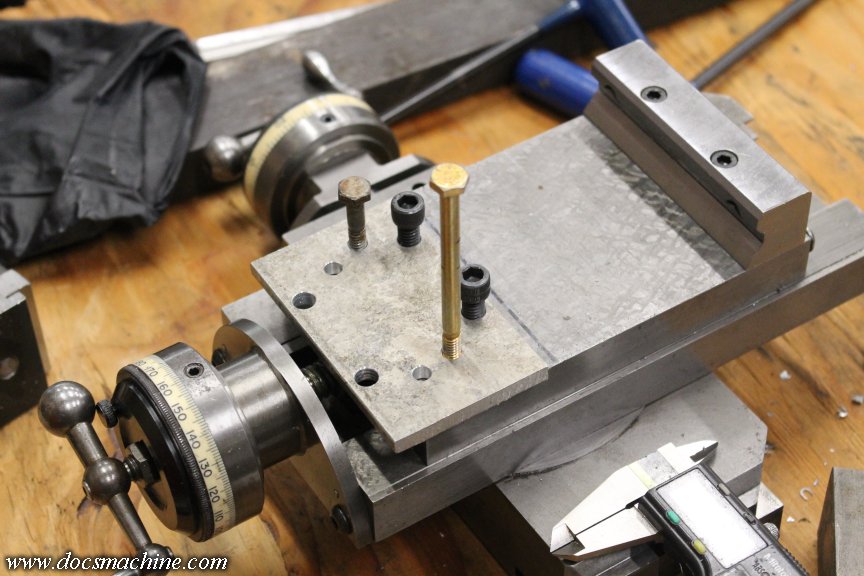
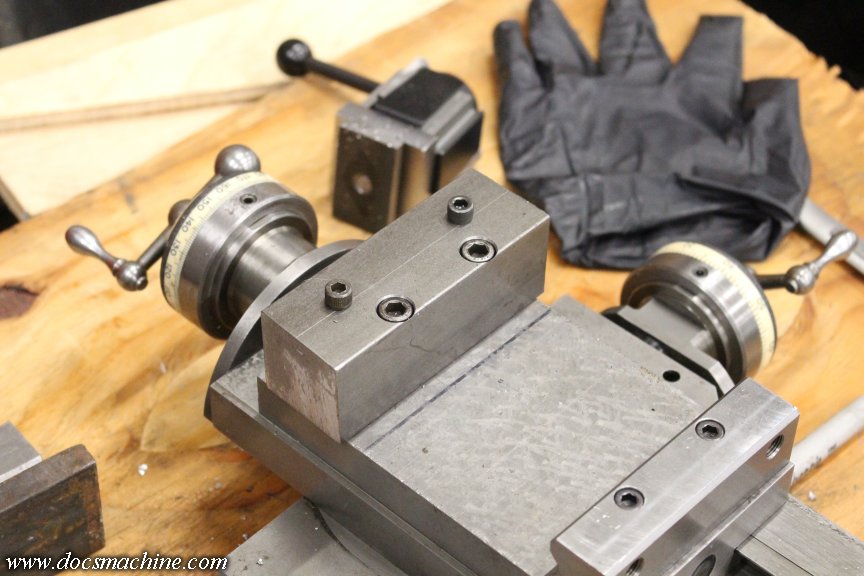
                Then, with a little careful measuring, I mapped out the four mounting holes at the front of the base casting.


                Using all four is considerable overkill, but hey, I had 'em.

                I drilled a hunk of scrap to check if my measurements were correct, and after the second try, they were!


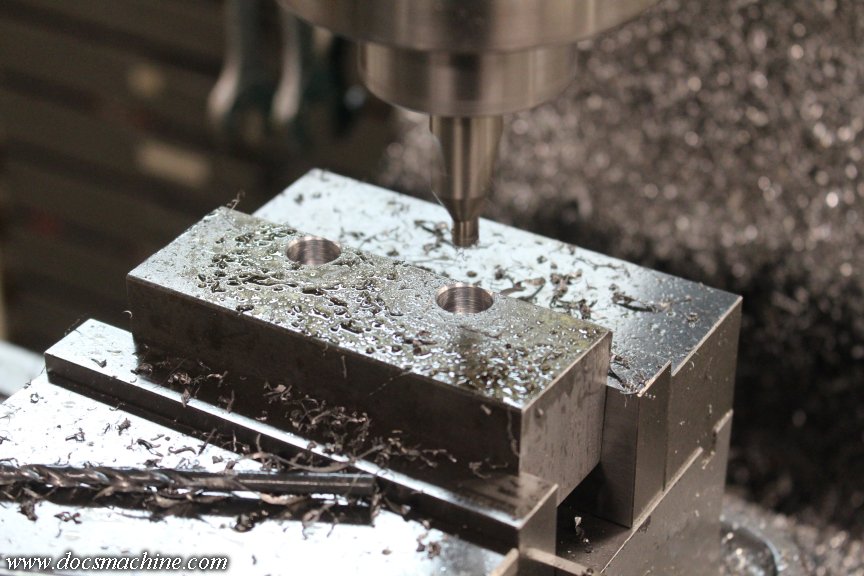
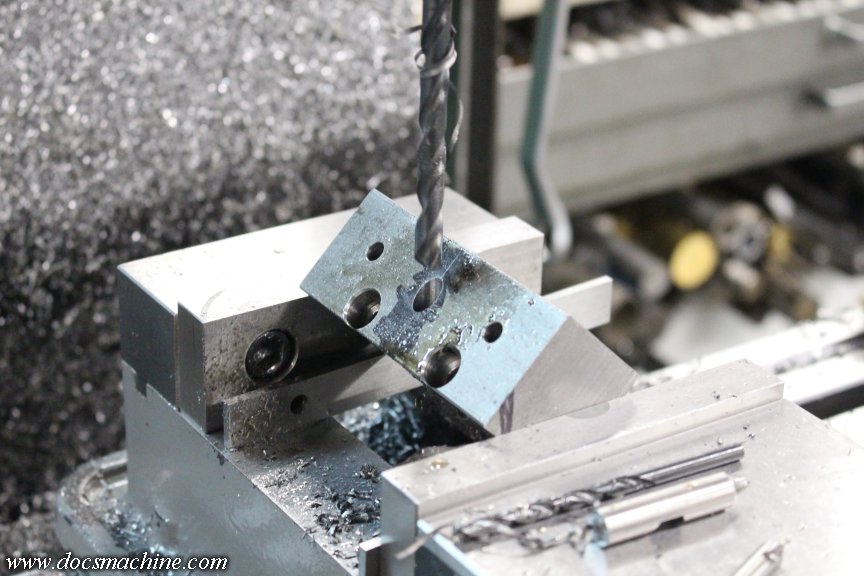
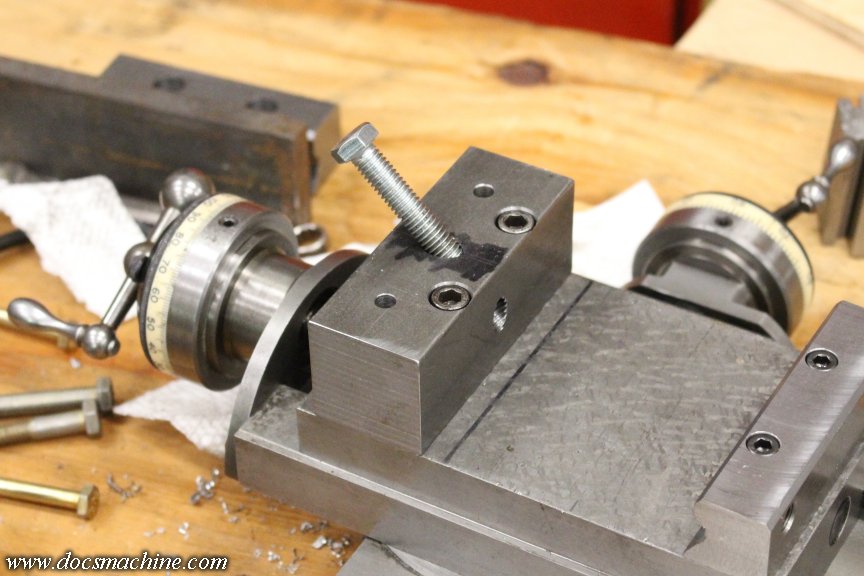
                I then bandsawed off a chunk of some 1-1/2" mild steel square stock, measured a likely starting spot, and started drillin' an' counterborin'.


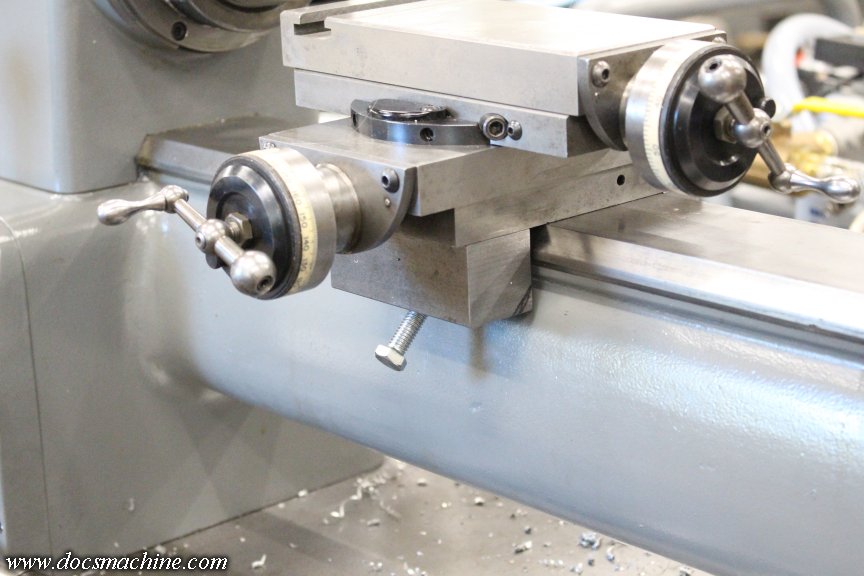
                A quick test-fit showed I was easily able to clip the back rail to the bed and rock the assembly into place.


                Now I just needed a way to lock it down.

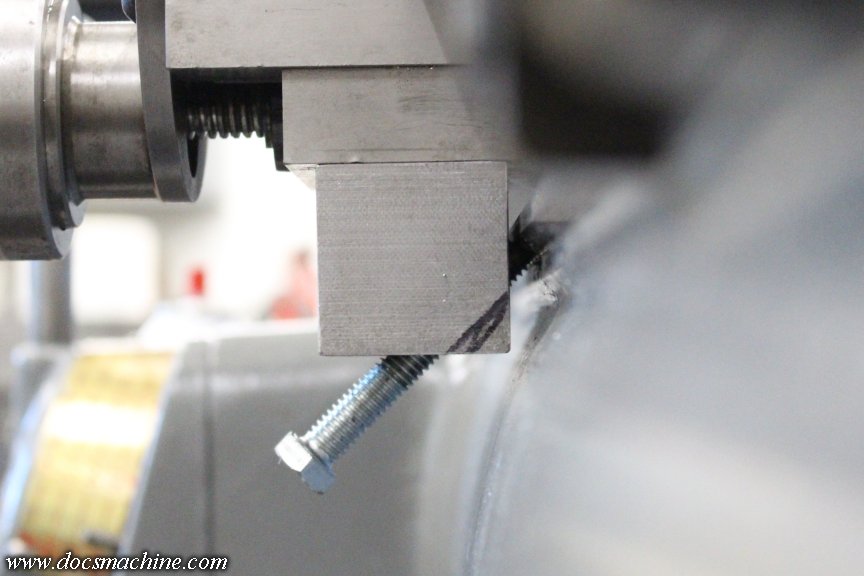
                Using a small straightedge, I marked the angle and lowest edge of the underside of the bedway...


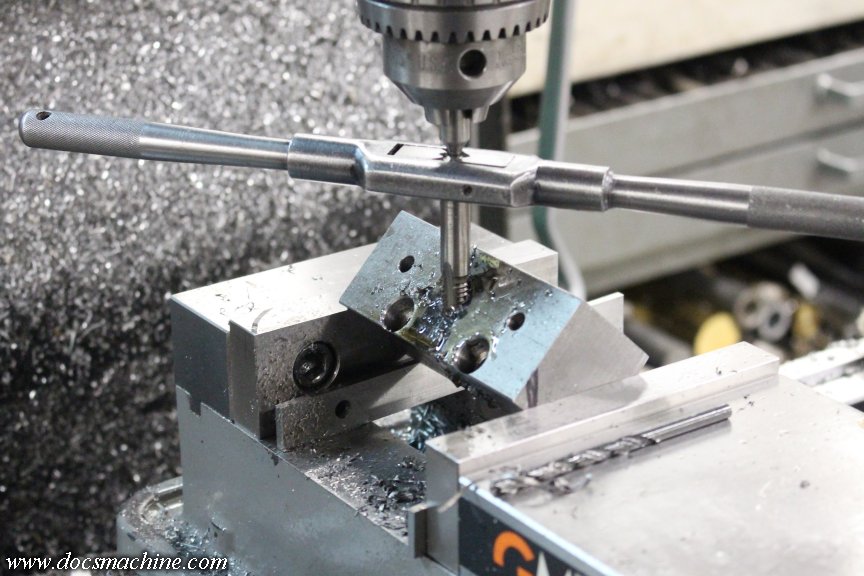
                And, with a little difficulty, drilled and tapped a hole for a locking bolt.


                That worked quite well- and if you're wondering how secure it'll be against cutting forces, a machine like this isn't meant for heavy hogging. Cuts will be light and precise- keeping in mind this is how the factory apparently did it. When snugged, the assembly feels quite rigid.


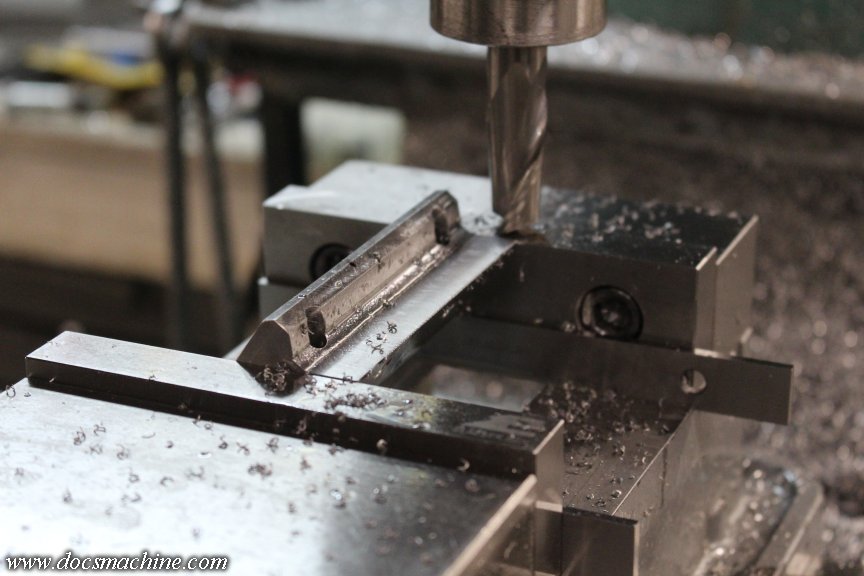
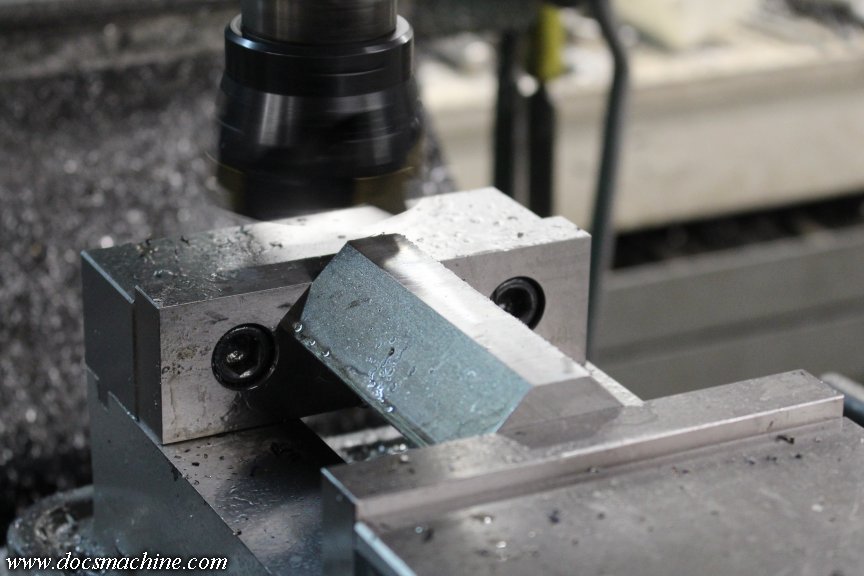
                After that, I just milled a few corners off for weight and looks...


                And installed it!


                Seems to work just fine, plunks right into place without having to remove the turret assembly, holds firmly, and I already know the slides themselves work just fine. Though I do need to maybe adjust the gibs a bit.

                Yeah, maybe not what I needed to do today (though it hardly took all day) but making the machines easier to use or more versatile, is never wasted time.

                Hopefully after I get a bit more work kicked out in the next few days, I'll get back to the still-empty tailstock and get that badboy back together, too.

                Doc.
                Doc's Machine & Airsmith Services: Creating the Strange and Wonderful since 1998!
                The Whiteboard: Daily, occasionally paintball-related webcomic mayhem!
                Paintball in the Movies!

                Comment

                Working...