I've never done one of these before, and I've been a fan of eNMEys for years, so I was broken hearted when I missed the original buy-in. Autococker04 was extremely gracious to send me his guns for the build!
The guns came in just in time for the moon launch.

I was pleasantly surprised that one of them was basically working out of the box, though both were very dirty and rusty from the get-go. The grips were a lost cause from the start, at least with frames like these, and like everyone else I had to do a good deal of scrubbing and soaking to get the paint residue off.

The big reason I wanted to participate in this is that I've had one and a half SP-1s sitting dead in a box for a while that I've wanted to do something with for a long time. I got them off of eBay for a song a long time ago, but my restoration of them had stalled out due to lacking dual-tailed bolts and a working solenoid. Both that came with these were blown.

Getting the eNMEys broken down was tougher than I thought due to seized bolts. In particular a stainless steel screw holding the vertical ASA onto the one working one was badly seized in place and immediately rounded out. I had to drill it out and in the process damaged the ASA.

Fortunately I've got at least 4 good ASAs to draw from here, and the hose from the ASA to the 3-way is going to have to be longer too in order to reach from the valve's location to the farther-spaced ASA and grip frame. I had a bit of 4mm silicone hose to make it, but now I'm running into major problems getting any of the guns to seal properly. The banjos of the guts I have to work with aren't wanting to mate up properly.


Unlike most of the guns I've seen in everyone's threads, mine only have the very hard plastic hoses connecting everything, and either I'm getting something wrong with my reassembly or the minor differences in hose length make them not want to easily swap from one body to another. I've basically got 3 different types of guns here- the SP-1s, a gen-1 eNMEy, and a gen-3 eNMEy which has a different can design that won't fit between the other two. The bolts seem to be compatible, though.

I'm hoping that going to newer O-rings on the banjos will make them re-seal, and am going to order a few feet of 4mm hose to replace the plastic hoses so that I have enough play in the parts to get everything to align and mate up again.

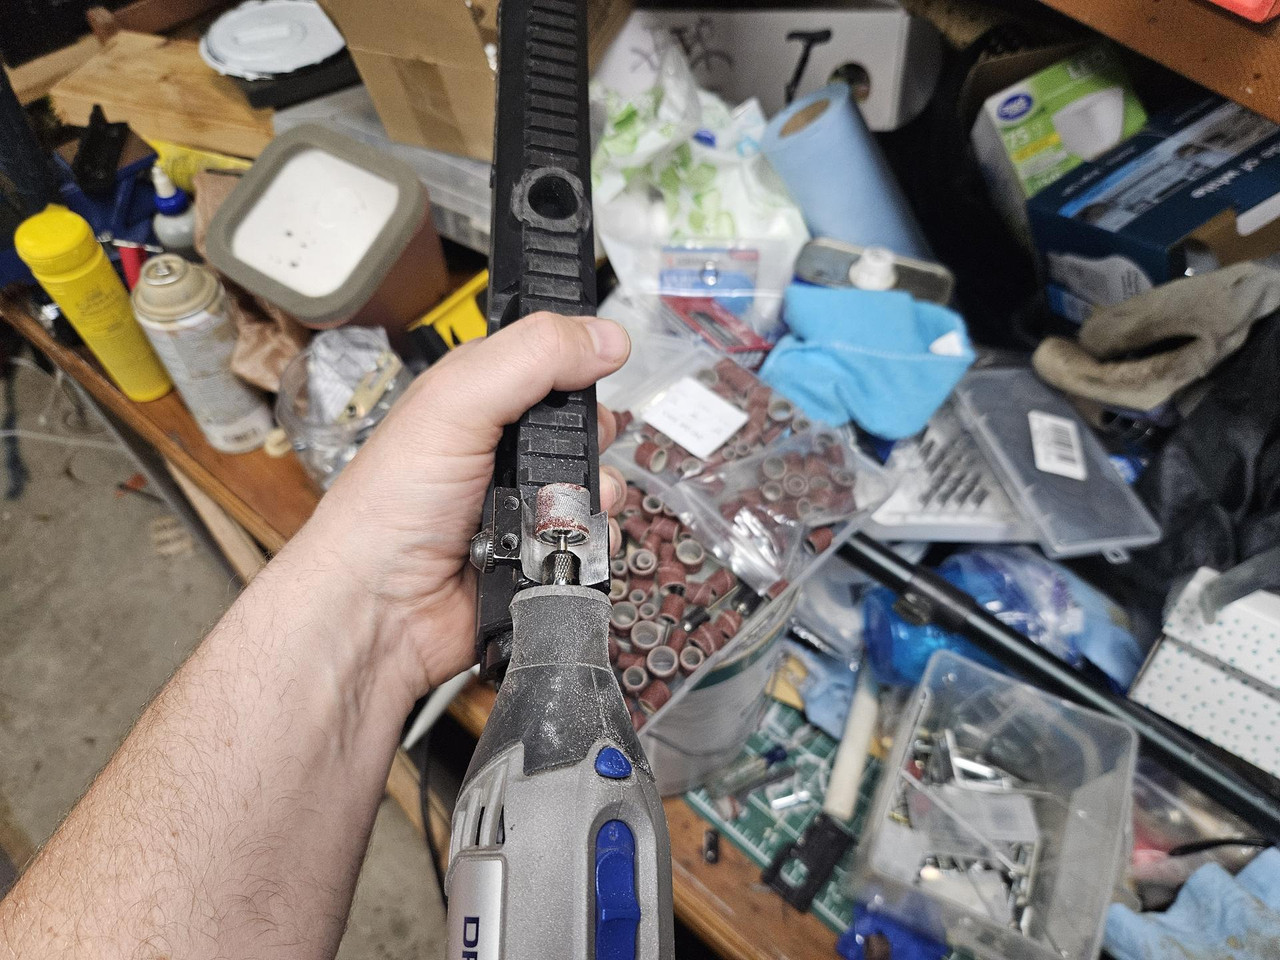
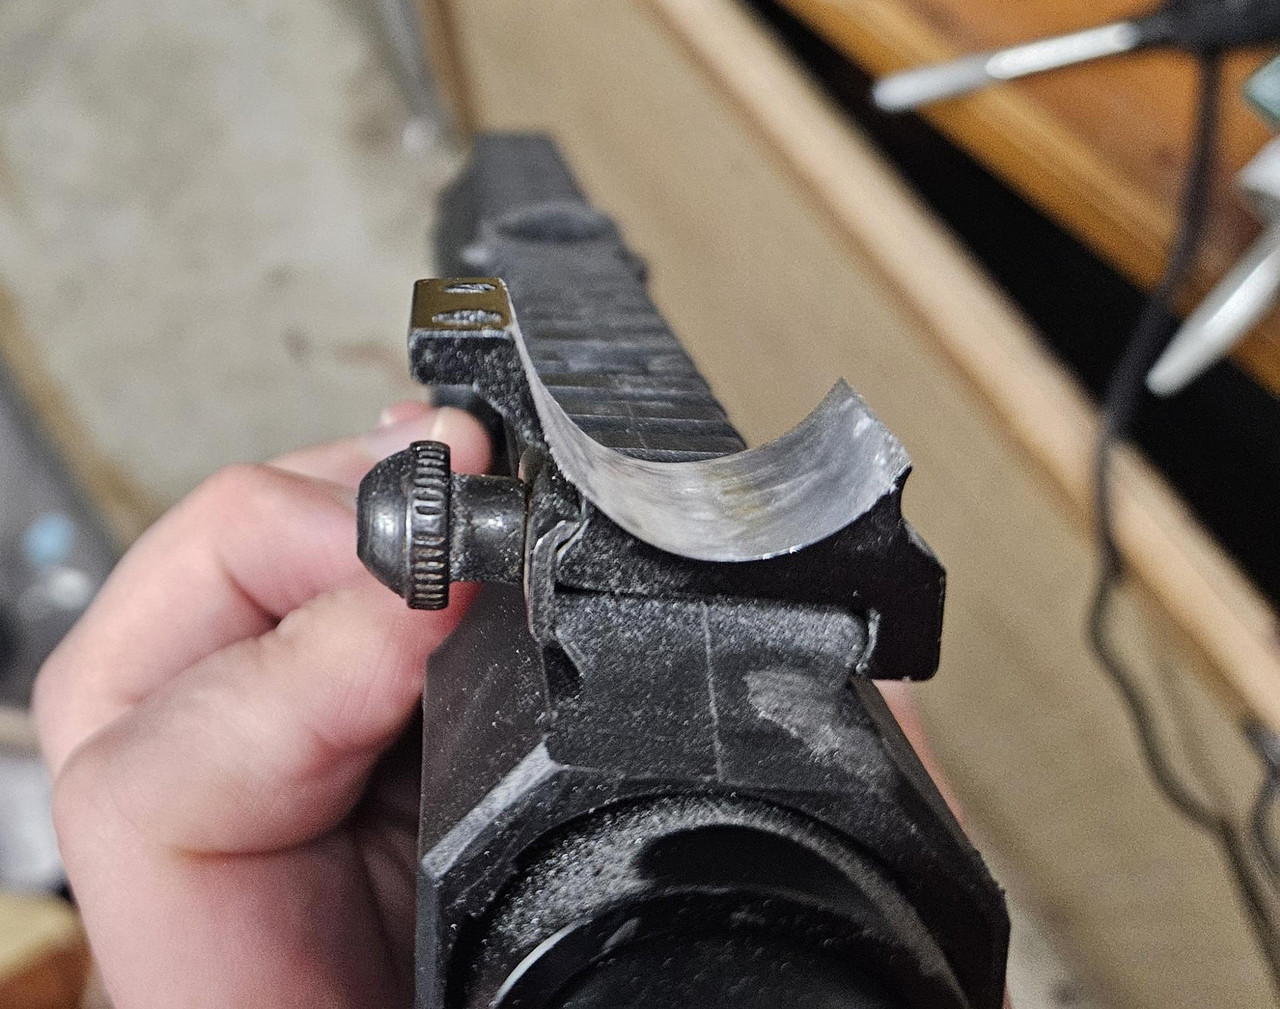
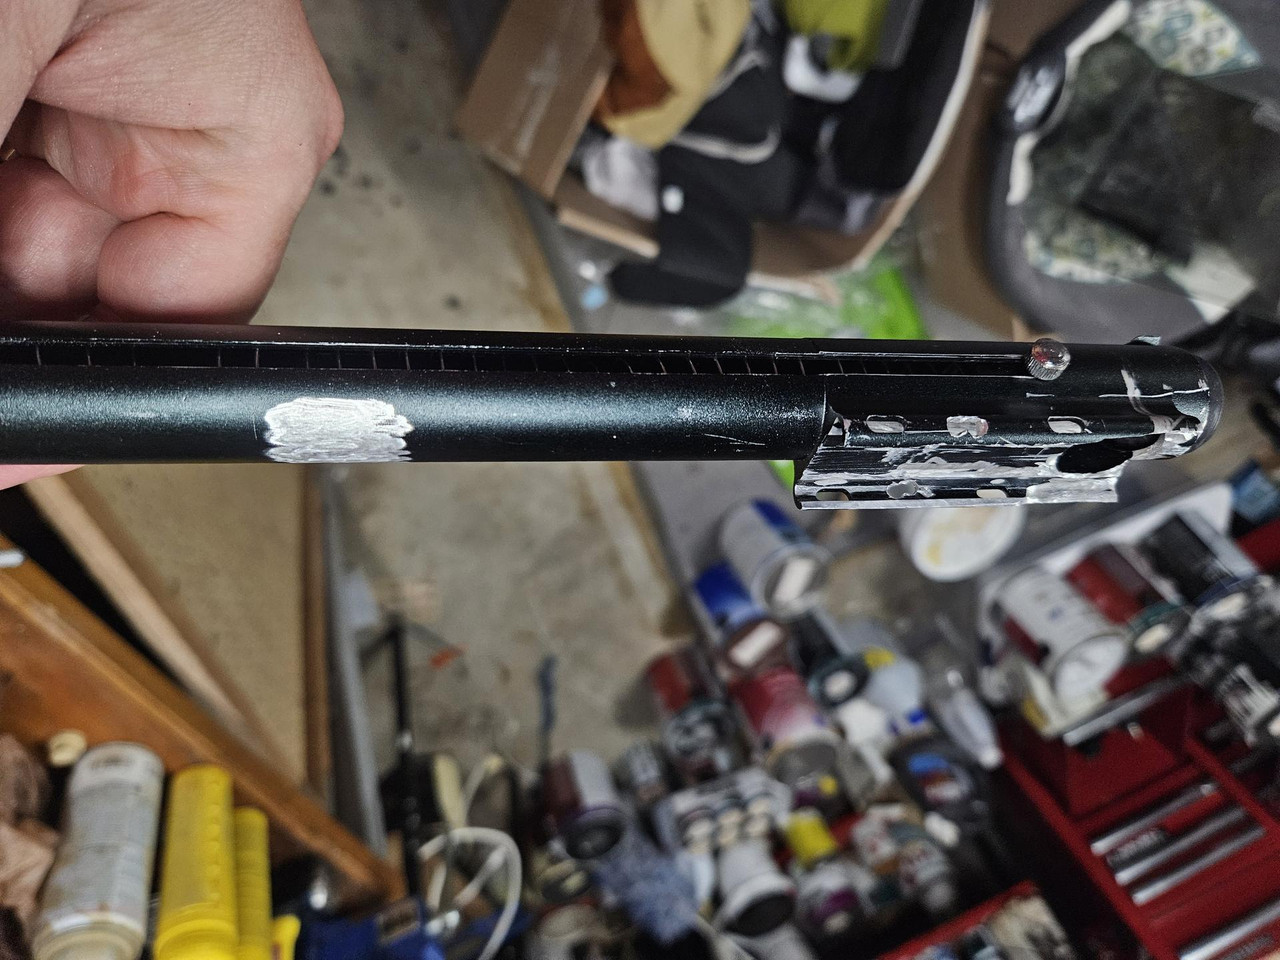
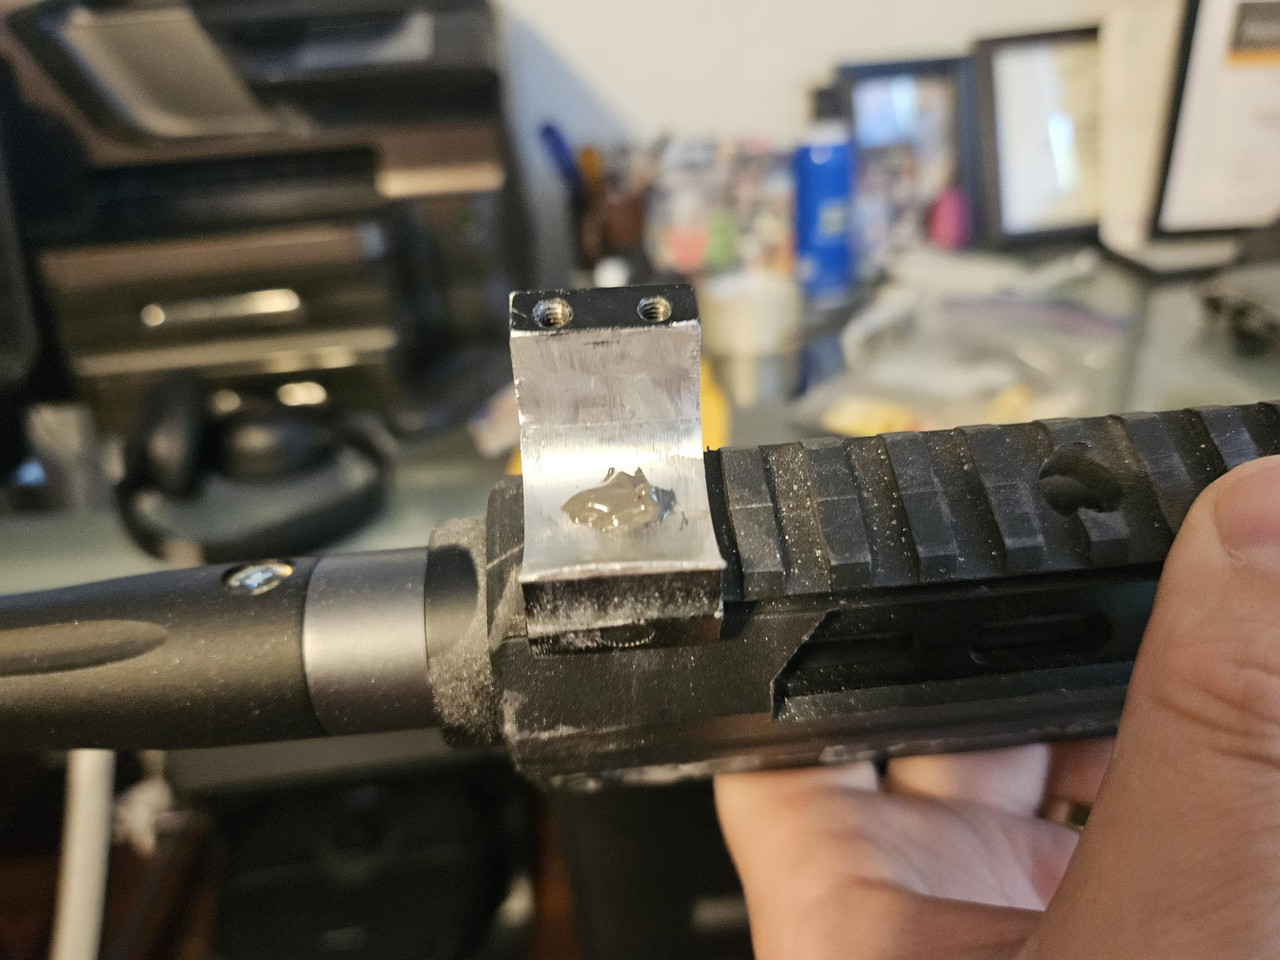
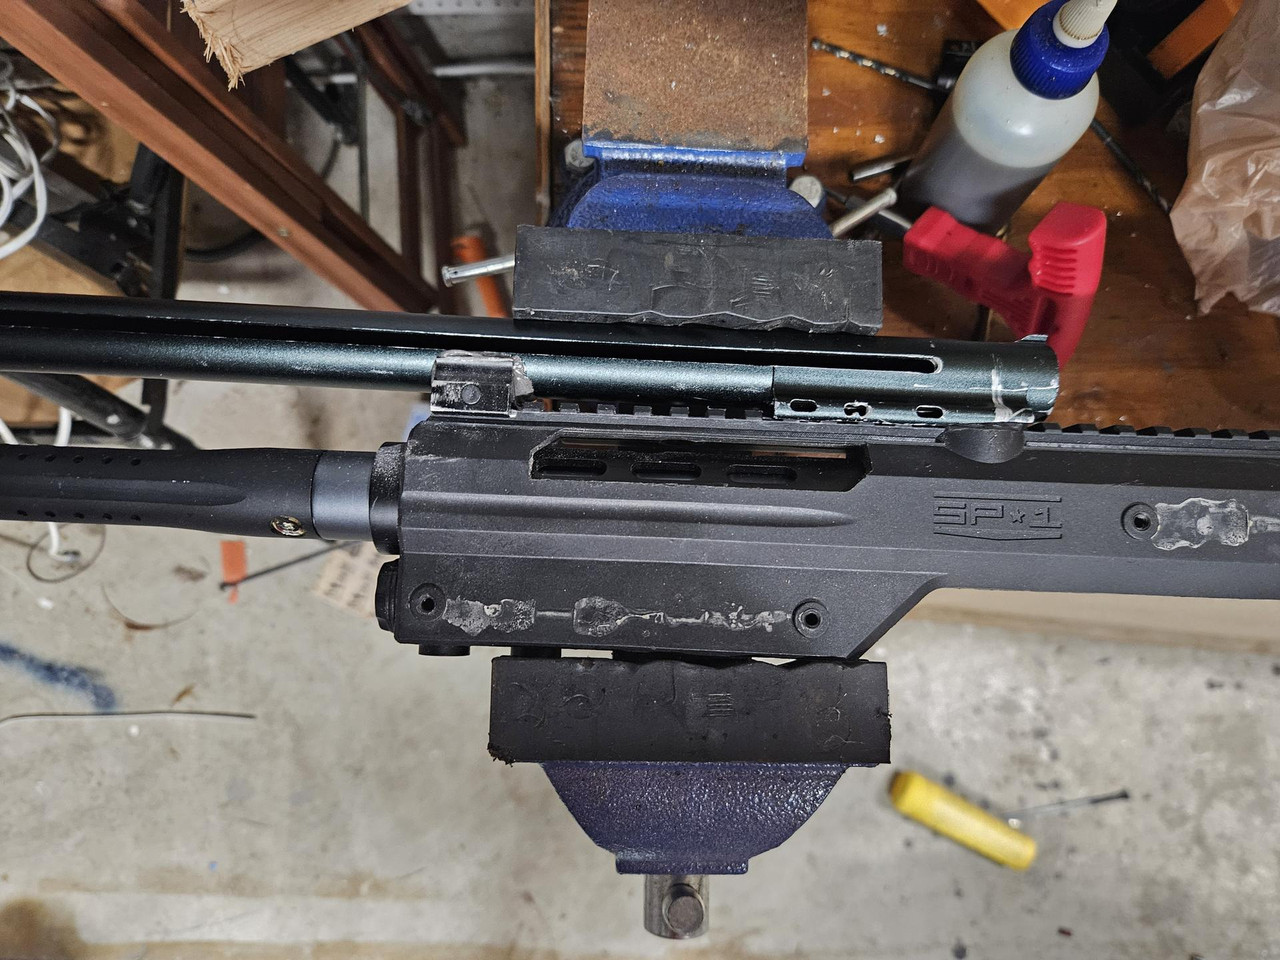
The plan is to re-use an old RAP-4 firestorm feed I cut up for another project I worked on a decade ago and give it a permanent home on one of the guns. To get it to fit properly the feedneck stub on one of the SP-1 bodies will need to be permanently cut off, but I need to get my hoses, re-fill my test tanks, and get at least one set of guts working again before I can go further. To make matters worse, the one SP-1 regulator I have is suddenly on the fritz and will need a rebuild. Last time I was messing with these things I thought it was working. One more thing to have to fix, I guess.


Parts list (as best I can remember)
Box of SP-1s (already had) $40 (?)
Rap-4 Firestorm magazine (already had) $35(?)
GoG seal kit (already had) $10 (?)
The guns came in just in time for the moon launch.
I was pleasantly surprised that one of them was basically working out of the box, though both were very dirty and rusty from the get-go. The grips were a lost cause from the start, at least with frames like these, and like everyone else I had to do a good deal of scrubbing and soaking to get the paint residue off.
The big reason I wanted to participate in this is that I've had one and a half SP-1s sitting dead in a box for a while that I've wanted to do something with for a long time. I got them off of eBay for a song a long time ago, but my restoration of them had stalled out due to lacking dual-tailed bolts and a working solenoid. Both that came with these were blown.
Getting the eNMEys broken down was tougher than I thought due to seized bolts. In particular a stainless steel screw holding the vertical ASA onto the one working one was badly seized in place and immediately rounded out. I had to drill it out and in the process damaged the ASA.
Fortunately I've got at least 4 good ASAs to draw from here, and the hose from the ASA to the 3-way is going to have to be longer too in order to reach from the valve's location to the farther-spaced ASA and grip frame. I had a bit of 4mm silicone hose to make it, but now I'm running into major problems getting any of the guns to seal properly. The banjos of the guts I have to work with aren't wanting to mate up properly.
Unlike most of the guns I've seen in everyone's threads, mine only have the very hard plastic hoses connecting everything, and either I'm getting something wrong with my reassembly or the minor differences in hose length make them not want to easily swap from one body to another. I've basically got 3 different types of guns here- the SP-1s, a gen-1 eNMEy, and a gen-3 eNMEy which has a different can design that won't fit between the other two. The bolts seem to be compatible, though.
I'm hoping that going to newer O-rings on the banjos will make them re-seal, and am going to order a few feet of 4mm hose to replace the plastic hoses so that I have enough play in the parts to get everything to align and mate up again.
The plan is to re-use an old RAP-4 firestorm feed I cut up for another project I worked on a decade ago and give it a permanent home on one of the guns. To get it to fit properly the feedneck stub on one of the SP-1 bodies will need to be permanently cut off, but I need to get my hoses, re-fill my test tanks, and get at least one set of guts working again before I can go further. To make matters worse, the one SP-1 regulator I have is suddenly on the fritz and will need a rebuild. Last time I was messing with these things I thought it was working. One more thing to have to fix, I guess.
Parts list (as best I can remember)
Box of SP-1s (already had) $40 (?)
Rap-4 Firestorm magazine (already had) $35(?)
GoG seal kit (already had) $10 (?)
.jpg)
Comment