Does anyone have a guide to making your own jewel emblems to replace logos and such? I seem to recall reading some how-tos here or on PBNation detailing how you could pour epoxy on a bit of printed cardstock or something and get decent results, but I can't remember the specifics. Anyone heard of something like that?

Announcement
Collapse
No announcement yet.
Making your own custom "jewel" emblems?
Collapse
X
-
cfos00 did a pretty good write up on customcockers (maybe the old site here too) a while back. Unfortunately looks like the photos got disappeared by photobucket.
http://customcockers.com/forum/showt...-to-DIY-Jewels
Originally posted by cfos00Hey-
Want to make your own jewels? Want them to not suck? Here's how. It's way easier than you might imagine.
For this project, I wanted 1/2" circular jewels. They fit on pretty much anything, including masks, markers, , or parts. You can do other shapes, but my links won't be ideal for you.
Things that you'll need:
1. Here are your dome stickers: https://www.ebay.com/itm/100-pcs-MIN...t/291681389734
2. Gloss paper/photo paper
3. Lazer printer OR a Staples/Kinkos/Office Max
4. Circle Punch in the same size as your dome stickers: https://www.amazon.com/EK-Tools-Circ...2+circle+punch
5. Access to logos AND permission to use them if you plan on selling. Doubt most people will care if it's just on your stuff
6. Gorilla Glue or Super Glue
7. Scissors or a razor blade
This is really simple process.
1. Gather your logos
2. Go to a site that can format documents or are customizable for your your pictures and have an editor. I went here and bookmarked it. It's not ideal (let me know if you have a better place that's simple to use!), but it works well for basic color backgrounds. https://www.pdfescape.com/account/lo...A2ADC97A21639F
3. See those circles? They're 1/2", matching the jewels. Take you image and insert it in them. Adjust the size down to what you want to see. If you want to get rid of the circular edge, go to the insert shapes, and insert a circle. Make it either white with a white rim or match the image background as well as you can. Then move that circle into the background (right click while above the circle). Slide that puppy into the background, and boom! No rim to worry about.
4. Grab your cutter, and either a razor or scissors.
5. Cut out the circle around your picture.
6. Grab a dome jewel, and carefully line up the edges. Press it down. Press it down really, really hard once it's lined up. You want to leave no air there, and crush it down so that it bonds well. Those jewels I linked are really good in terms of adhesive, so you should be good using them.
7. Use the razor blade or scissors to edge off any excess there. There shouldn't be much if any, but you'll want to get rid of any overhang. We around dealing with precision tools here.
8. Get your gorilla glue or super glue. I prefer gorilla here. The reason why is that it does no dry immediately, and leaves no residue around the jewel if there is some overflow that you want to wipe up. If you're using superglue, have some nail polish remover handy to get rid of any excess so it doesn't dry and get white around the jewel. Put on a small dab. It doesn't need to be drowning in it. If you're using gorilla glue, and you need to dampen it, don't worry about soaking the paper. It will absolutely be fine to put it under running water. It will survive that no problem. That said, don't toss it in a lake and expect it to work. Use common sense here.
9. Again, press that baby onto a desired surface. Make sure that surface is clean. Hold it down. Let it dry.
10. Look at your new jewel and be happy.
That's it. Whole process. Not rocket science. End up with these:
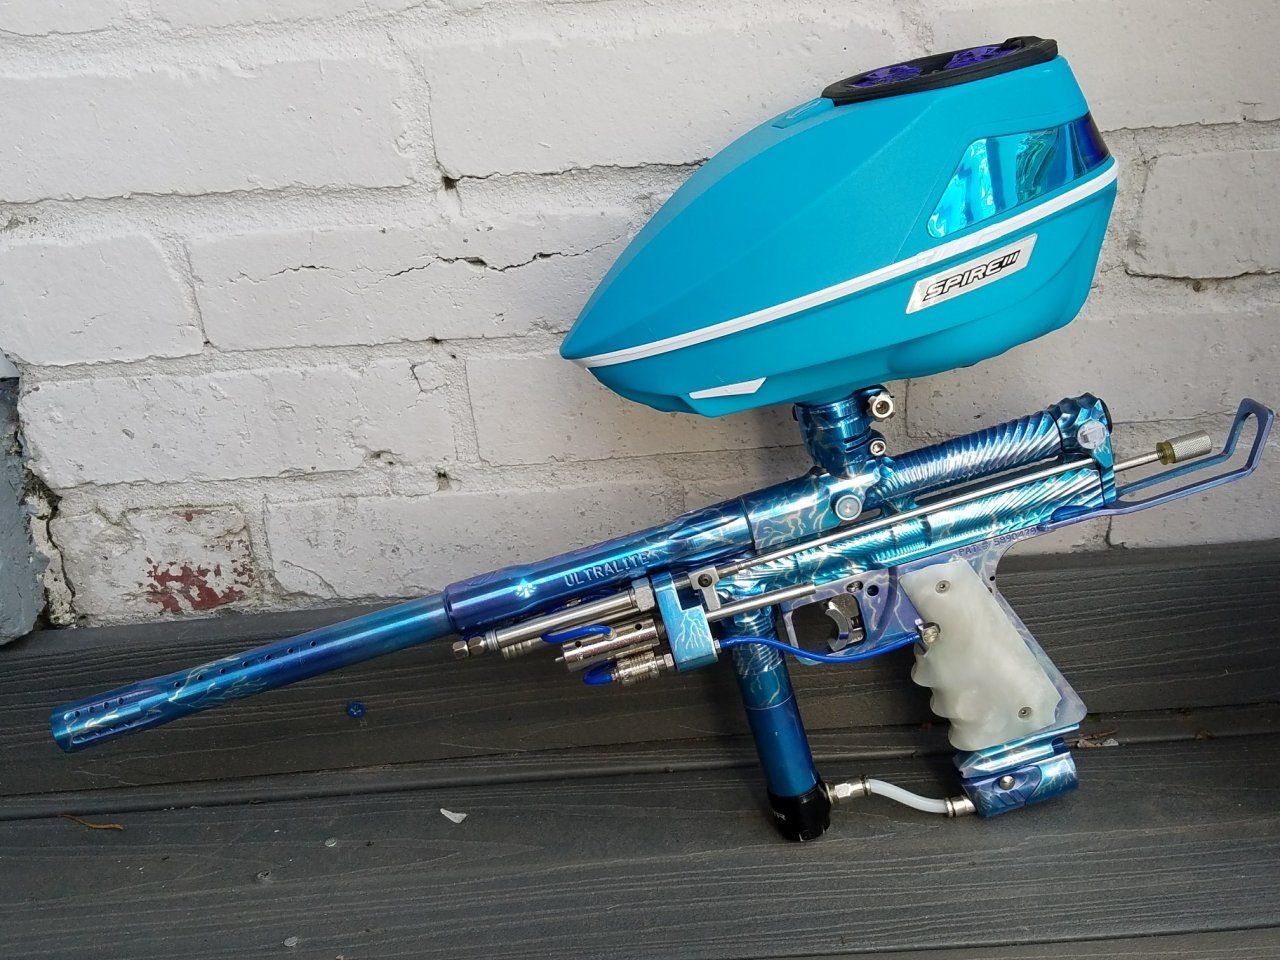
On a reflex twister bolt pin. Just used it at Fulda. It got shot and I went through 3 cases with it. No budging or paint bleed. Thor's Hammer.
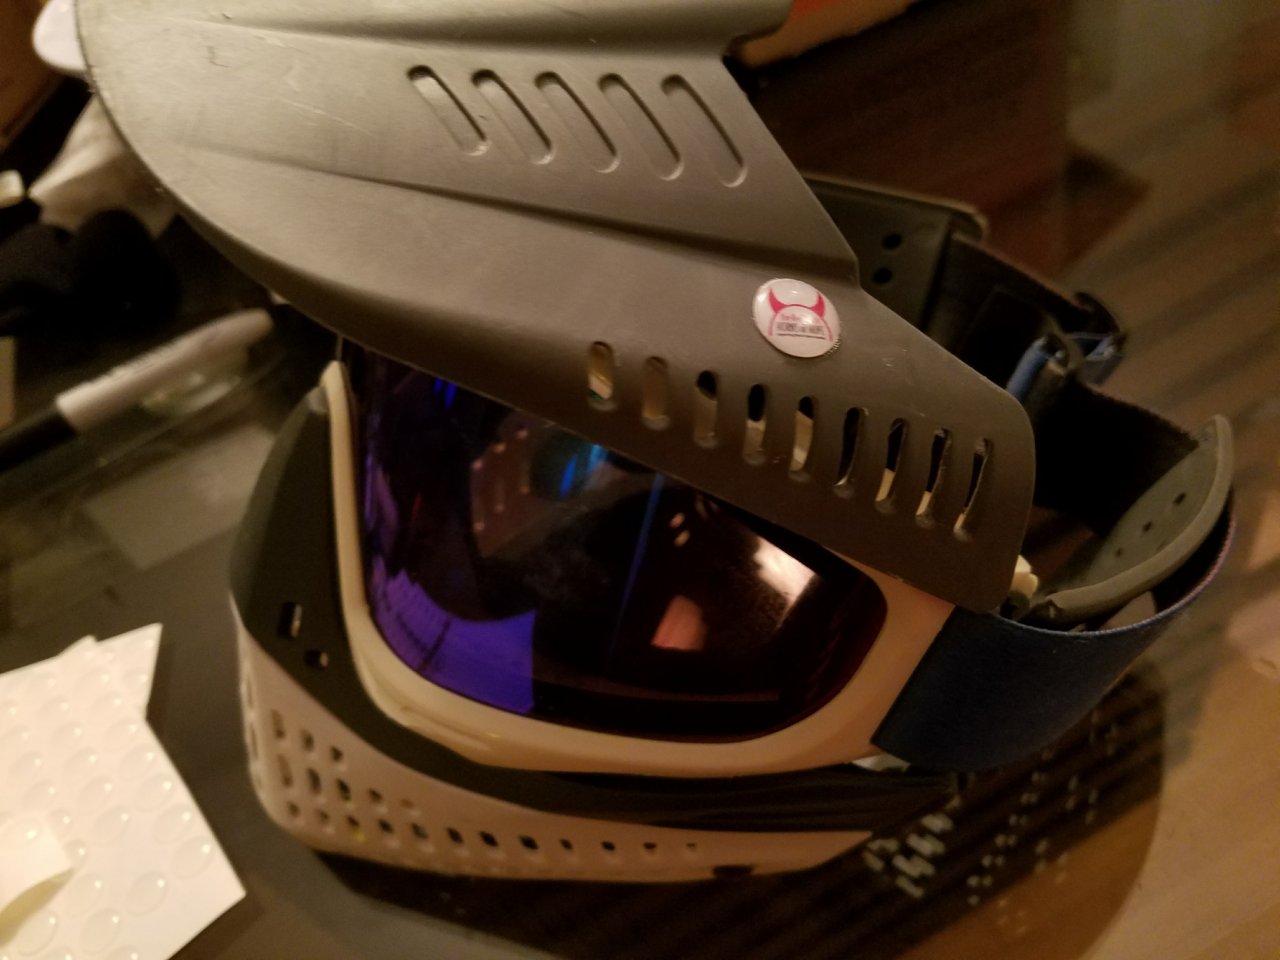
On a mask. Again, shot a couple times, including one direct hit. Same story. No bleed.
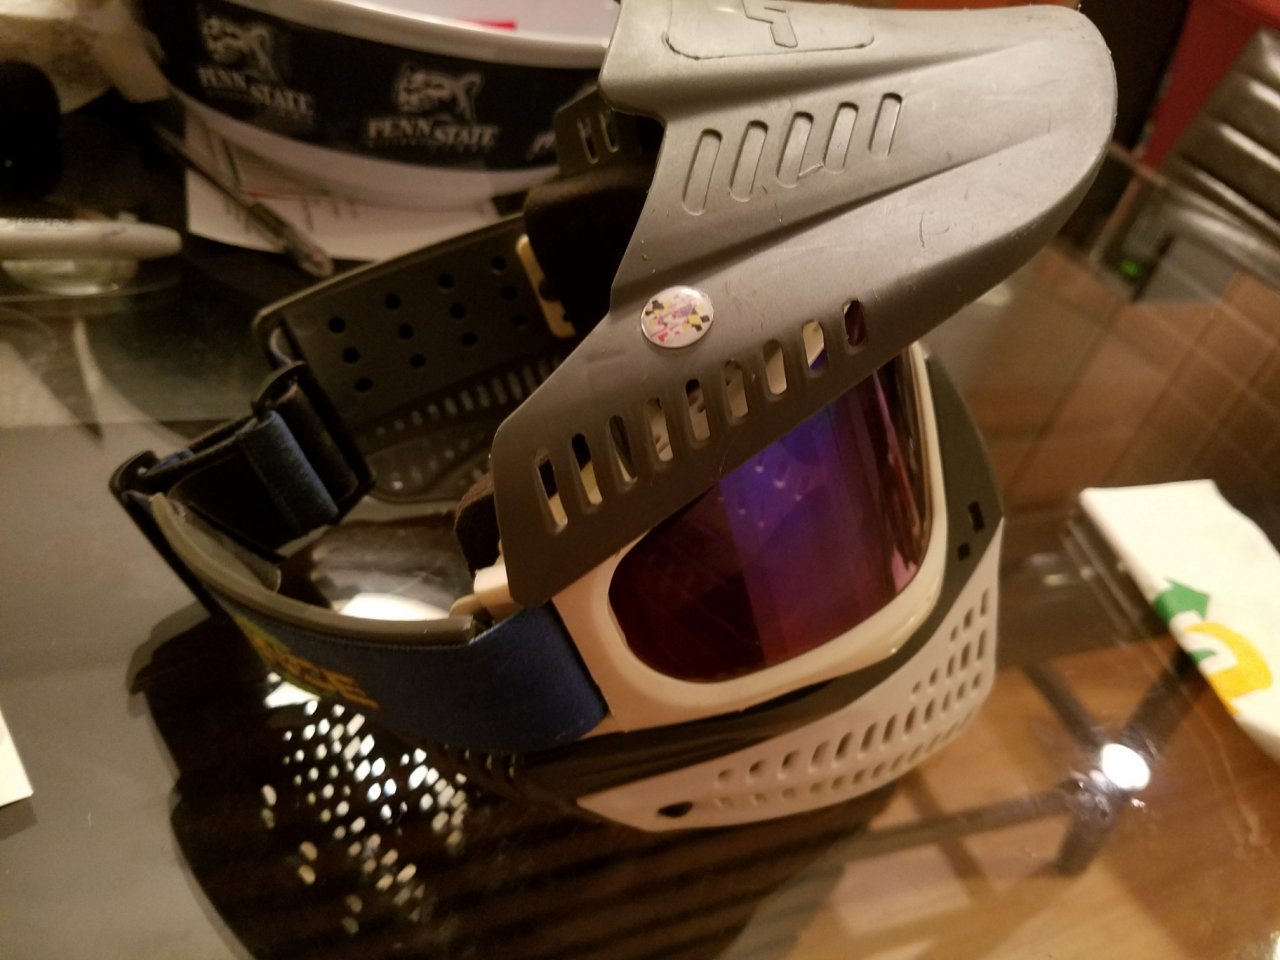
Other examples:

- Likes 1
Comment
-
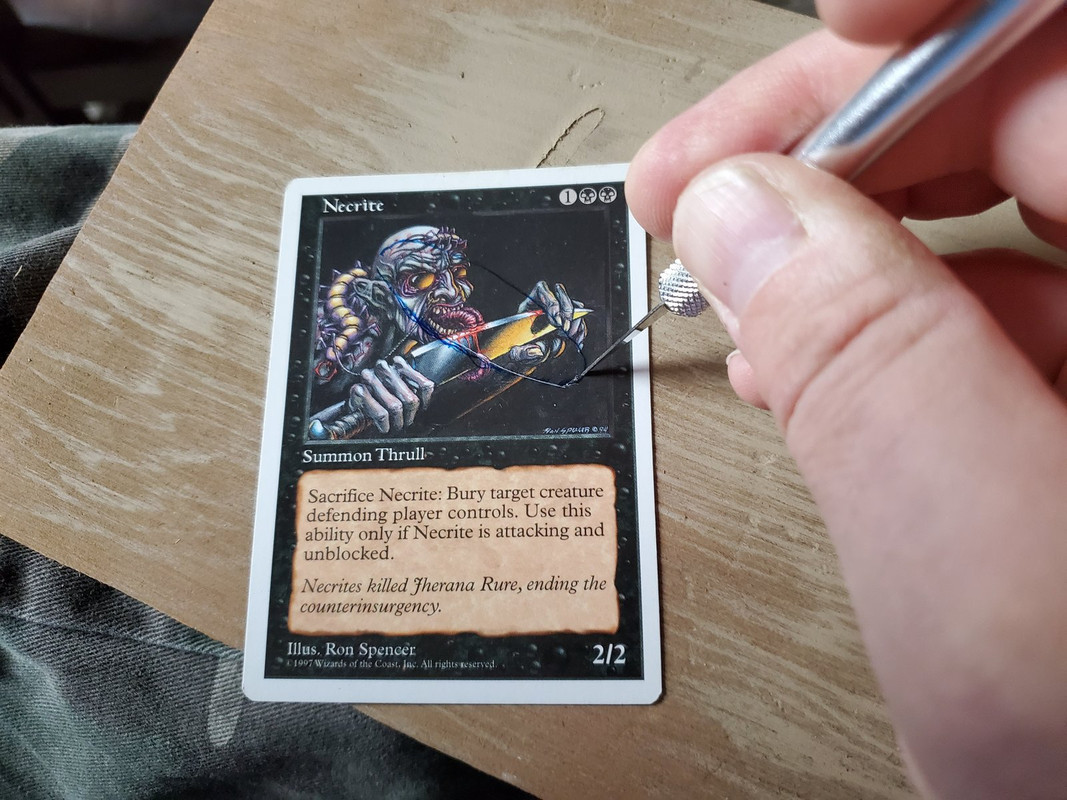
Well with the extra time of the holiday break I finally had time to try this.
I picked up some doming fluid and made a set of jewels for my E-Flex lens retainers and the jewel space in my Mini-Sniper.
Here's the stuff I used: https://www.amazon.com/gp/product/B0...?ie=UTF8&psc=1
They're not perfect, but I'm pretty pleased with the results.
Happy New Year, everyone!

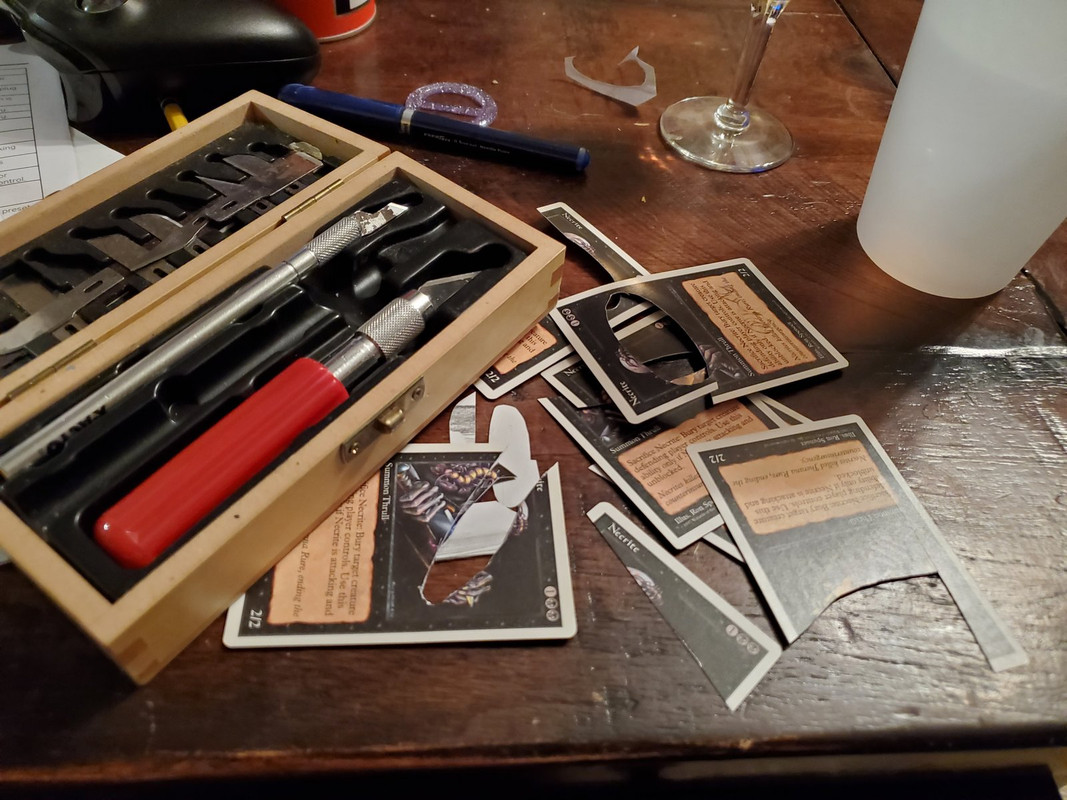
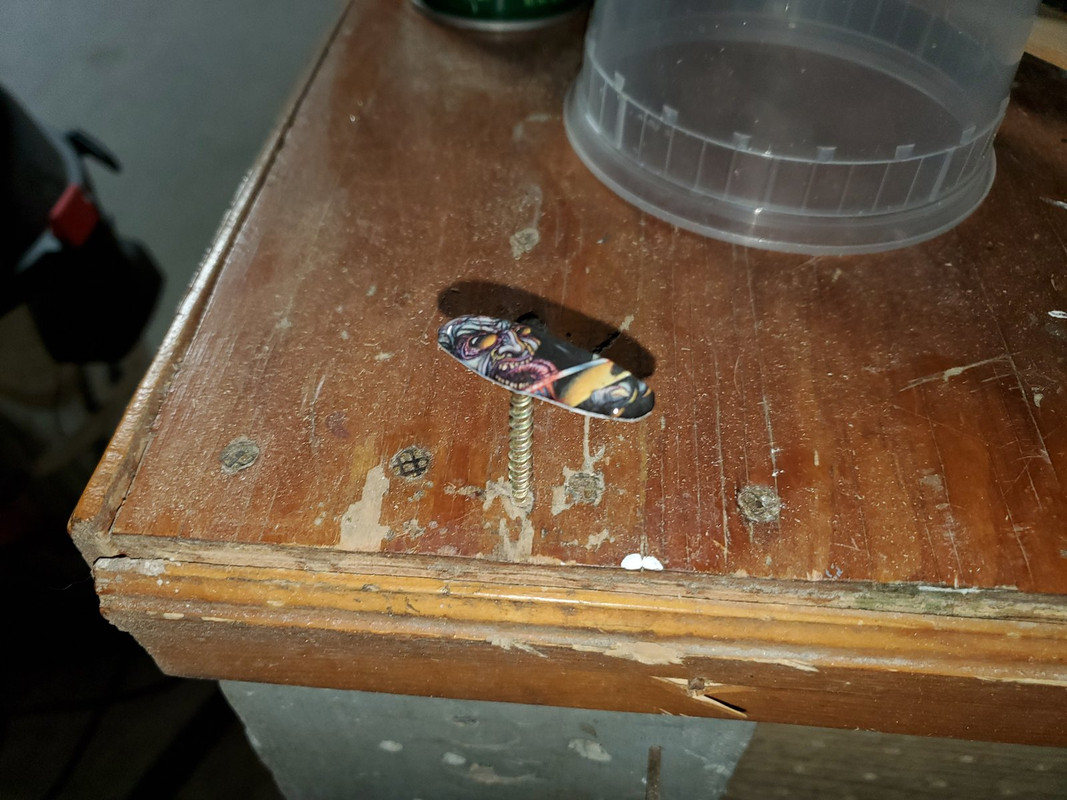
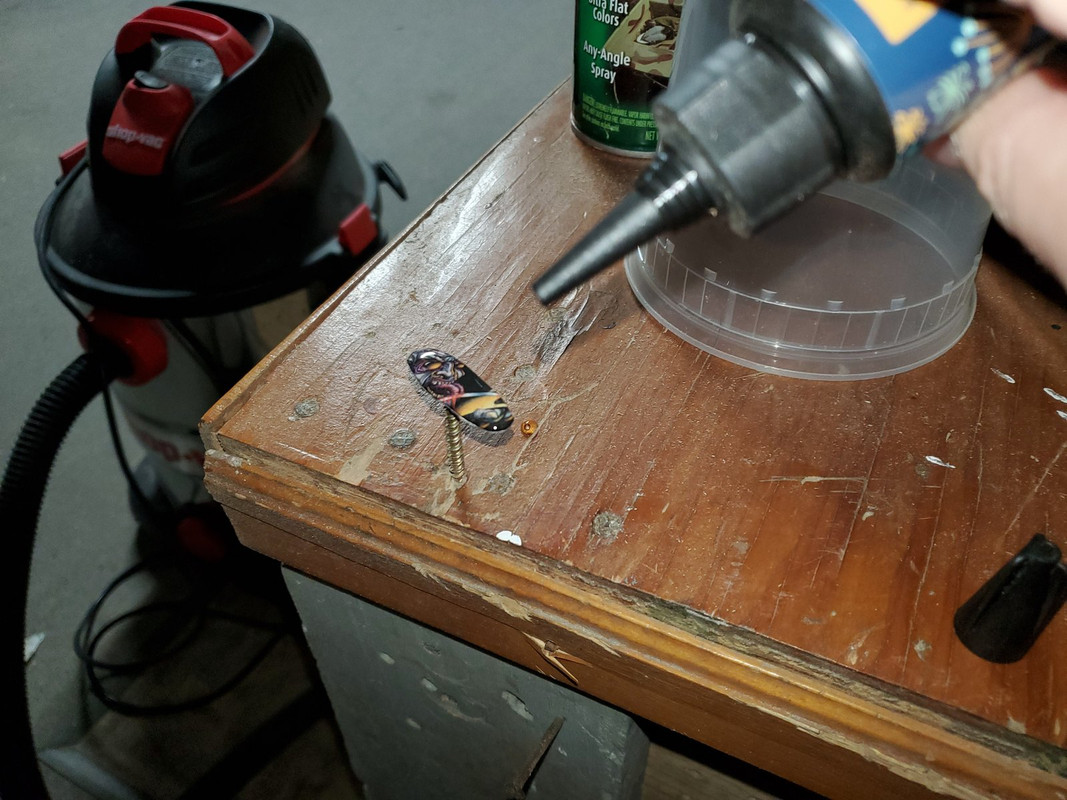
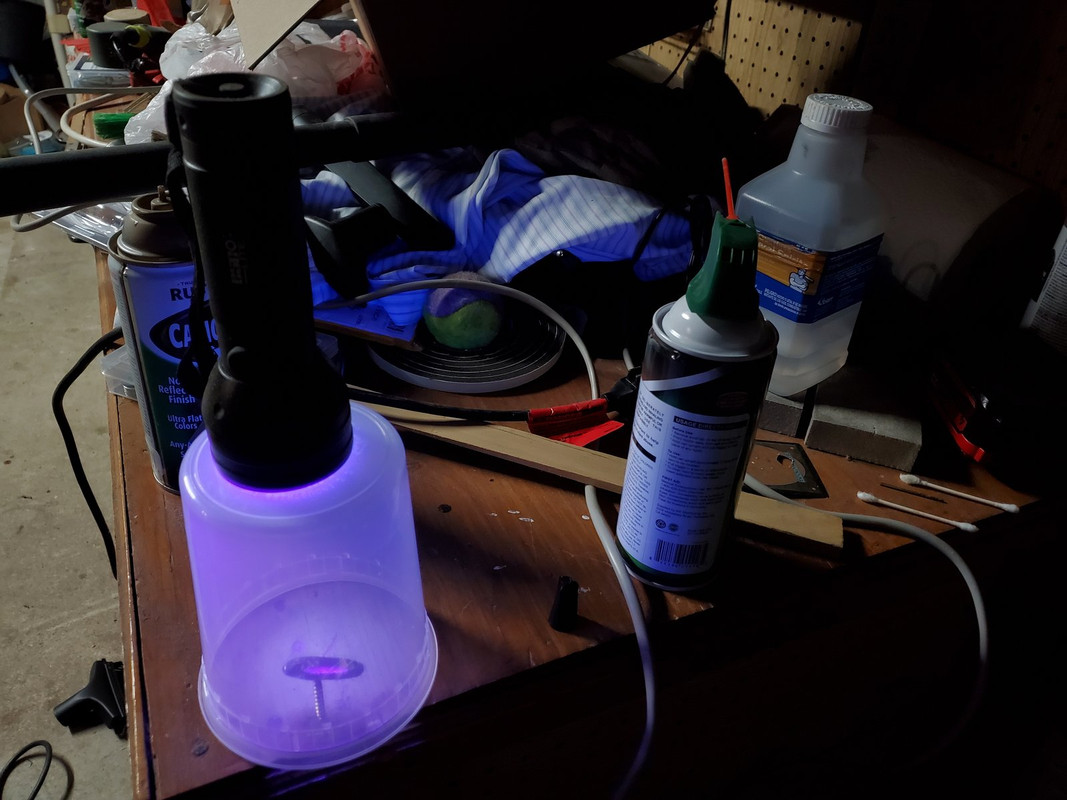
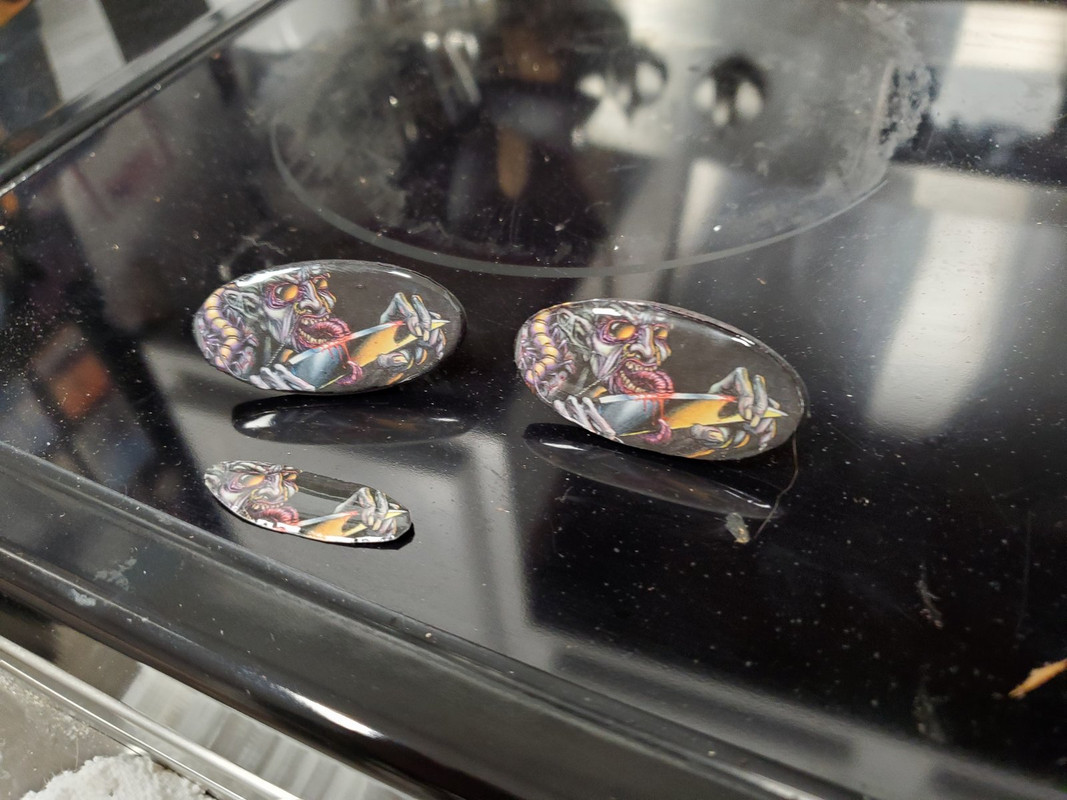
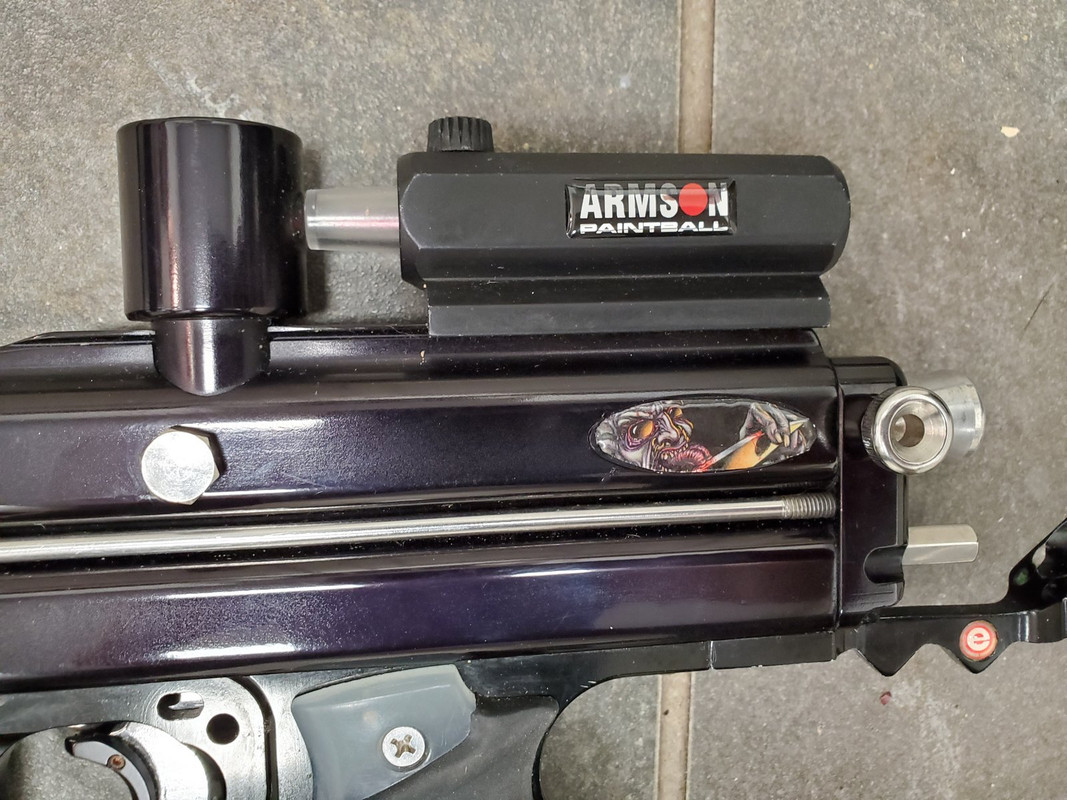
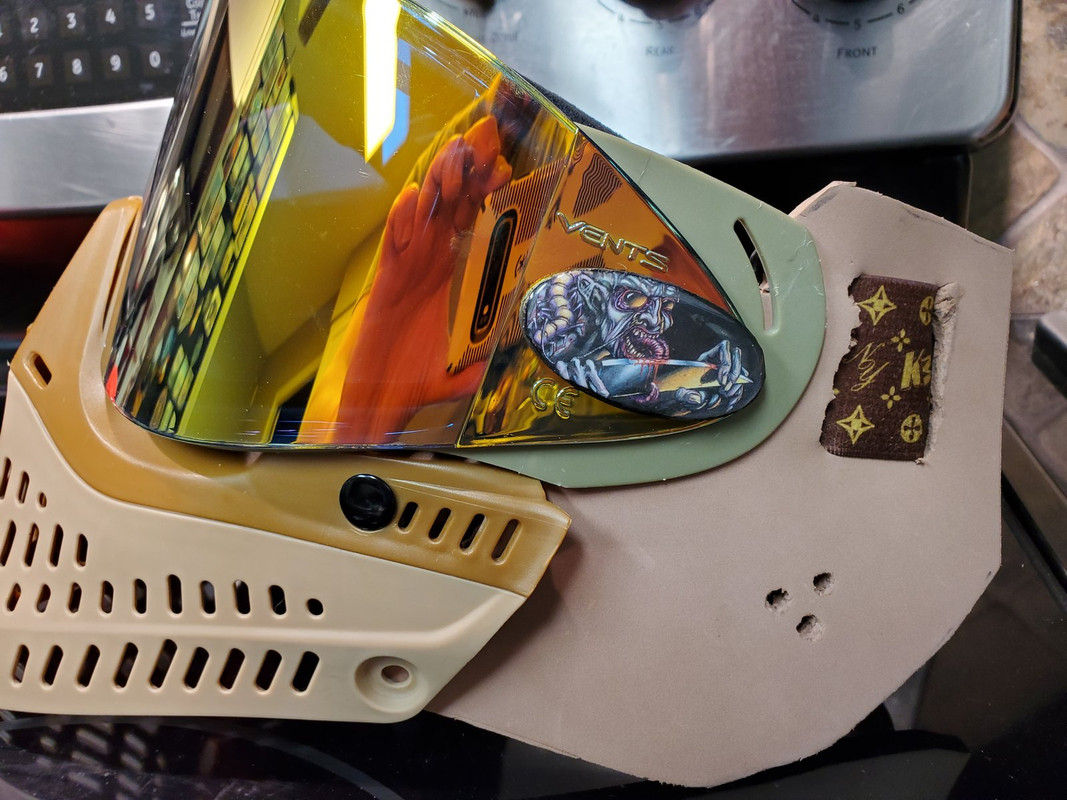
 Last edited by The Inflicted; 01-01-2021, 01:52 AM.
- Likes 5
Comment
-
Those poor Fallen Empire cards ...
Actually thats pretty cool. Well done.Velcor will save us...
Current MCB Feedback : https://www.mcarterbrown.com/forum/b...opusx-feedback
Legacy MCB Feedback (Wayback Machine)
- Likes 1
Comment
Comment