I'd fixed up the X/Y slide for the Rivett lathe the other day, and that's been a nice little improvement. I needed the turret yesterday, so I was able to just pull the slide off, move the turret up, and get the job done.
But, that put a bit of a spotlight on the only other thing about this machine that's annoyed me, which is the collet closer. It works fine, holds solidly, and in the grand scheme, there's nothing wrong with it- especially if the machine's being used for hundreds of parts in a run.
The issue comes from doing one-off jobs. It's very handy to have a lathe with a conventional 3-jaw, and one with a collet already set up, so you don't have to do so much switching back and forth. For Saturday's project, I used four different collets in order to hold some tiny parts.
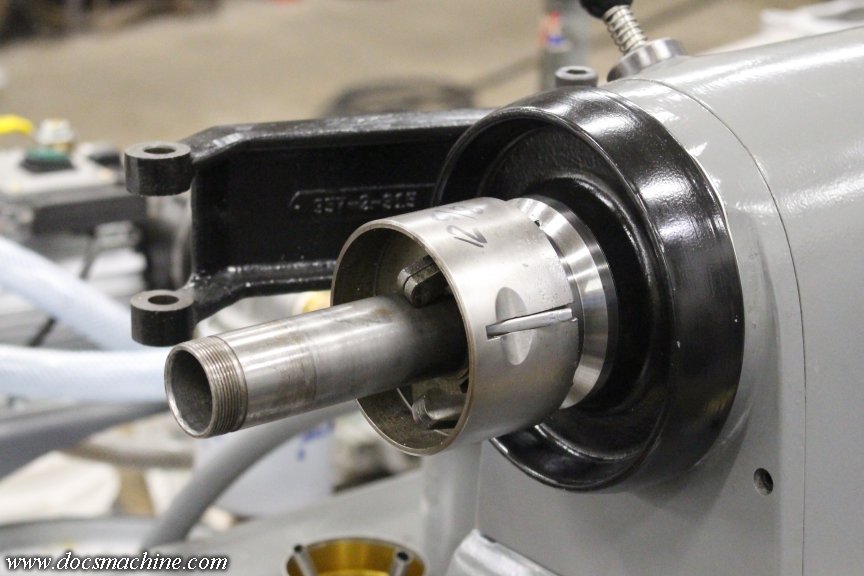
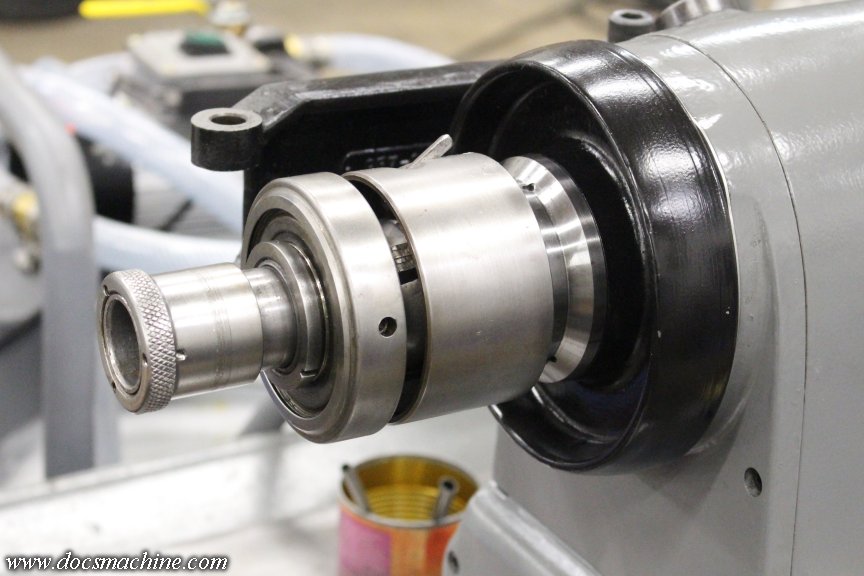
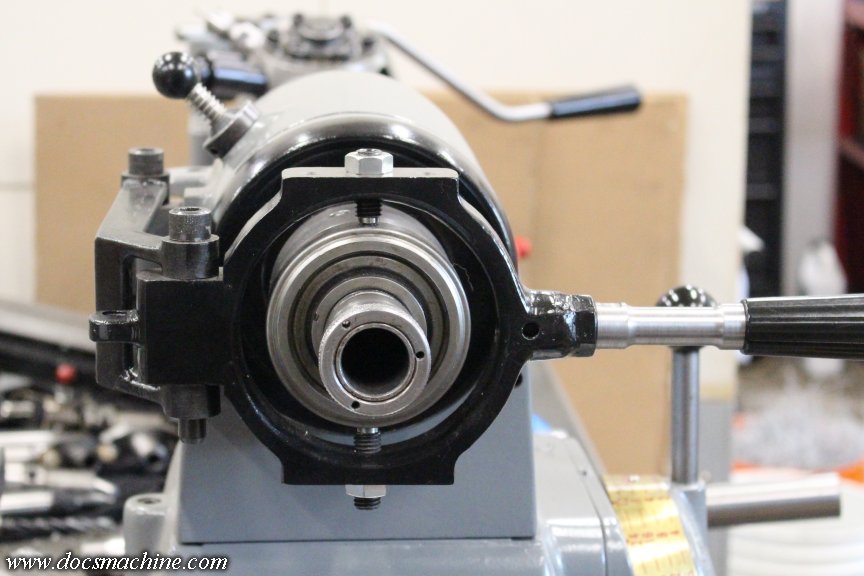
The Rivett closer has a sliding collar- the dark puplish part...
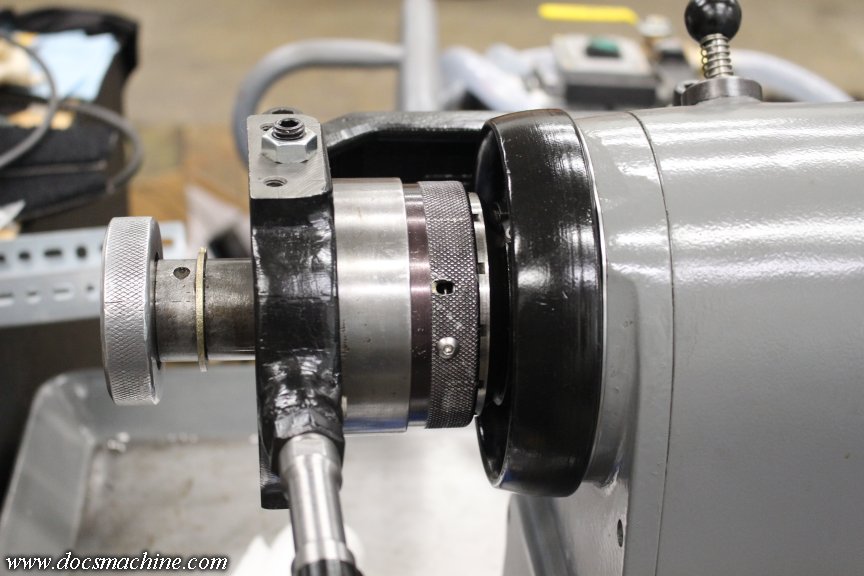
To disengage from the notched wheel so it can turn, in order to adjust where the collet locks. That collar is spring loaded, and usually, when getting right to the point the collet is set right, the locking lugs are skipping on those notches. There's nothing wrong with it, it's just kind of frustrating to use if you're having to swap pretty often.
The Royal style closers are much more user friendly in my opinion. They have a little latch that you flip like a lightswitch, and they're unlocked. Adjusting and swapping is fast and easy.
And, I actually have a spare Royal, that I picked up at one of the Borough auctions some 15+ years ago. It's nearly new- I suspected it came from the local community college machine shop, and having extensive experience there, I can tell you that hardly anyone ever used collets.
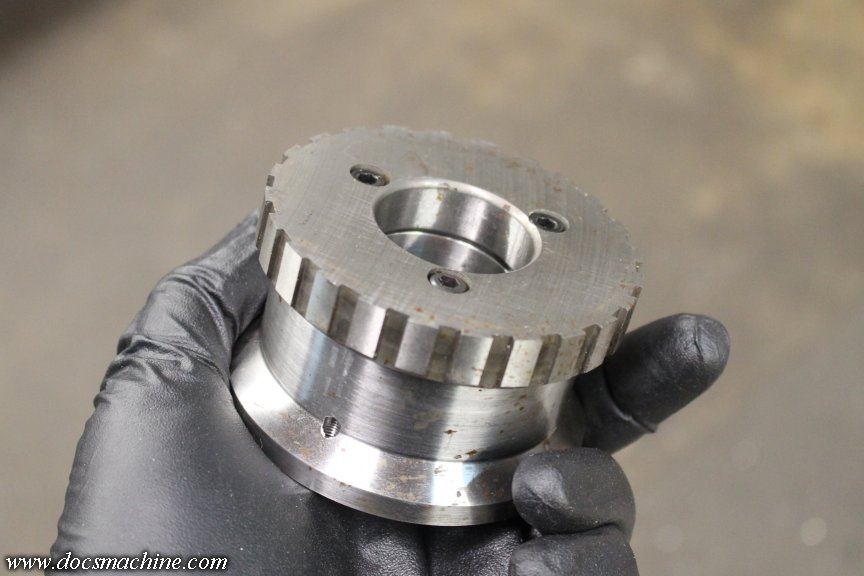
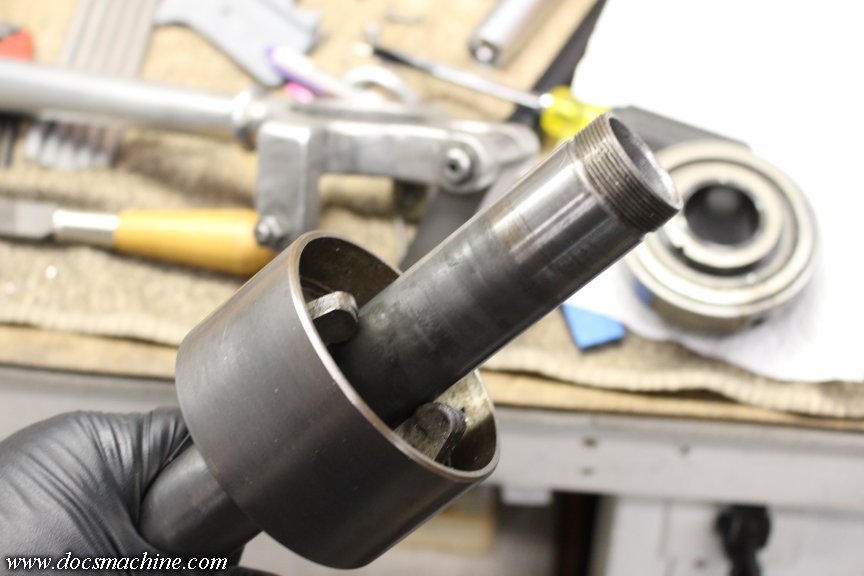
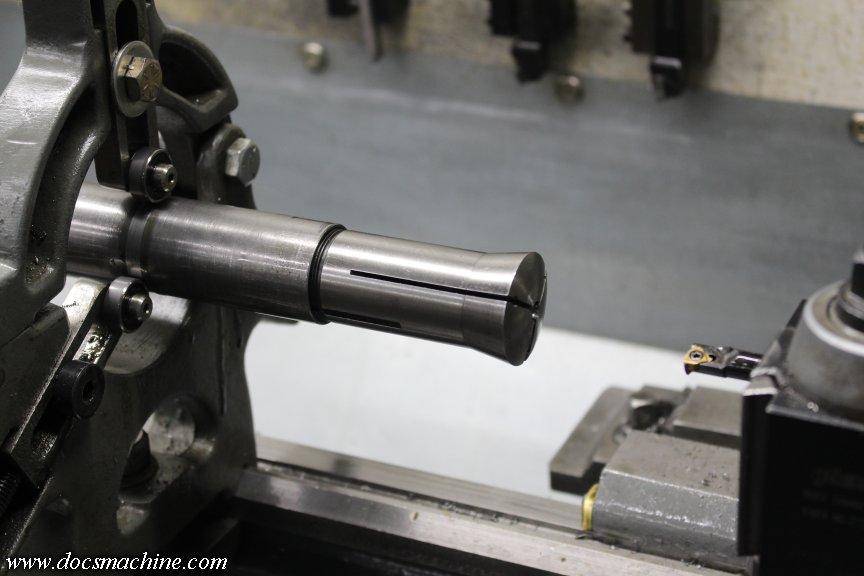
The drawbar is much too long, but that's fixable. The tricky part is adapting the locking collar. Said collar is on the right, the handwheel from my Rivett on the left:
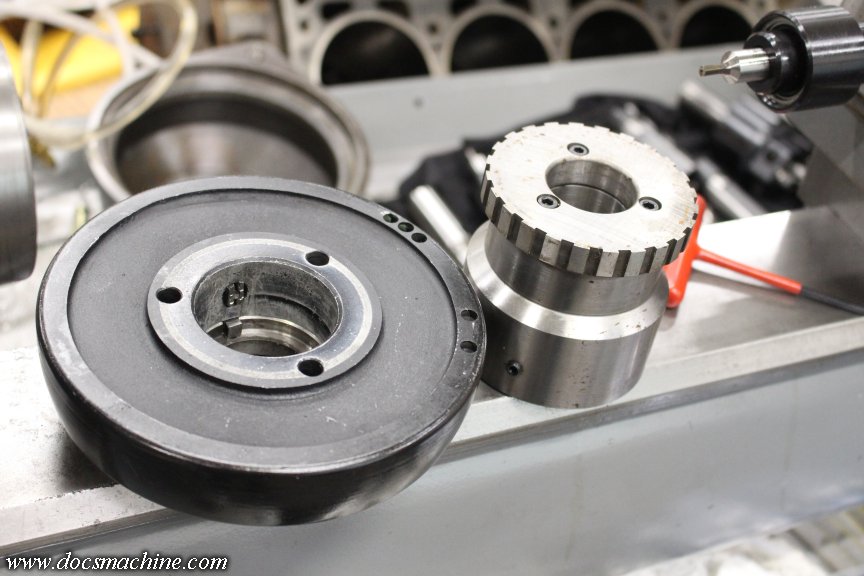
Basically I have to figure out how to glue those two together, and as concentrically as possible.
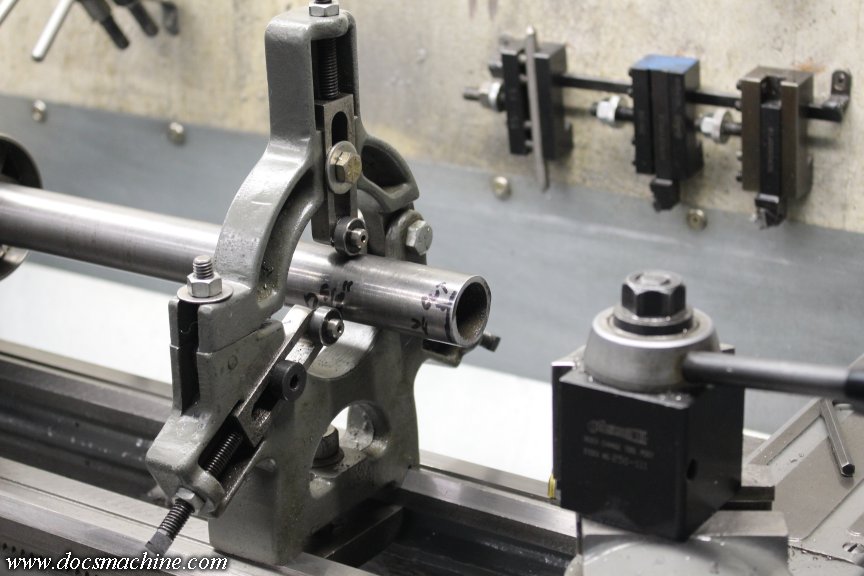
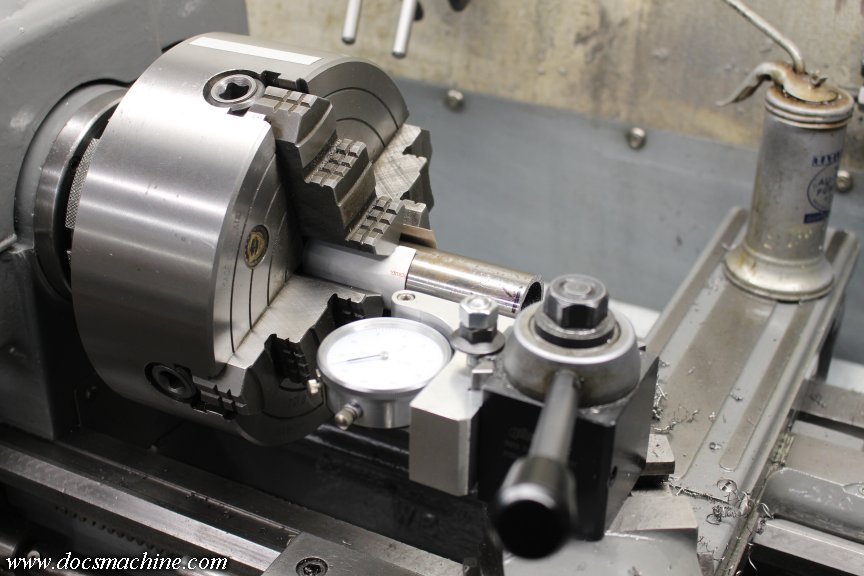
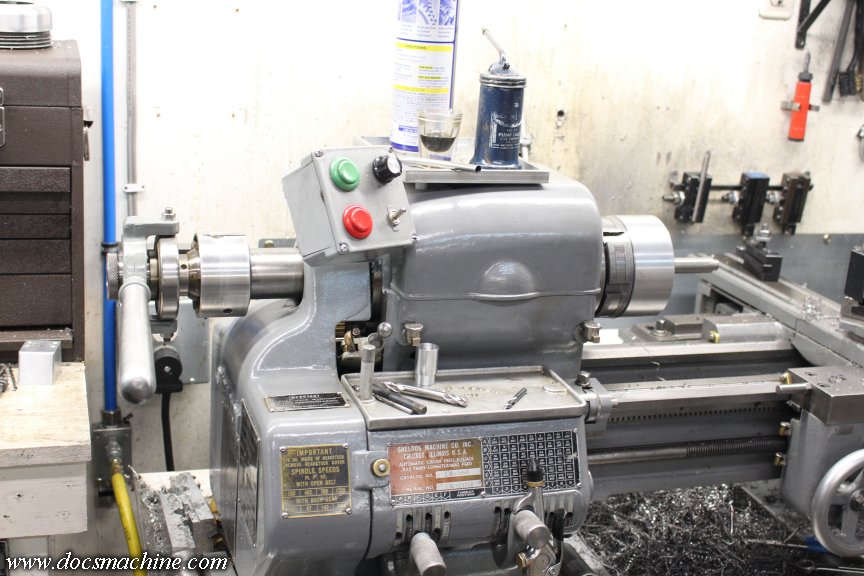
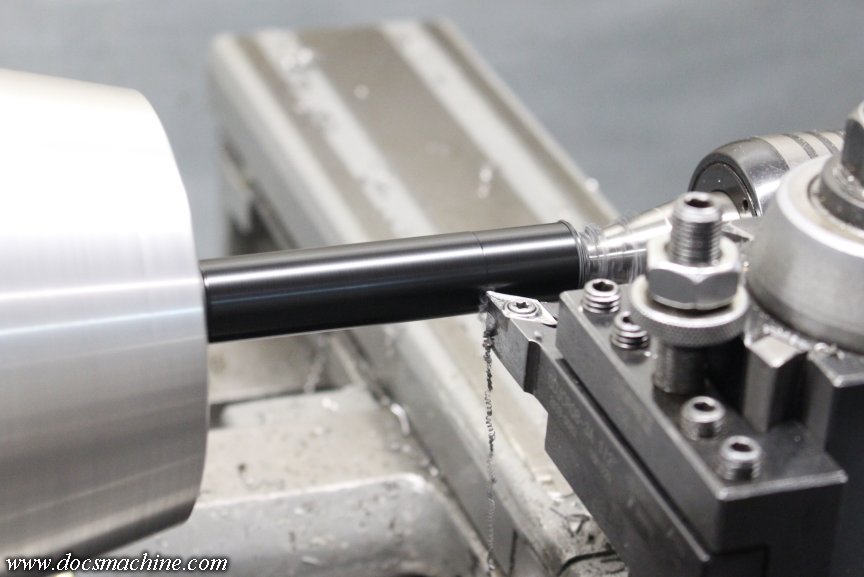
So I popped the serrated part off the "adapter" body, chucked the latter up in the Sheldon and dialed it in.
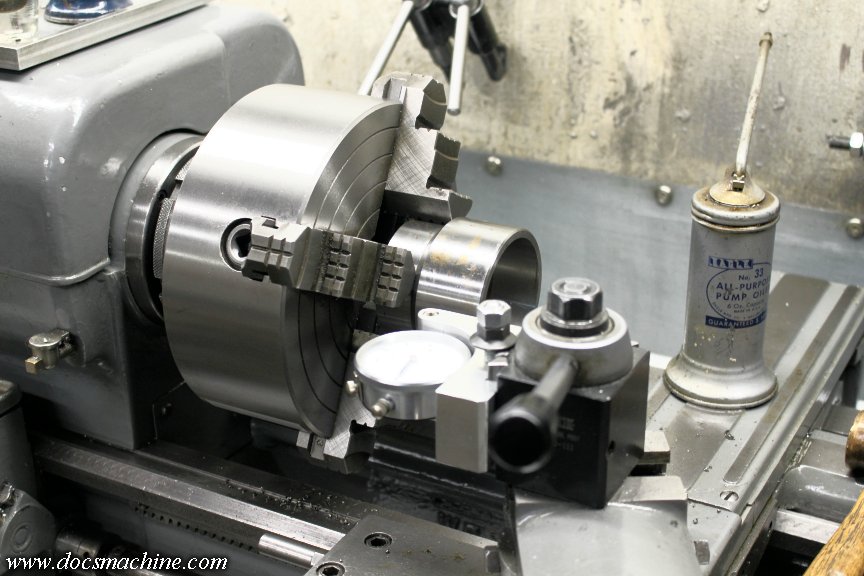
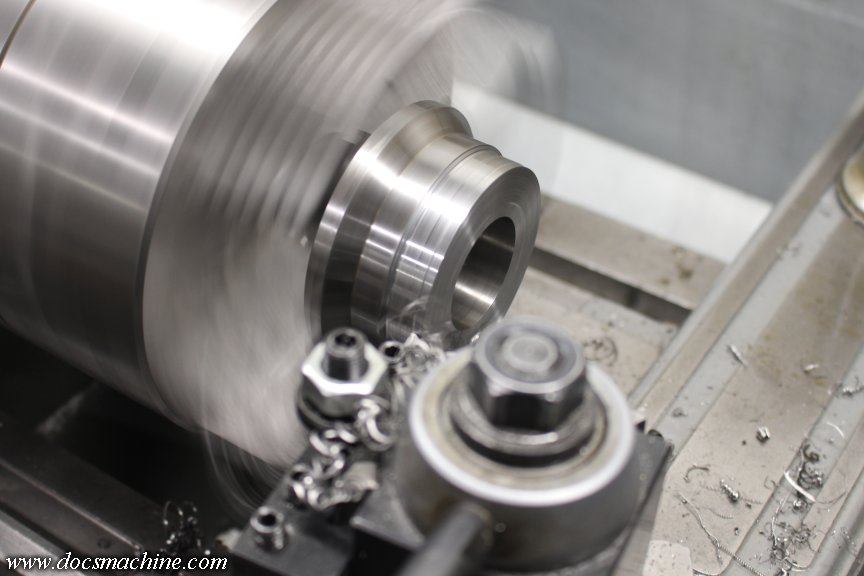
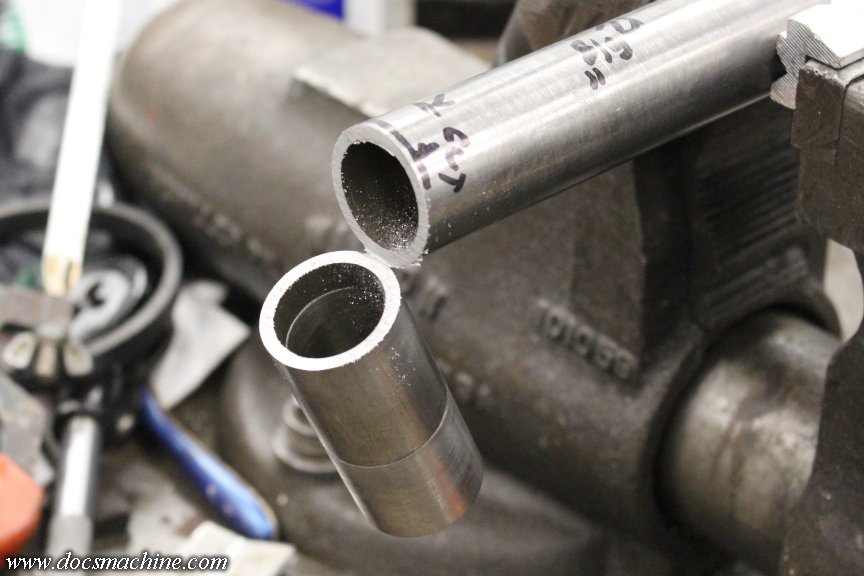
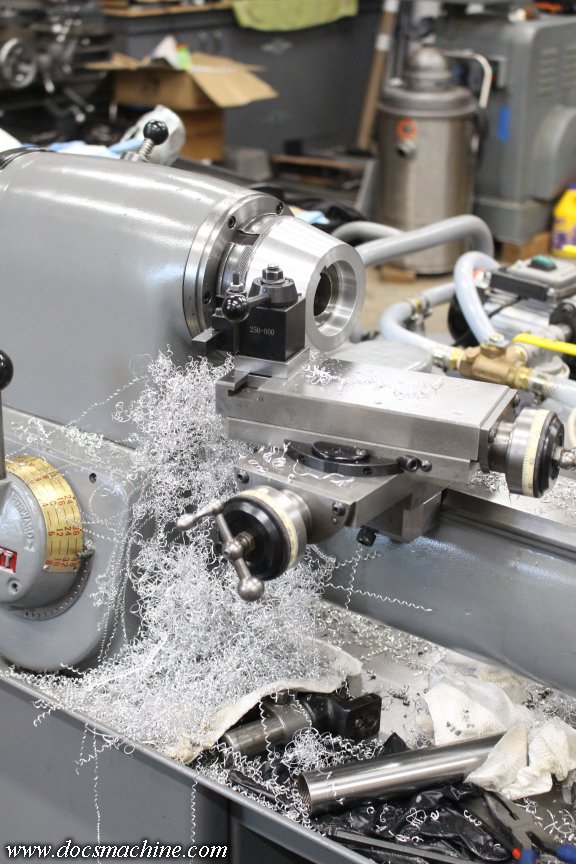
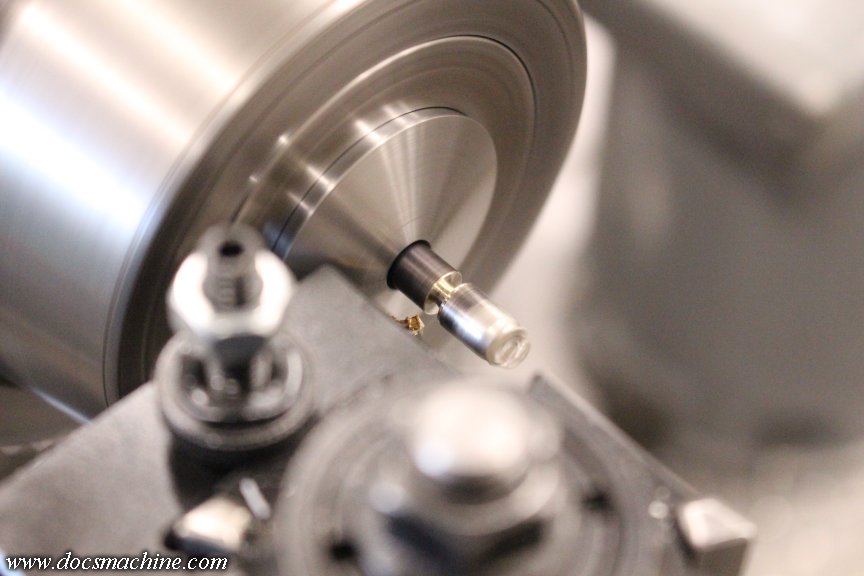
I parted off the now-unnecessary portion...
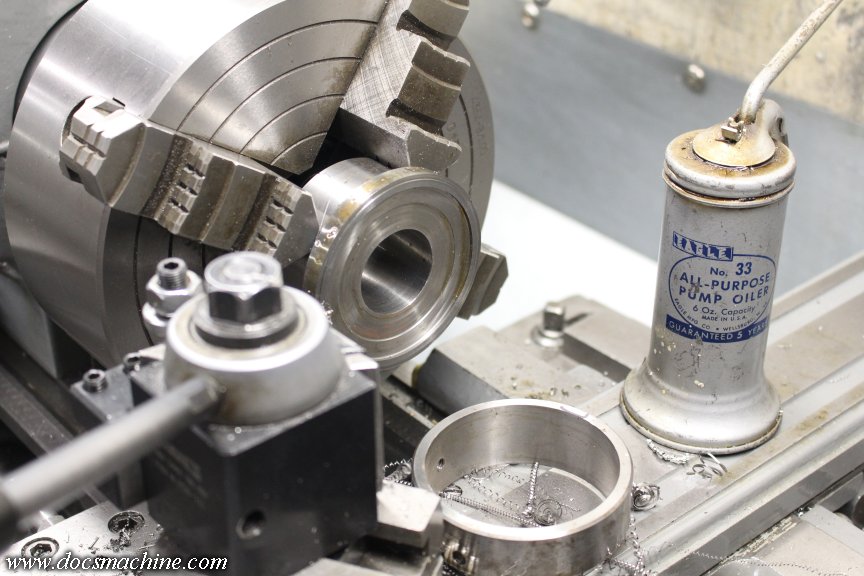
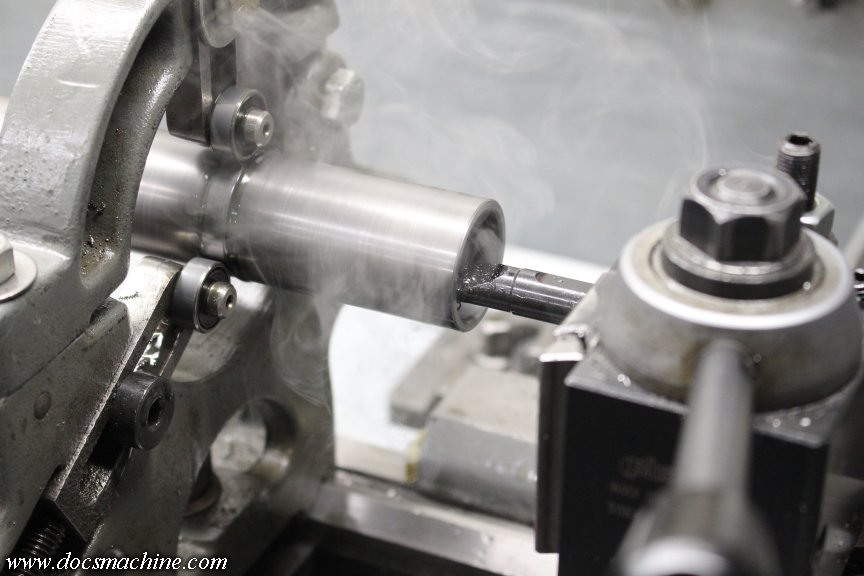
Faced it...
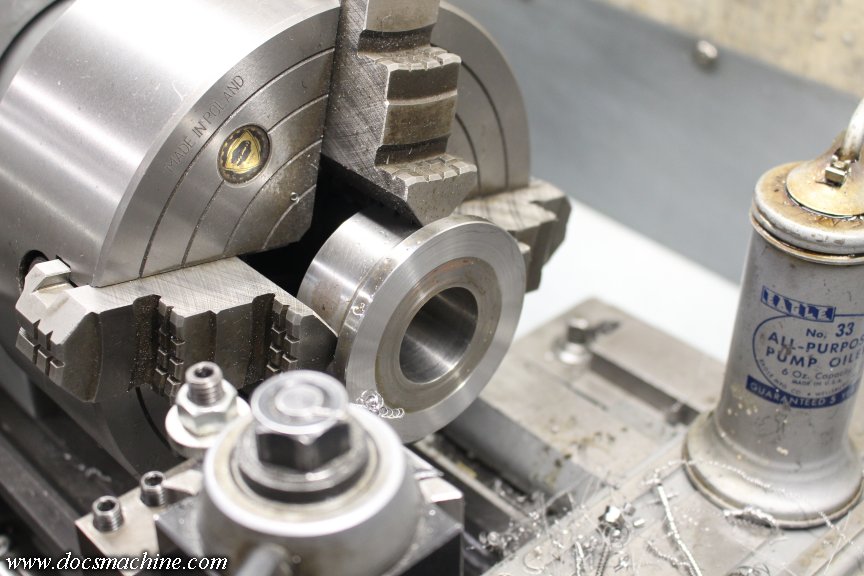
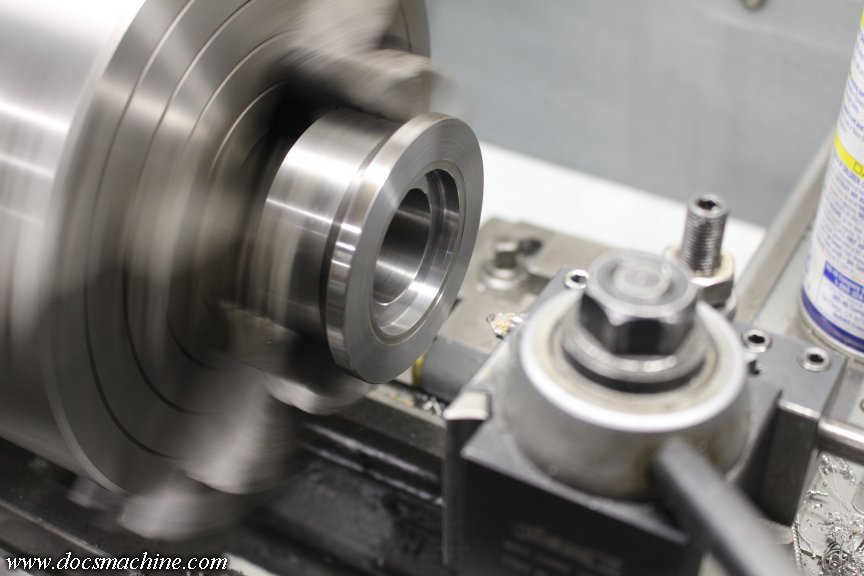
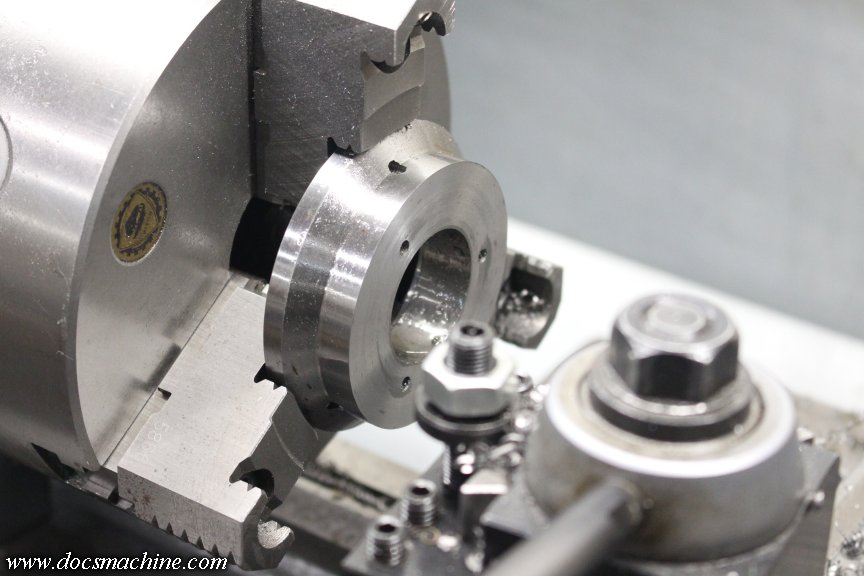
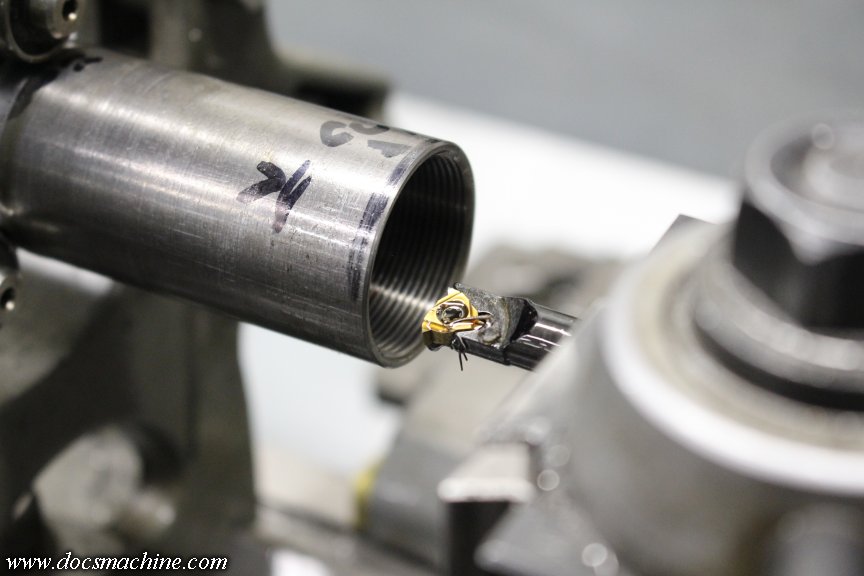
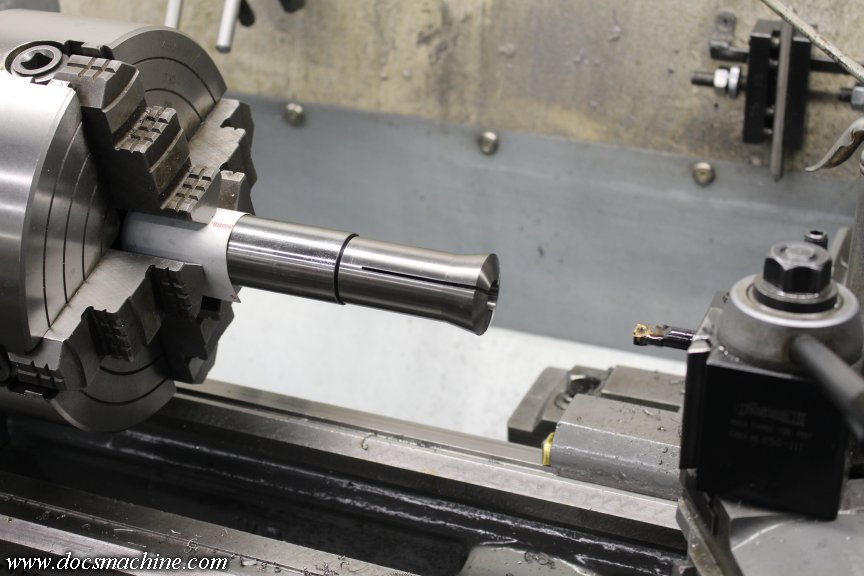
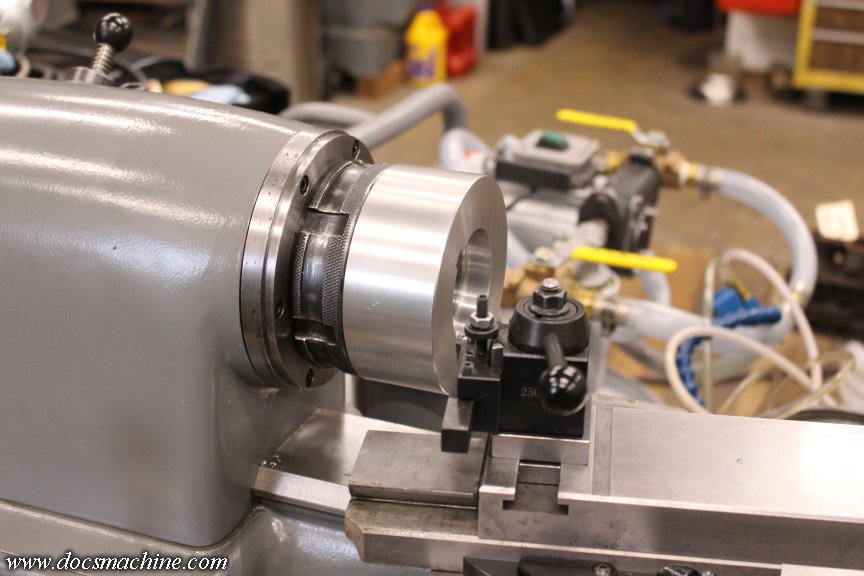
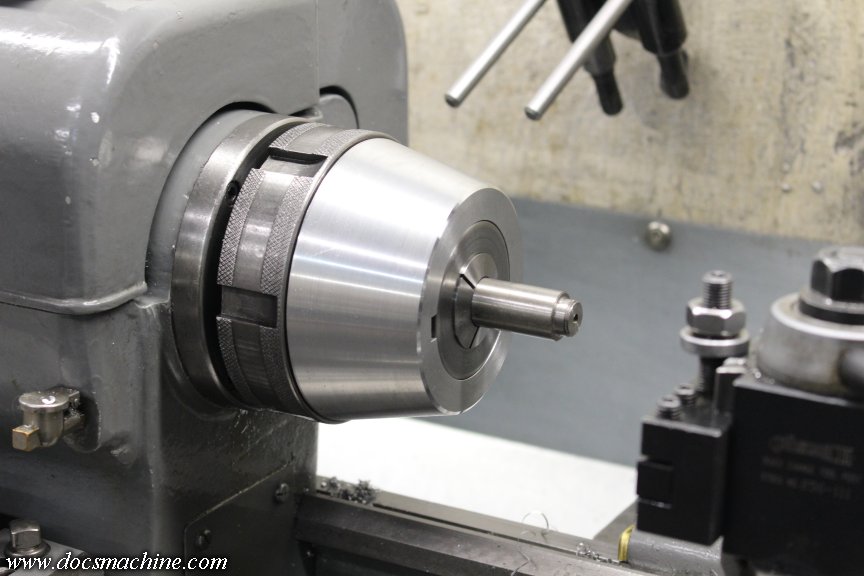
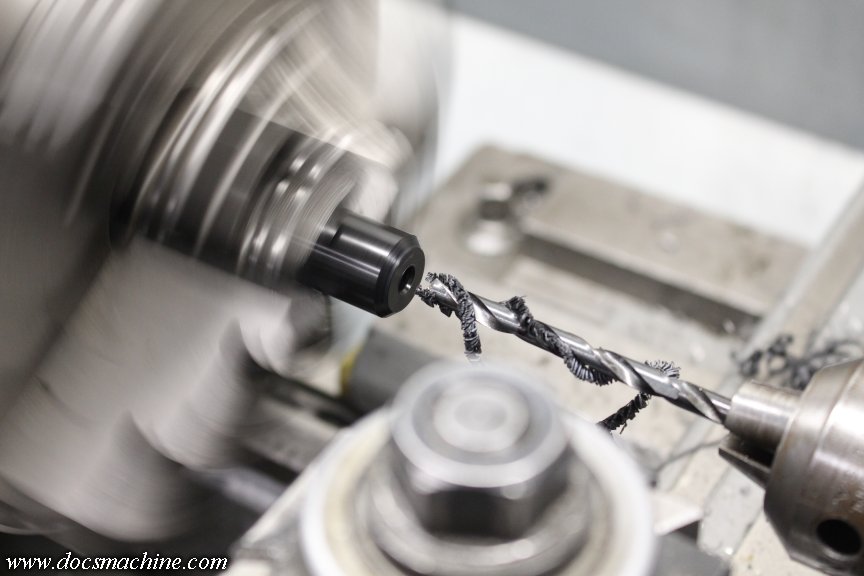
And counterbored it to slip over the end of the spindle with only .002" to spare.
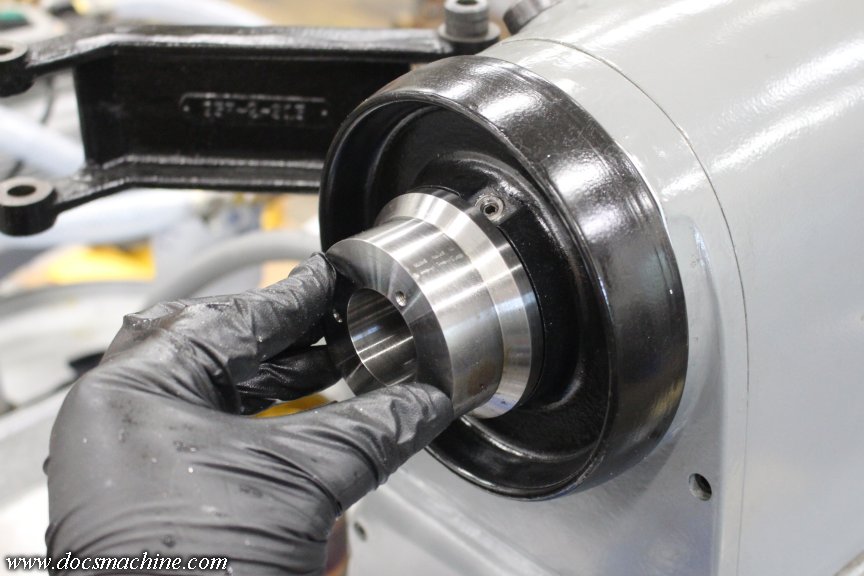
That fits on and mates up with the handwheel, like so:
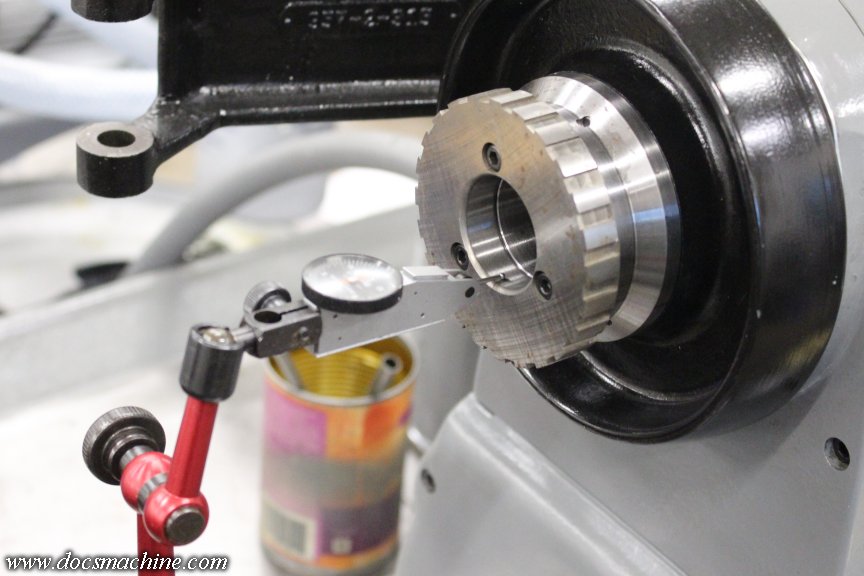
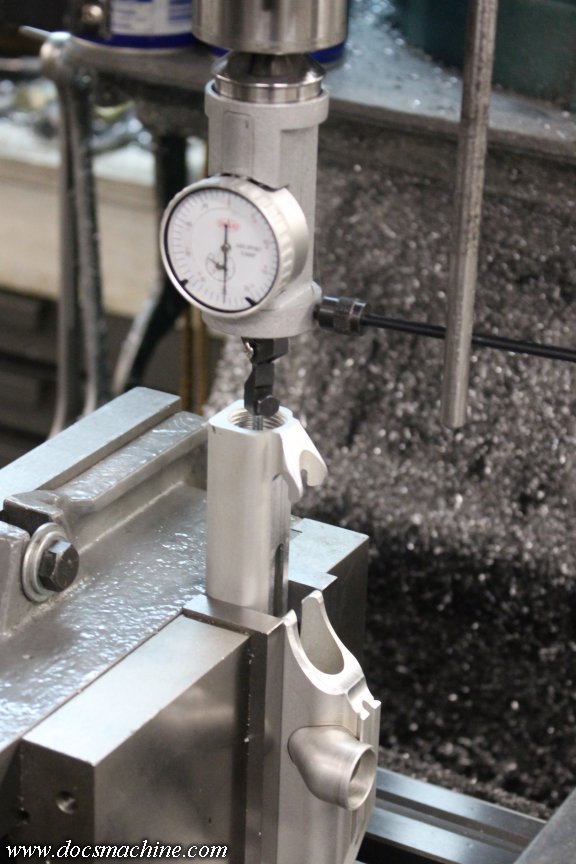
To make sure the mounting holes are well-centered, I plunked the rotary table on the mill, centered it, and then centered the adapter so it's concentric with the rotation of the table.
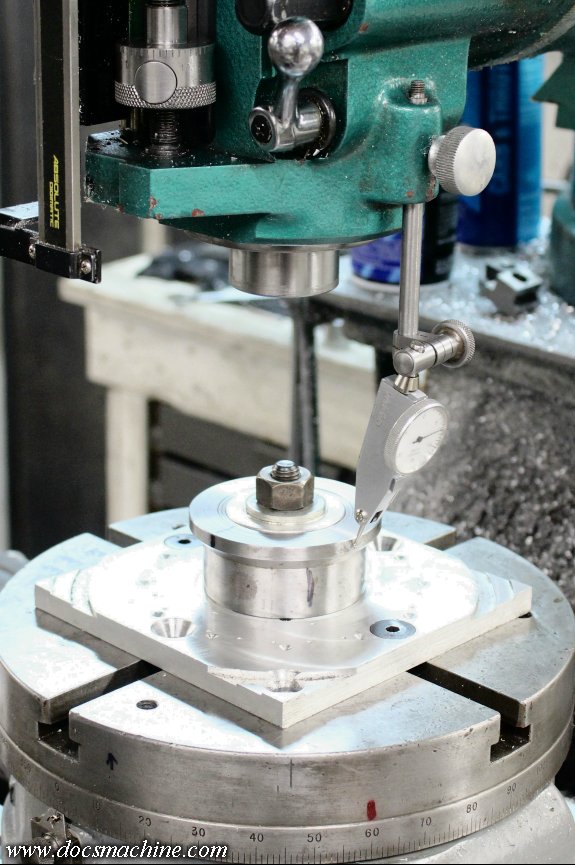
And, here was the first example of why knowing how machinists like round numbers came in handy. I measured the "bolt circle" as best I could, and used an online calculator to find the center- the radius to the bolt circle centerline. Given my numbers, the calculator came up with 1.346".
Nope, no machinist on earth- especially one in the 1960s, the era of this lathe- is going to use an odd number like that unless they absolutely have to. It wouldn't be 1.345", and I know my measurements weren't so far off as to be 1.375" (1-3/16", since metric really wasn't a thing in the 60's ) so chances were good it was 1.350" even.
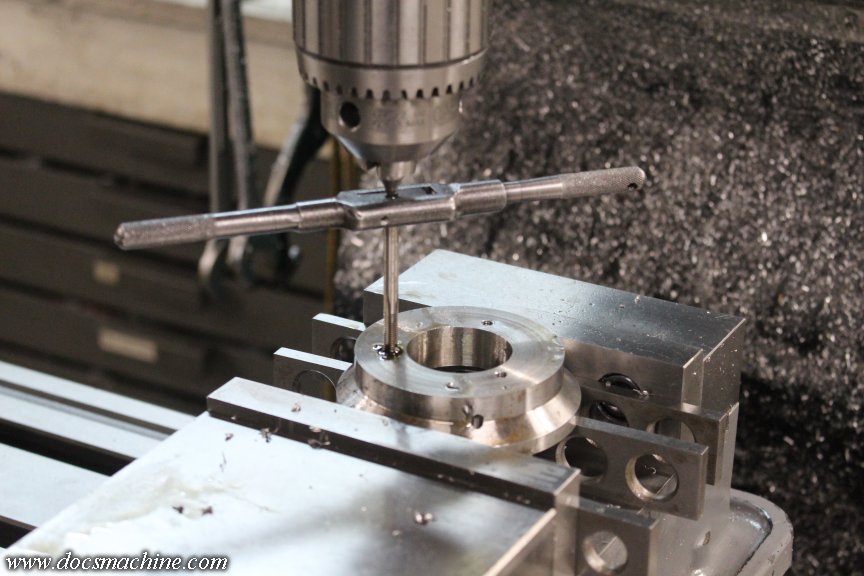
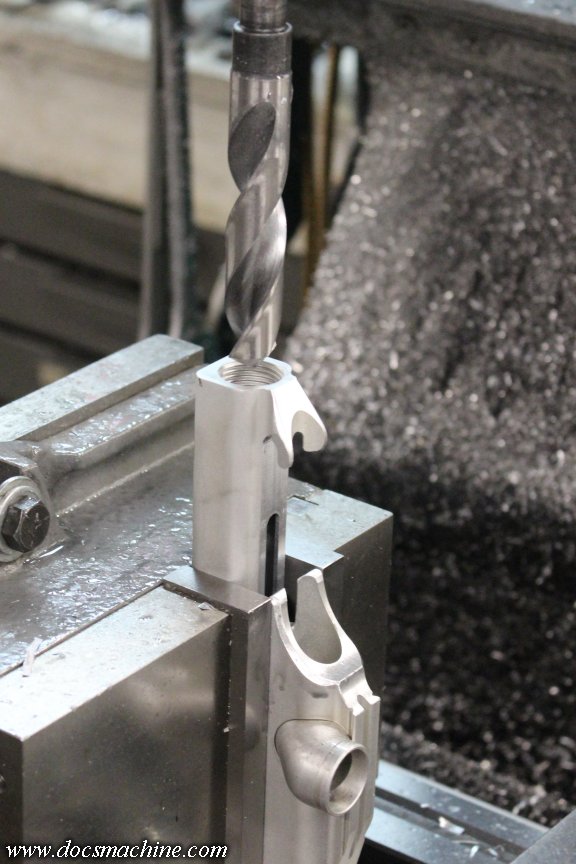
So I drilled it to that number...
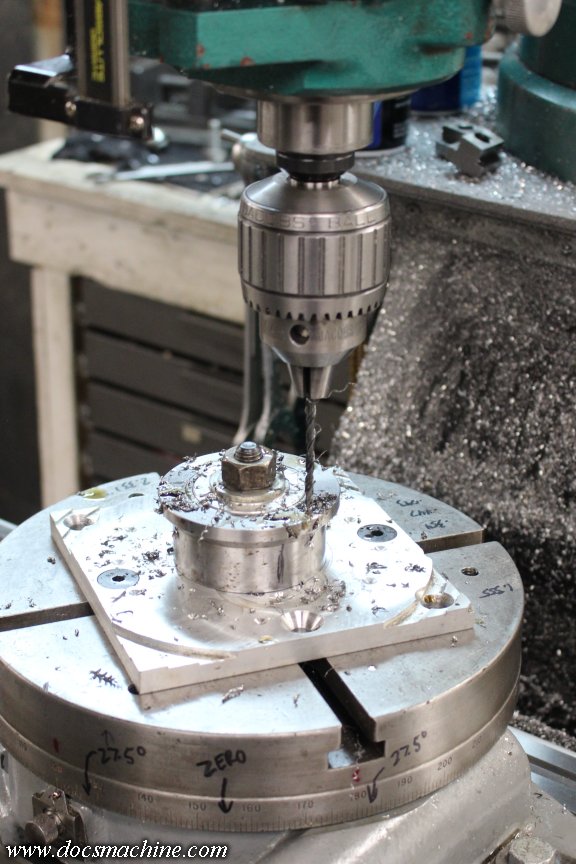
Tapped it...
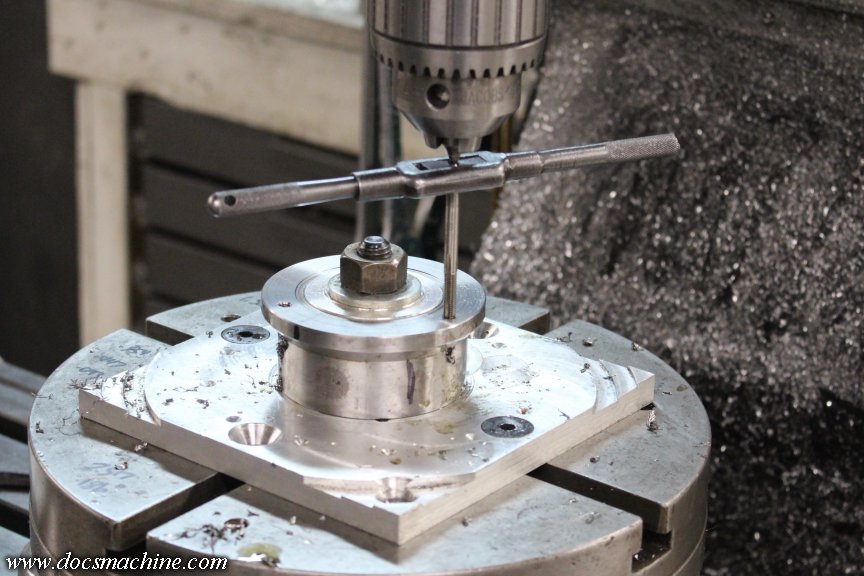
And the handwheel fit perfectly.
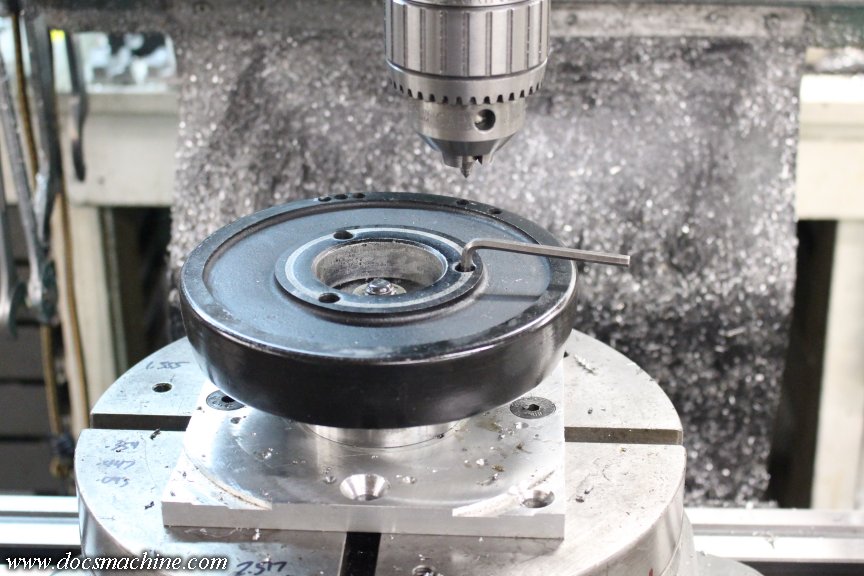
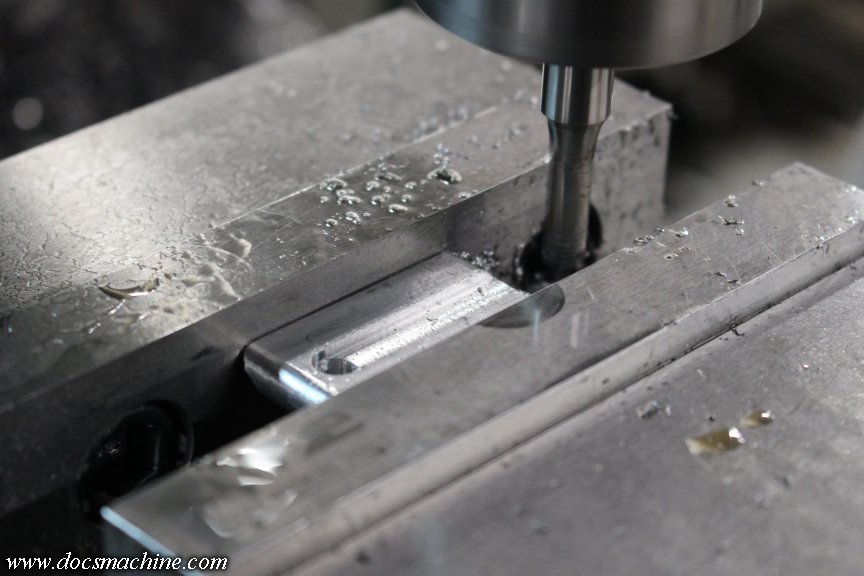
The second example was a wild stroke of luck. I needed to mill a notch for a small antirotation key, and I wanted it kind of midway between the handwheel screw holes, and the locking ring holes. After the drilling and tapping cycle, the table was back at zero, so I simply rotated it fifty degrees back to 300, and milled the notch.
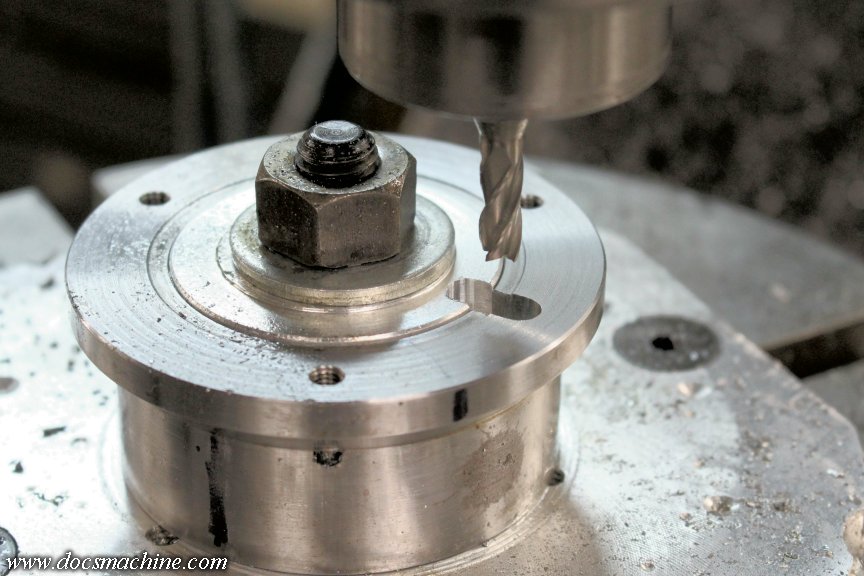
The part I'd completely forgotten was the handwheel itself has a sort of locking keyway... and by absolute absurd blind luck, the keyway I milled was in precisely the right place.
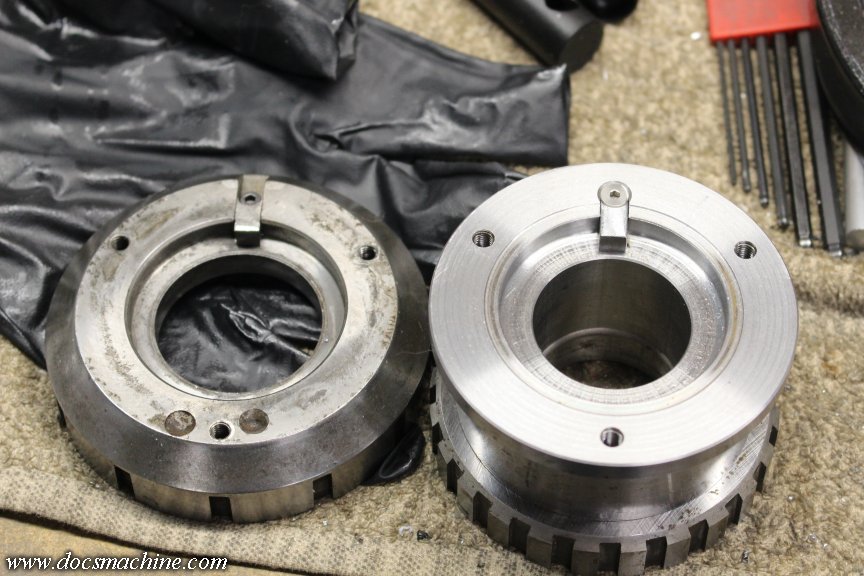
I fabbed a key, cleaned everything and final assembled it, and it plunked right into place- both keys and all- like I'd friggin' planned it that way.
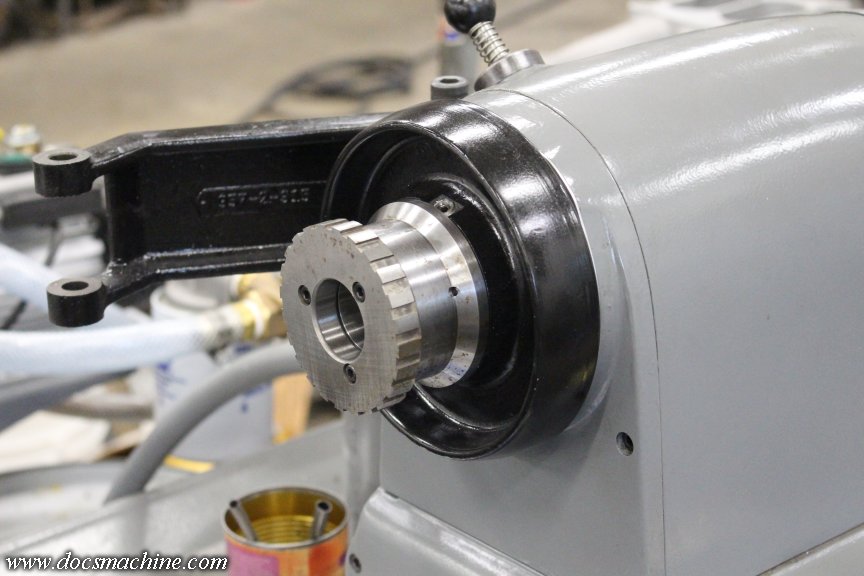
Also note the serendipity of the step/boss of the adapter damn near lining up with the center boss of the handwheel. Sometimes things just work out, y'know?
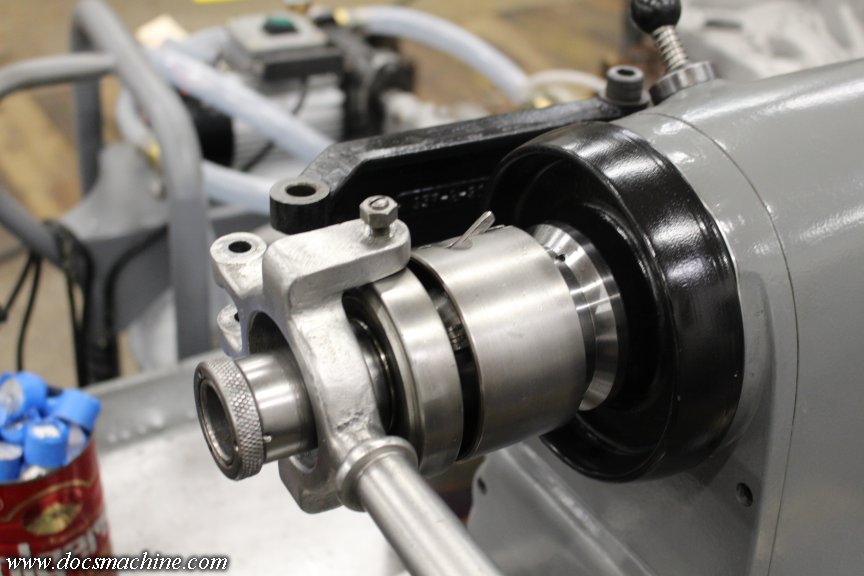
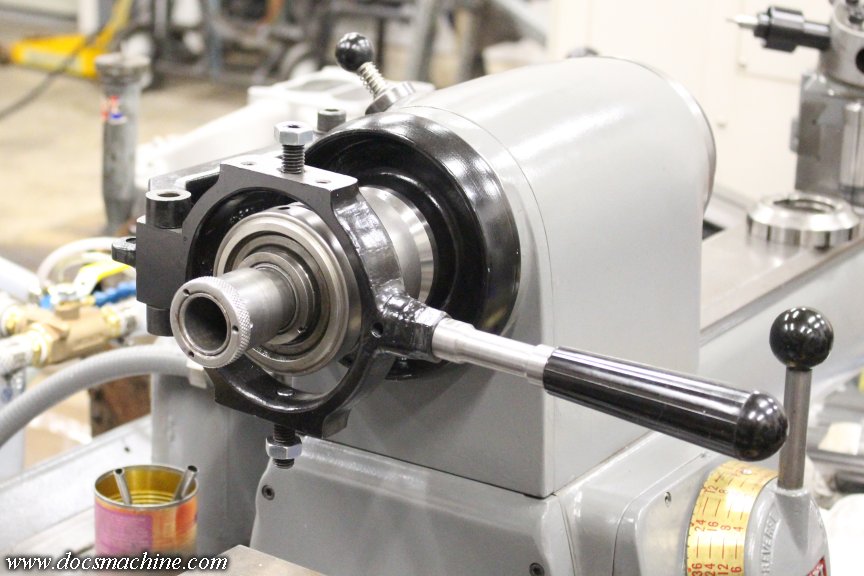
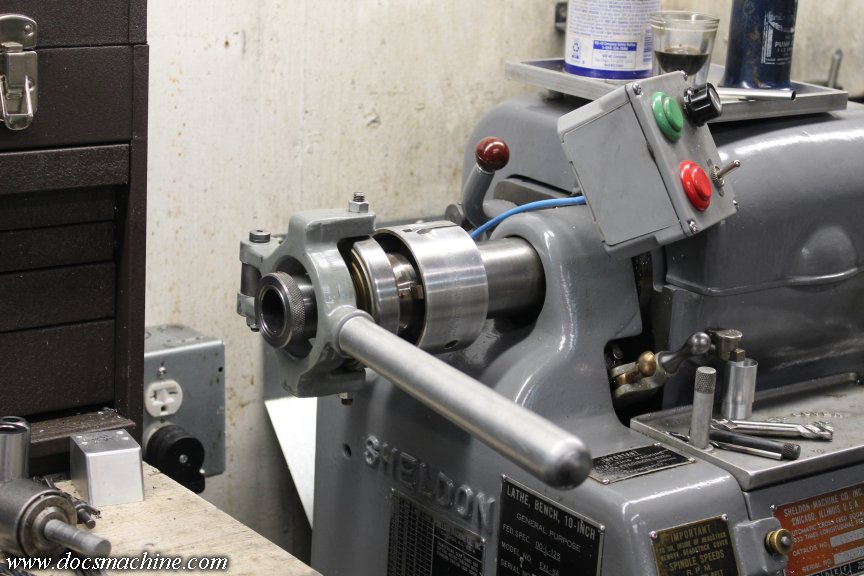
Finally, the locking mechanism of the closer mocked up in place:
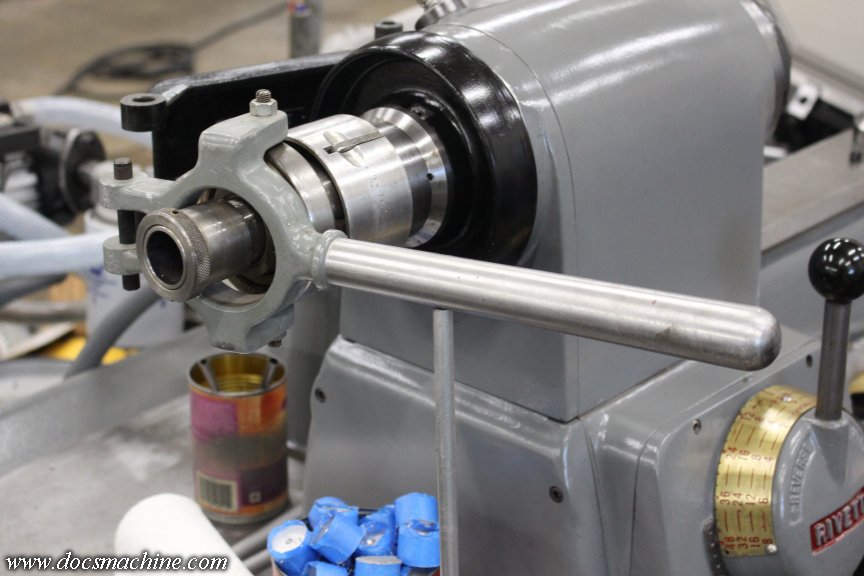
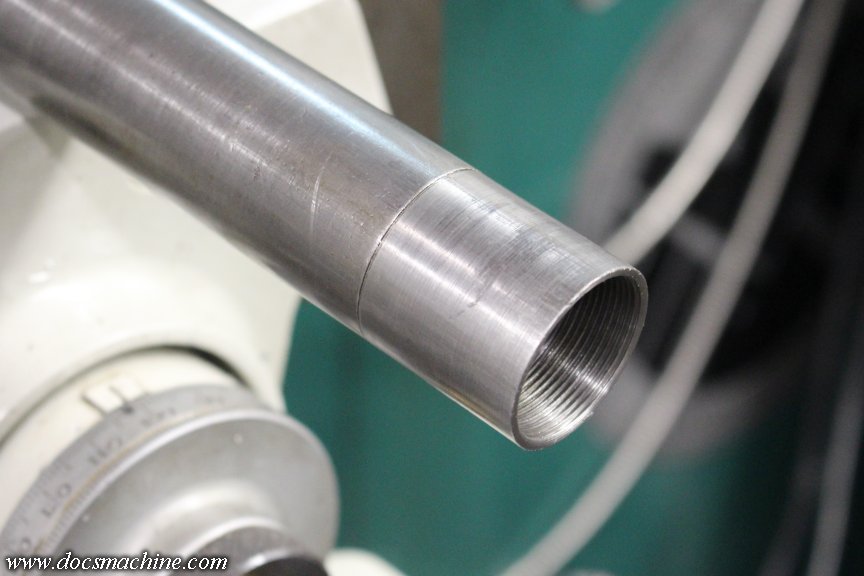
I still need to fab a new support bar at the back- the original isn't long enough- and cut down and rethread the drawtube. The latter is falling-off-a-log easy, and I'll do that in the net couple of days. The brace is going to be a fab job and will take some time to make it look good and fit nicely. That may have to wait 'til next weekend.
Doc.
But, that put a bit of a spotlight on the only other thing about this machine that's annoyed me, which is the collet closer. It works fine, holds solidly, and in the grand scheme, there's nothing wrong with it- especially if the machine's being used for hundreds of parts in a run.
The issue comes from doing one-off jobs. It's very handy to have a lathe with a conventional 3-jaw, and one with a collet already set up, so you don't have to do so much switching back and forth. For Saturday's project, I used four different collets in order to hold some tiny parts.
The Rivett closer has a sliding collar- the dark puplish part...
To disengage from the notched wheel so it can turn, in order to adjust where the collet locks. That collar is spring loaded, and usually, when getting right to the point the collet is set right, the locking lugs are skipping on those notches. There's nothing wrong with it, it's just kind of frustrating to use if you're having to swap pretty often.
The Royal style closers are much more user friendly in my opinion. They have a little latch that you flip like a lightswitch, and they're unlocked. Adjusting and swapping is fast and easy.
And, I actually have a spare Royal, that I picked up at one of the Borough auctions some 15+ years ago. It's nearly new- I suspected it came from the local community college machine shop, and having extensive experience there, I can tell you that hardly anyone ever used collets.
The drawbar is much too long, but that's fixable. The tricky part is adapting the locking collar. Said collar is on the right, the handwheel from my Rivett on the left:
Basically I have to figure out how to glue those two together, and as concentrically as possible.
So I popped the serrated part off the "adapter" body, chucked the latter up in the Sheldon and dialed it in.
I parted off the now-unnecessary portion...
Faced it...
And counterbored it to slip over the end of the spindle with only .002" to spare.
That fits on and mates up with the handwheel, like so:
To make sure the mounting holes are well-centered, I plunked the rotary table on the mill, centered it, and then centered the adapter so it's concentric with the rotation of the table.
And, here was the first example of why knowing how machinists like round numbers came in handy.
I measured the "bolt circle" as best I could, and used an online calculator to find the center- the radius to the bolt circle centerline. Given my numbers, the calculator came up with 1.346".Nope, no machinist on earth- especially one in the 1960s, the era of this lathe- is going to use an odd number like that unless they absolutely have to. It wouldn't be 1.345", and I know my measurements weren't so far off as to be 1.375" (1-3/16", since metric really wasn't a thing in the 60's
) so chances were good it was 1.350" even.So I drilled it to that number...
Tapped it...
And the handwheel fit perfectly.
The second example was a wild stroke of luck. I needed to mill a notch for a small antirotation key, and I wanted it kind of midway between the handwheel screw holes, and the locking ring holes. After the drilling and tapping cycle, the table was back at zero, so I simply rotated it fifty degrees back to 300, and milled the notch.
The part I'd completely forgotten was the handwheel itself has a sort of locking keyway... and by absolute absurd blind luck, the keyway I milled was in precisely the right place.
I fabbed a key, cleaned everything and final assembled it, and it plunked right into place- both keys and all- like I'd friggin' planned it that way.
Also note the serendipity of the step/boss of the adapter damn near lining up with the center boss of the handwheel. Sometimes things just work out, y'know?
Finally, the locking mechanism of the closer mocked up in place:
I still need to fab a new support bar at the back- the original isn't long enough- and cut down and rethread the drawtube. The latter is falling-off-a-log easy, and I'll do that in the net couple of days. The brace is going to be a fab job and will take some time to make it look good and fit nicely. That may have to wait 'til next weekend.
Doc.

Comment