Welcome to MCB! The most popular and active paintball forum on the internet. Thank you for stopping by!
If this is your first visit, please take a moment to check out the FAQ by clicking the link above. You will need to register before you can post. Simply click the Register link above to get started.
To begin browsing, select a forum from the list below.
What's the recommendation for relatively good .50 cal paint?
I have a bag of mixed colors I got off eBay several years ago, and while they've gotten a bit lumpy, there's enough good ones in there to at least test my Sniper build, which should hopefully be in a couple of weeks.
I see that JT, First Strike, Valken and Empire all carry .50, is any one any better than the others? (I had poor results with Valken when my local field used it, but that's been years.)
Haven't had time to work on the next video- I still have customer stuff on the table- but I still have photos of the original build for ya.
Not entirely in original order- which I admit was kind of slapdash- but I'll try to make a little sense of the mess.
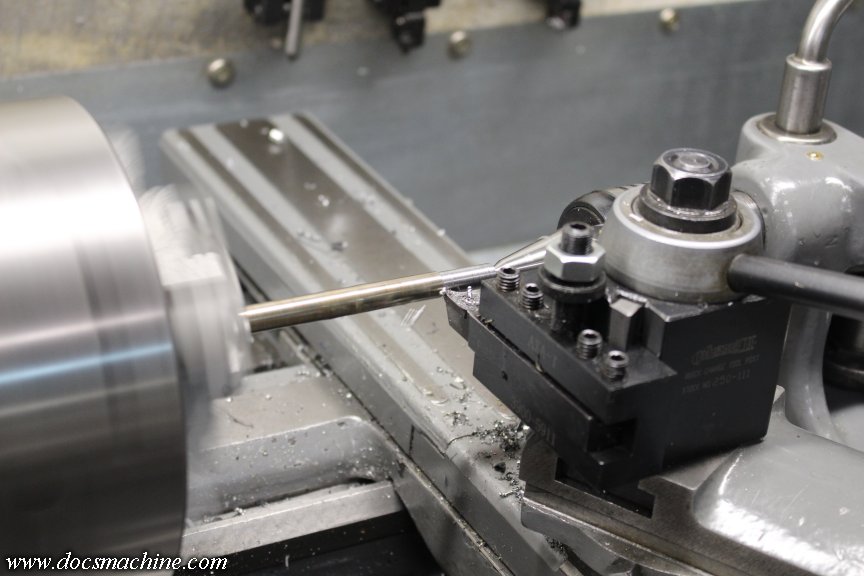
With the body and back block mostly machined, I found a suitable chunk of what's probably 12L14, a free-machining steel, in the form of a rod stripped years ago out of an old copier. Turns great, but one of the drawbacks of some of these free-machining steels, is they rust if you so much as show them a picture of water. When this thing gets around to being finished, I'll need to probably nickel-plate it.
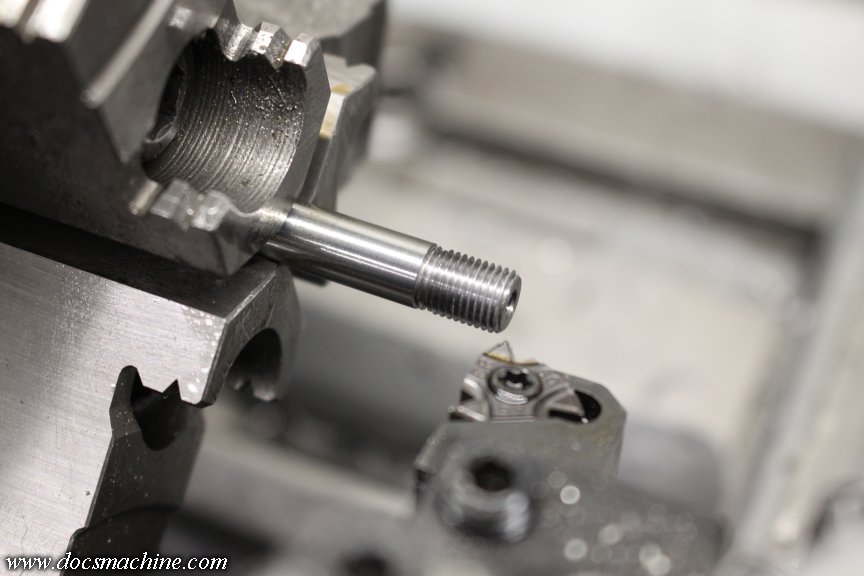
As already noted, the thread is a nonstandard 9/32"-32, which was easy enough to cut and match to the tapped body.
Like so:
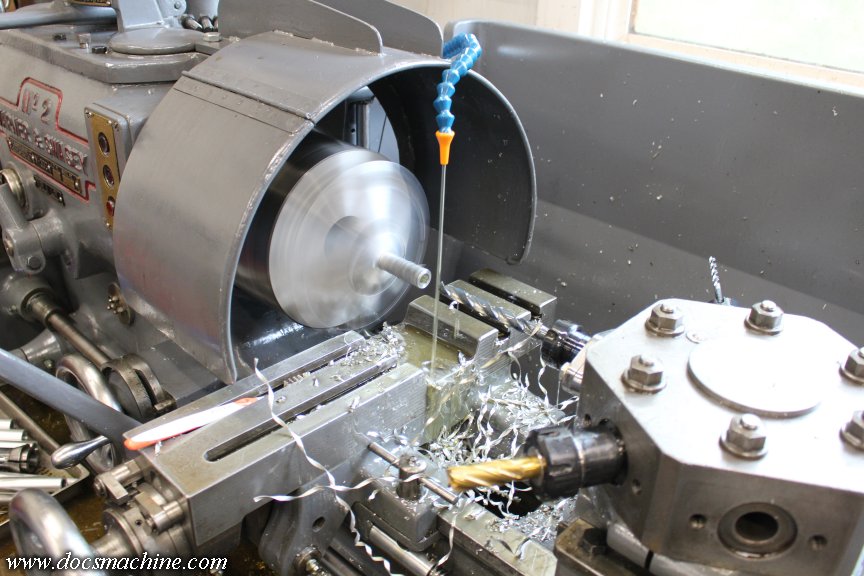
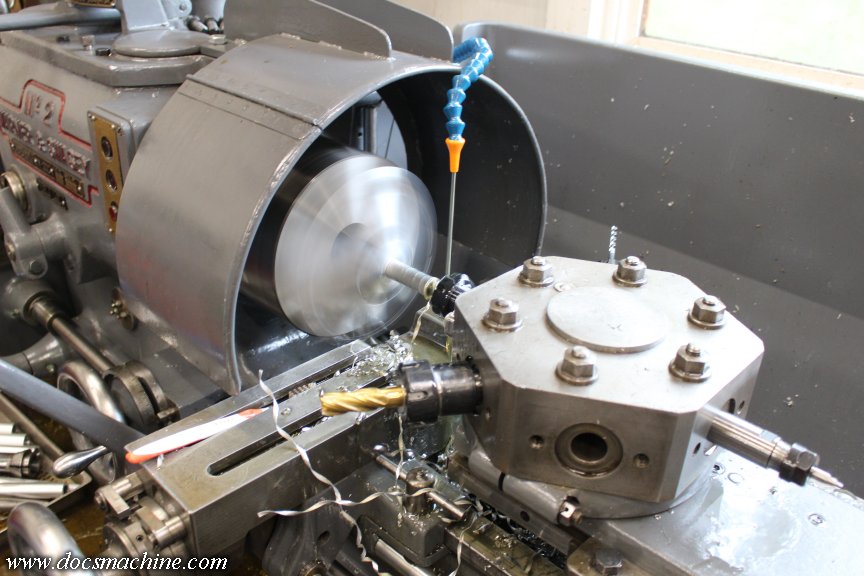
Next up, before I got too deep in this whole plot, I wanted to see if I even could make one of the most important parts- the barrel. So I refitted the big W&S turret lathe with the soft-jawed 3-jaw, and rebored the jaws in place, to fit the smaller diameter bar stock. (It'd originally been bored for 1", the reduced stock is of course 3/4".)
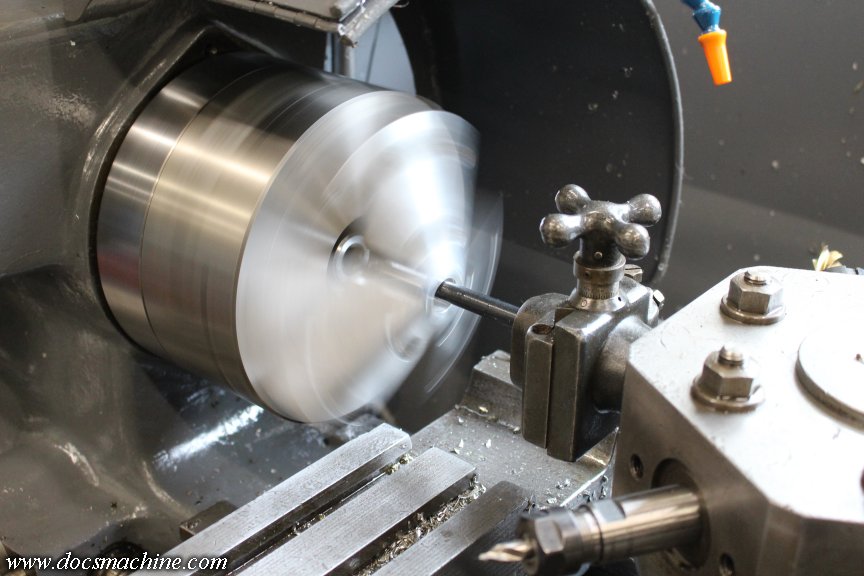
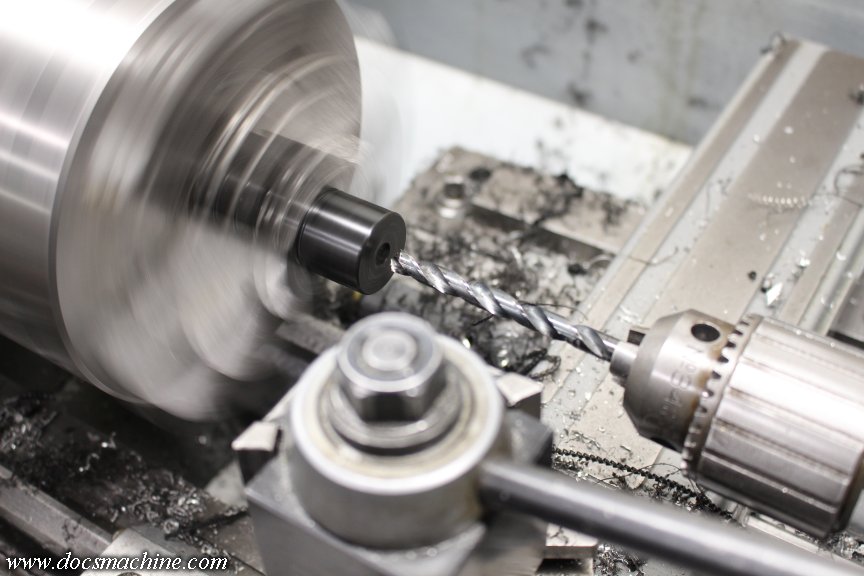
Then, thanks to the long throw of the turret, I was able to deep-drill most of the way through, with a pilot, then a main bore, and finish it off with a .500" reamer.
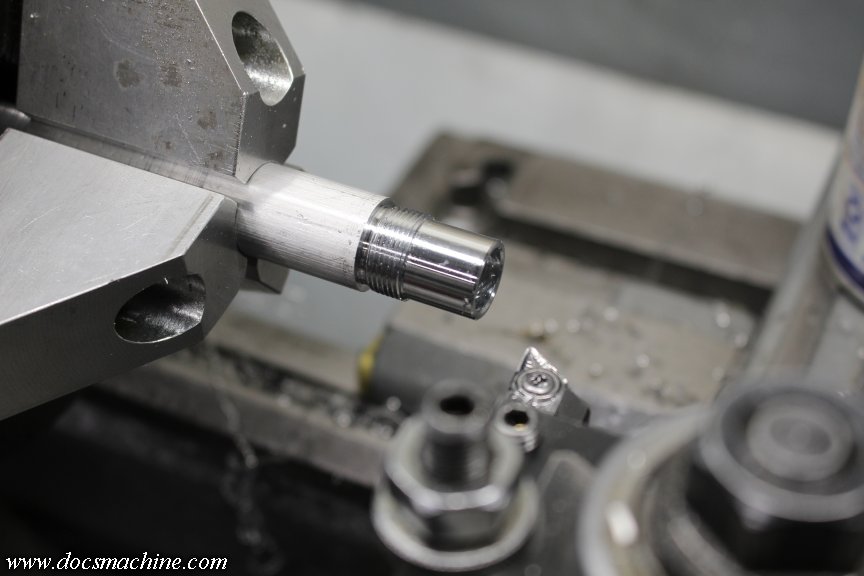
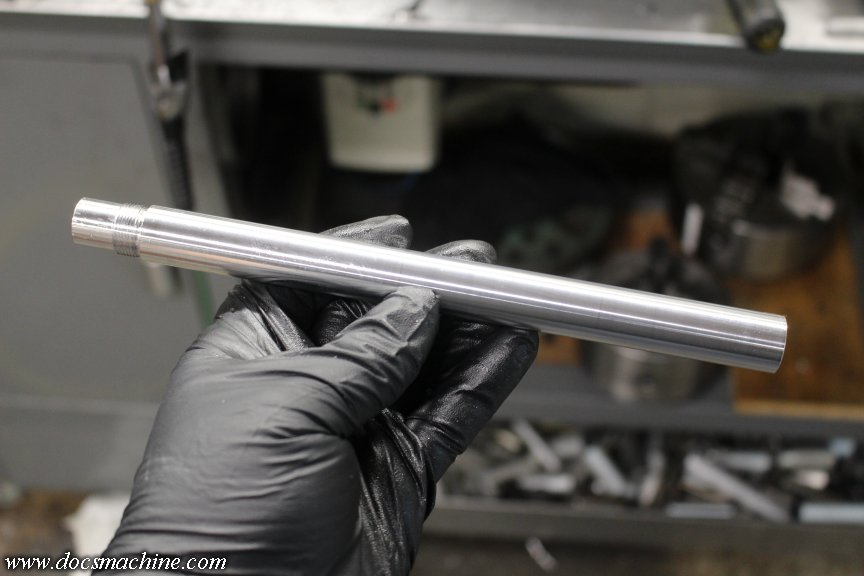
That got me an acceptably-smooth bore, that I think should only need minimal honing, so I then brought the blank over to the Sheldon, and using it's soft-jaw setup, turned a reduced-scale WGP thread on the end, to match what I'd machined the body to.
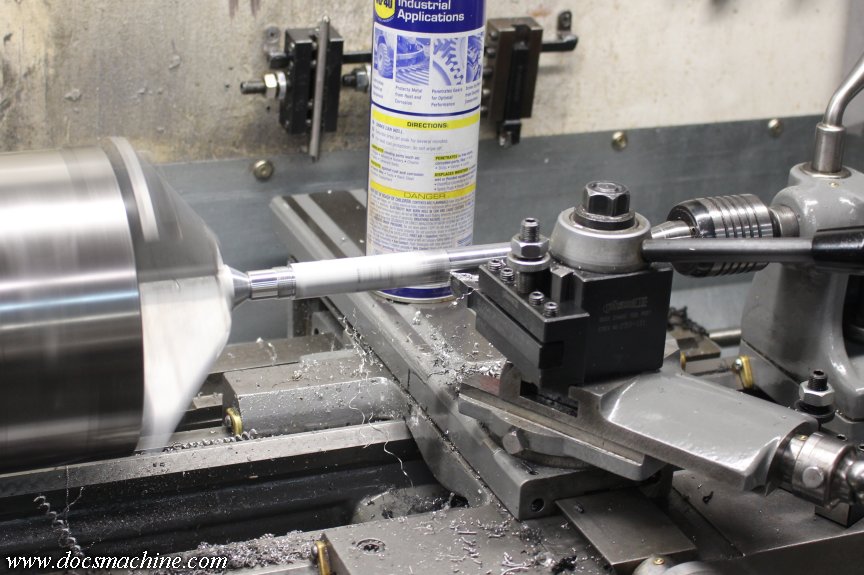
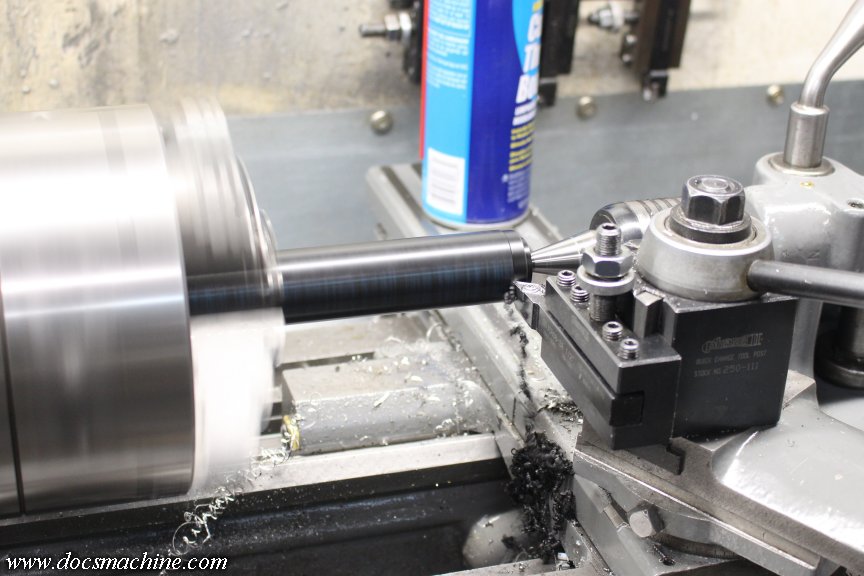
Set up a turned-in-place center in the same chuck, and turned the OD down a couple thou just to clean up the surface.
Et Voilá! One scale replica of a "12 inch" WGP bull barrel.
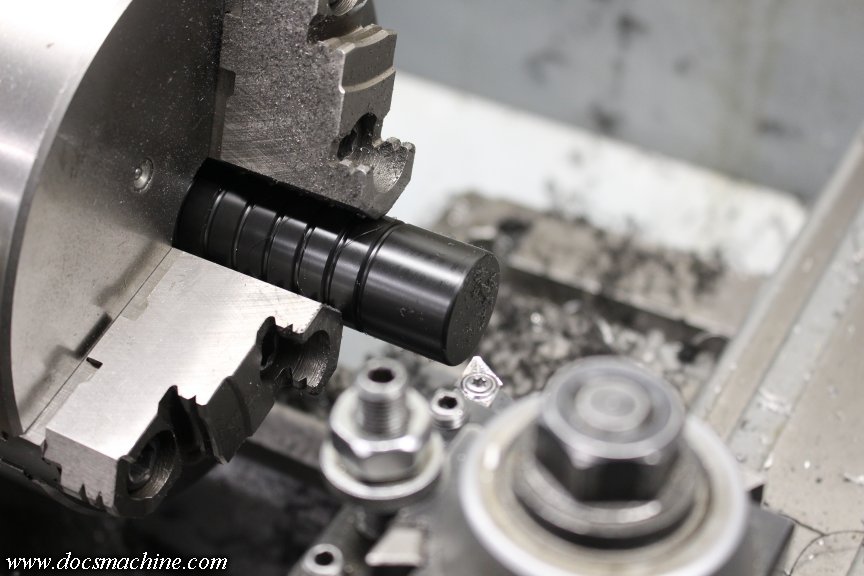
Then, to go with the pump rod made above, I got out some 1" black Delrin and turned it down to .9375"...
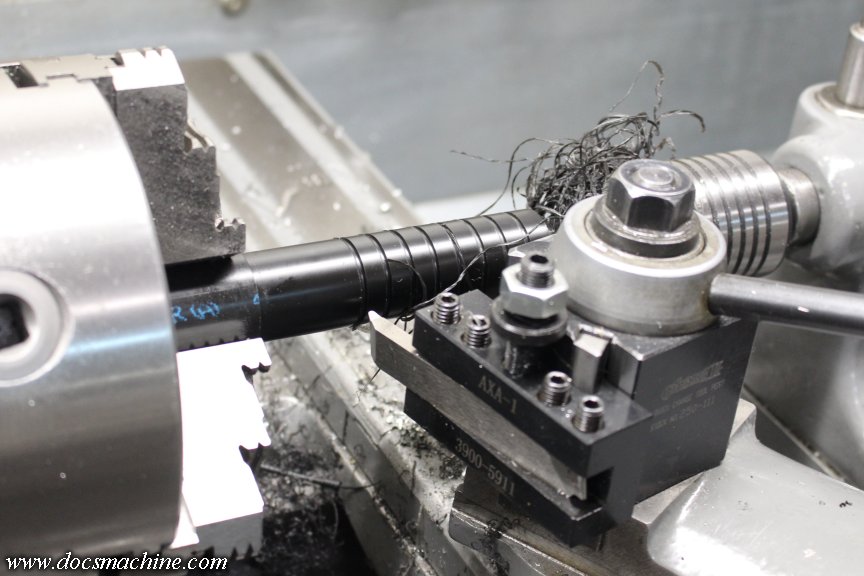
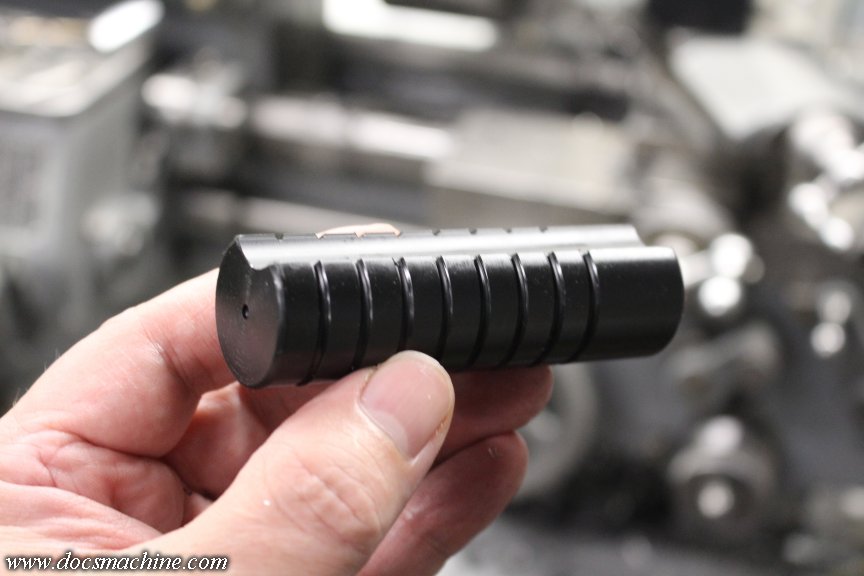
And, with the help of an accessory "DRO" made from a digital caliper, I turned a series of grooves to match a scale spacing of an original factory pump grip.
Then, after trimming to length...
And boring to match the guide rod...
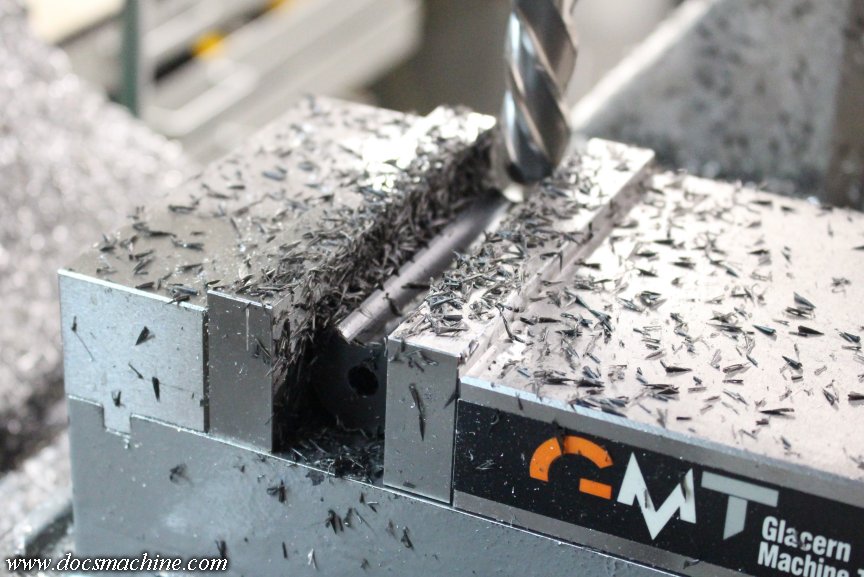
I milled a half-round groove 'bout thar...
Et Voilá, redux!
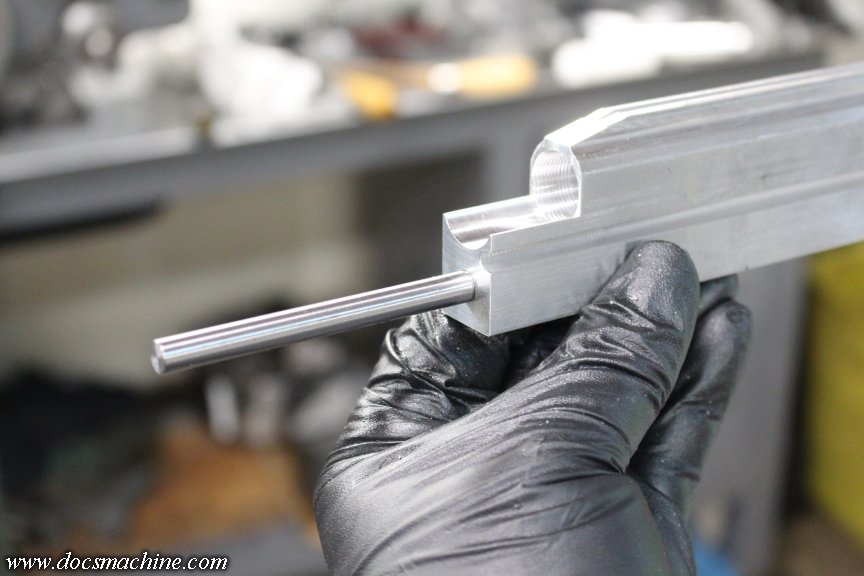
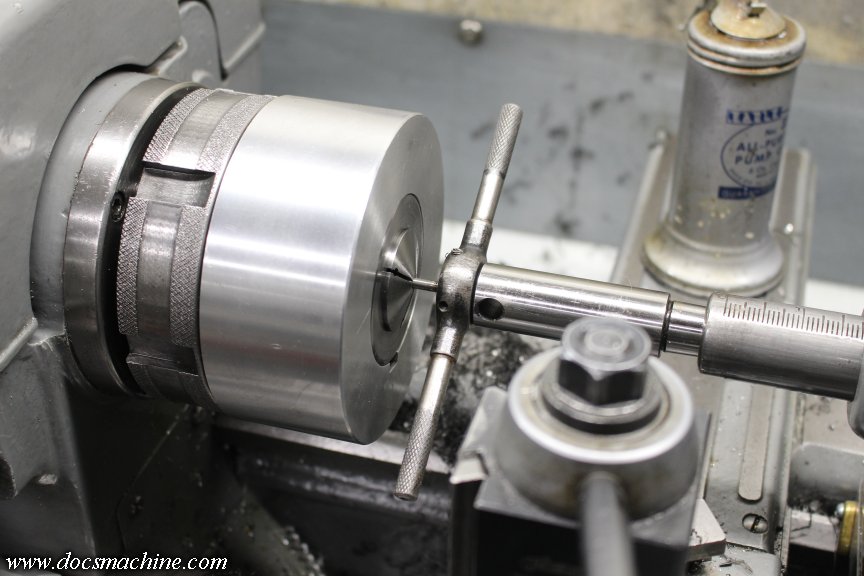
Finally, some 5/32" stainless rod got threaded- too small to single-point, so I had to use a die...
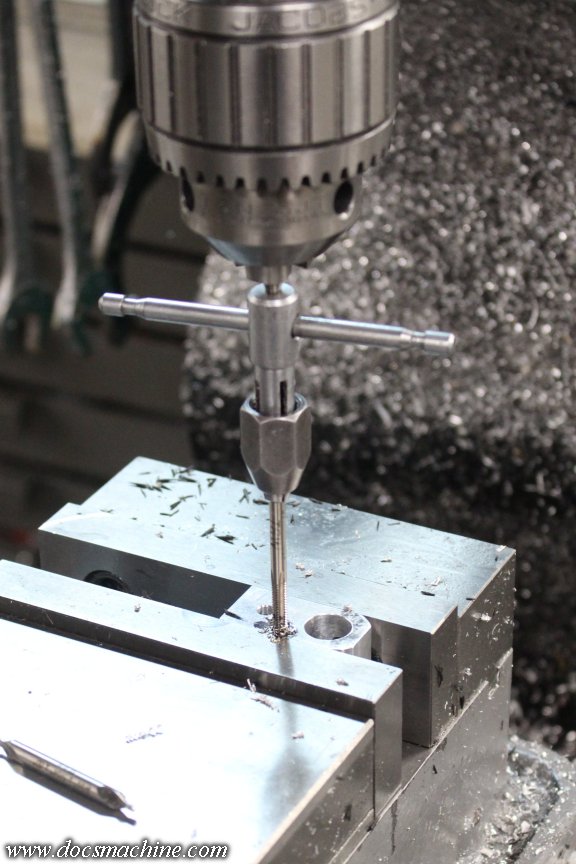
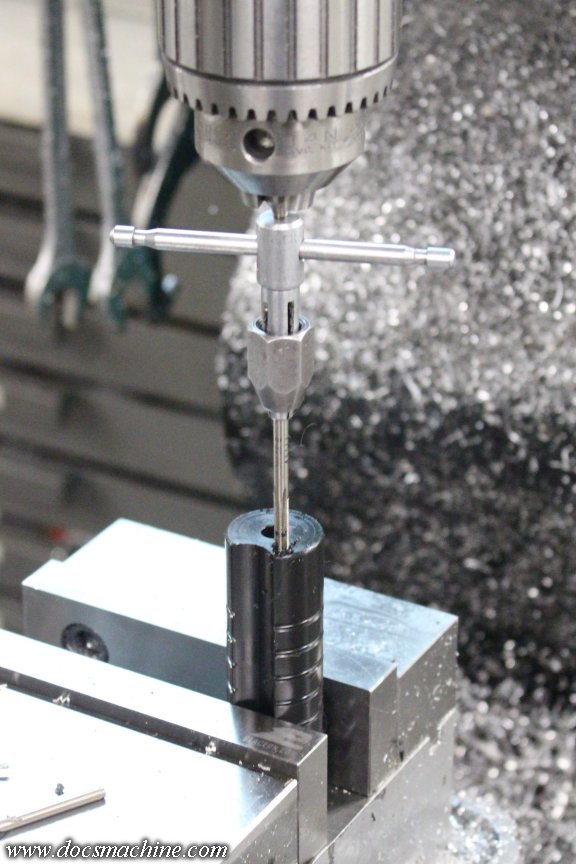
And the back block and pump both drilled and tapped to accept said rod...
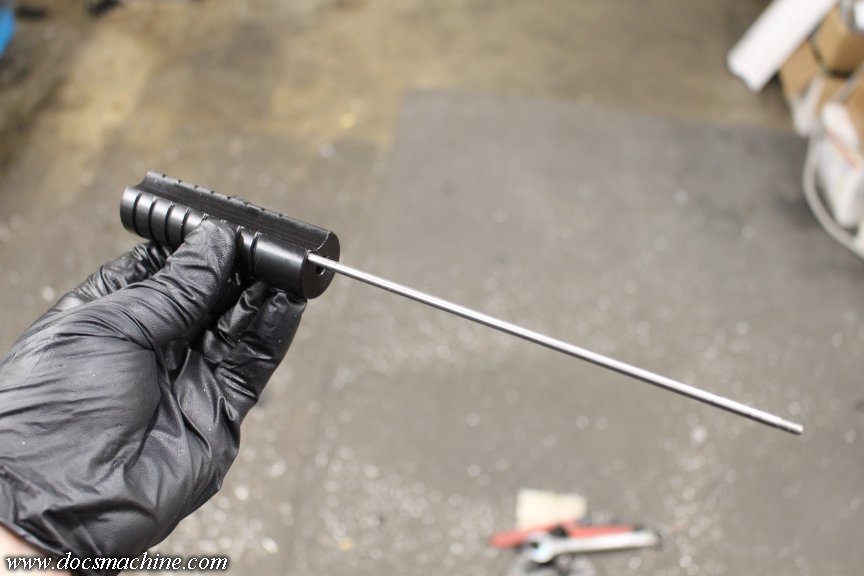
And we have a complete assembly.
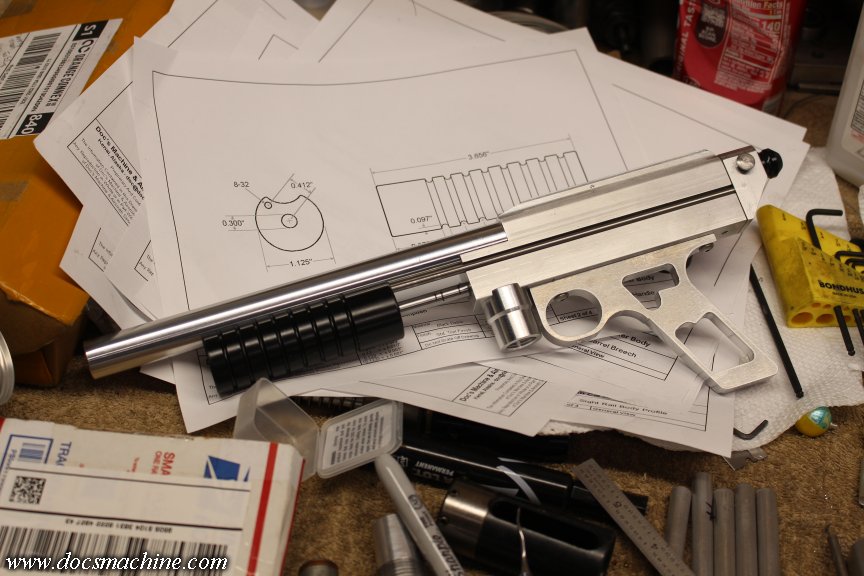
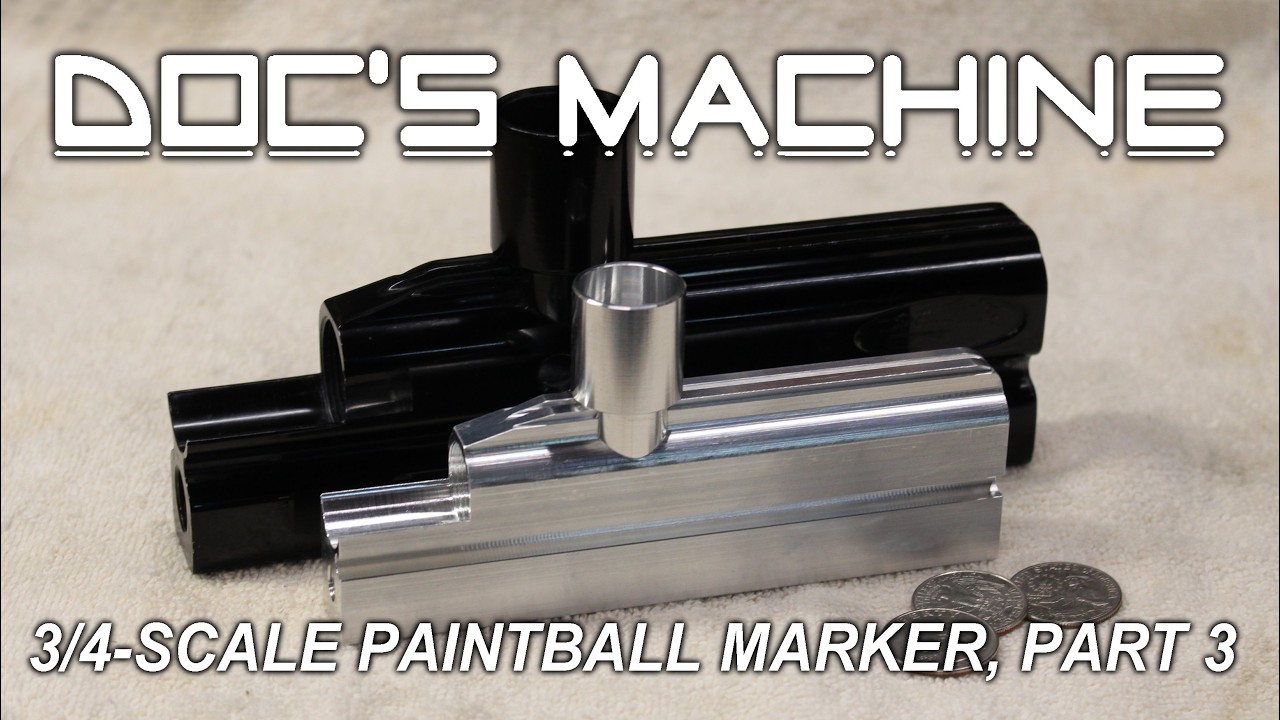
That and a few other soon-to-be-seen bits gets us this far:
Still a number of pieces to go- like, y'know, a feed neck - but we're getting there. Should be a third video installment later this week.
-Heh. The idea is to make the gun functional- if it can be functional- and THEN we can try variants on the theme.
Given how comparatively tiny the valve and hammer are, I think it'll work, but I don't know. After all, the hammer, thanks to inverse square, is roughly a third less the weight of a factory hammer. (Very roughly, 25% smaller, 33-35% lighter.)
I'm not (yet, anyway) going to try and make a scale regulator, which means it'll have to run straight CO2 or regged HPA pressures- meaning the force to open the valve won't be that much less than a regular Sniper/Cocker, but I'll be hitting it with a hammer a third lighter. And there'll be a limit to how much spring I can pile in there...
But, that said, IF it works, yeah, I've considered making a fancier version or two. Keeping in mind that whatever I make, I have to make everything- body, grip frame, valve, bolt, etc.- and at the moment, I'm doing this purely for the giggles. I've already spent over $1,600 on this thing (taps, reamers, materials) and there's no way anyone would pay half of what I have just in time in it.
Yeah, a couple of 3/4 scale customs would be cool, but I already have dozens of other- and often equally ludicrous- projects in the works, and by the time I[m done with this thing, I'm pretty sure everyone's going to be sick of .50 Snipers.
If you can measure the spring force of opening the valve and it's diameter for the seal I can run the math for you. I may have just done exactly that for a totally different reason to determine optimal weight, spring force, and psi for Lazarus valves
Doc, have you considered a heavier hammer material like tungsten to lessen the demands from the main spring?
-I have indeed. We had a fun chat about that over on the Guild a couple of weeks ago.
Problem is, Tungsten is hard to machine, and the "easy machining" versions machine poorly, often leaving a rough surface. Ideally, you'd have the OD of a hard quality material ground to size, and the threads EDM'ed- but that starts being expensive. Like, a $500 hammer, expensive.
Lead is too soft. Gold is a little harder, but not much, and a third again heavier. Accepting donations to try that one.
Osmium is one of the heaviest elements, but almost impossible to machine- it's harder than tungsten and brittle as glass- oh, and the dust is toxic.
The best idea I could com up with is to make the hammer a hollow "cup", with a thick nose (for the lug threads) and a center stub to screw the cocking rod into. Then fill the void with solder, or possibly tungsten powder glued in place.
Probably a lot of work to gain only a gram or two at best, but it may be a case of every little bit counts.
And 10¢? The prototype cup seal I made so far (but have not tried, of course) is 0.335" in diameter. I don't have a spring weight yet- I figure there's going to be quite a bit of trial-and-error to get a good combination. I also don't have very many springs in my stashes for suitably sized ones, so I'll probably have to order several sets and do what I can to dial it in.
So instead of solder inside your “hollow” hammer, maybe lead ( I have no idea the composition or density of the solder you implied). Then again that’s probably a lot of work for little extra gain, plus toxic. Probably easier to McMaster some springs once a base line is established.


Comment